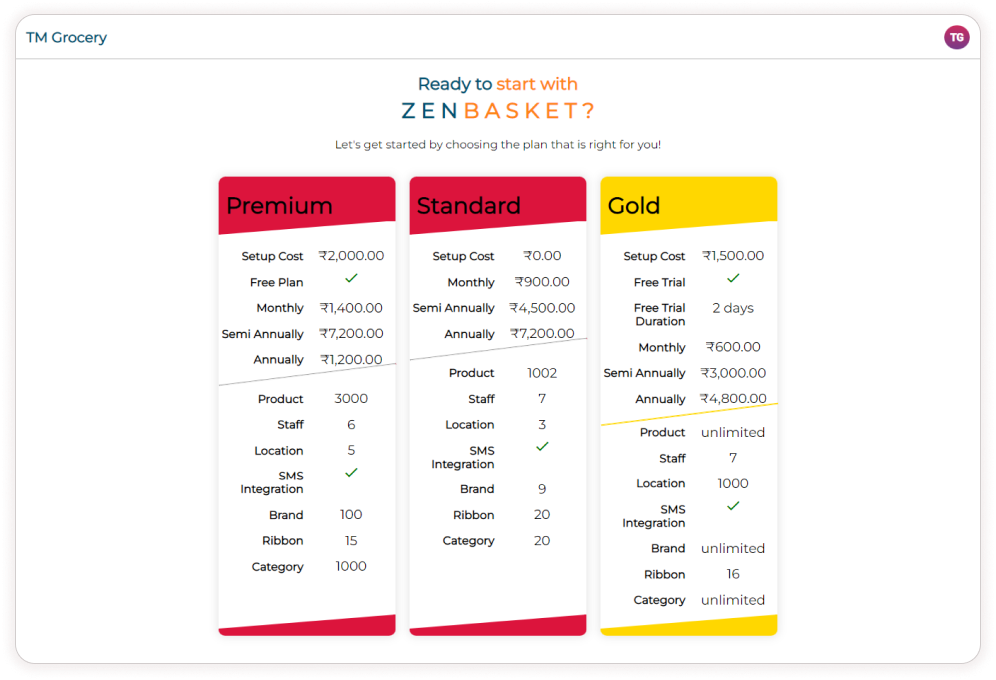
ZenBasket allows you to add products to the product catalog. While adding a product, the details of the product and the stock information are needed. Product details include product name, description, price, image, brand, options, variations, shipping, taxation, etc. The stock details specify the quantity of the product available in various store branches. The branch location can be enabled or disabled by the admin which adjusts the product’s visibility based on the location at the storefront. Note: The number of products that can be added to your store depends on the plan you’ve chosen.
How To Add Products In ZenBasket?
There are two ways to add a product:
- Using Add
- Using Import
Using Add
-
In the Products menu, select the All Products sub-menu.
-
To add products from the list of readymade products in ZenBasket, click on the Readymade Products button. For more details refer the Readymade products help article.
-
Click on the Bulk Edit button to edit multiple products at a time.
-
A list of products is displayed. Click on the down arrow against each product to edit details.
-
You may edit details like product name, selling price, MRP, SKU, wholesale price and stock. You may edit the details of any number of products on this single page.
-
Finally, click Save to save the changes.
-
You can delete products by clicking on the checkboxes in the list of products and clicking on the Remove button on the top.
-
To add new products, click on the + Add Product button.
-
Information is organized under 6 different tabs:
- General
- Variants
- Modifiers
- Product Shipping
- Product Specification
- SEO & OGS
-
General Tab.
-
In the general tab, enter the product information such as product name, Brand, Short Description, Categories, maximum order quantity, product unit count, weight unit and description.
-
Check the box Add variant(s) to this product if you have variants for the product. If you have variants you can give the SKU and price details separately for variants in the Variants tab.
-
If there are no variants, you can set the price and SKU details in the general tab.
-
Check the box Provide replace/remove option to this product if you want to let customers opt for a replacement for unavailable products at the time of checkout.
-
Check the Product availability checkbox to show it in the store. You may uncheck it in case of stock updation to avoid confusion among customers.
-
Check the box Accept return for this product if your product is returnable.
-
In the Tax details, choose whether your product is taxable or not. If taxable, choose from the tax classes.
-
In case your business is of restaurant industry type, Product Type card will be visible where you can choose whether the product you are adding is Vegetarian, Non Vegetarian or Others.
-
Upload product images and add ribbons if needed.
Note: Accepted formats for images include JPG, JPEG, GIF, and WebP. Use original images instead of downloading images from the internet.
-
Enter the price details like selling price, MRP, actual price(cost price) and the wholesale price.
-
Enter the SKU, UPC and square POS UUID in the other details section.
-
A product can either have a limited stock or unlimited stock. Unlimited stock is used when a stock is considered always available for a product. This can be the case when the products sold are services or digital in nature whose quantity will never be zero or will never go out of stock. However, a limit can be set for the number of downloads by disabling these products in the ZenBasket admin. They will no longer be displayed on the storefront for the buyers to see.
How to add stock for a product?
- In the products menu, choose the All products sub-menu.
- Click on Add product.
- Choose the General tab.
- In the Availability Location card at the bottom, Choose the location from the drop-down and choose Limited Stock or Unlimited Stock using the radio buttons. Enter the stock quantity if you have chosen Limited Stock.
- Enter the Low stock threshold. Low stock threshold is the predetermined level of stock value for a particular product that is running out of stock and needs to be replenished.
- Click on the + Add Location button to set the stock in all other locations.
-
Click Save.
Edit / Delete / Duplicate single Product
-
In the Products menu, select the All Products sub-menu.
-
Click on the eye icon to view and edit all the details of the product. You’ll be navigated to the Edit product page where you may edit the general details, variants, modifiers, shipping details, product specifications and SEO details.
-
Click on the 🖉 icon to edit the product. It navigates you to the quick edit dialog box where information about the product like Product name, category, selling price, MRP, Actual price and wholesale price can be edited. Click on update once changes are made.
-
Click on the delete icon to delete the product from the product catalog. You can also delete products by clicking on the checkboxes in the list of products and clicking on the Remove button on the top.
-
Click on the duplicate icon to create duplicates of the same product.
-
To add Related products, click on the related products icon. Related products help to give product suggestions to customers while shopping.
-
There are two types of related products. Upsell products and cross-sell products. Upselling is a sales strategy that involves encouraging customers to buy a higher-end version of a product. Cross-selling encourages customers to purchase products in addition to the original or added items to the cart.
-
Click on +Add and choose from the list of products by checking the boxes. Click Save.