
Domain Setup
1. Start with Sign Up
As you initially Sign-up with ZenBasket, by default, you get started with a subdomain for your shop. For example, say your shop name is Epic Ranger then your initial site will be getzenbasket.epicranger.com

Enter your business mail id and Register your store.
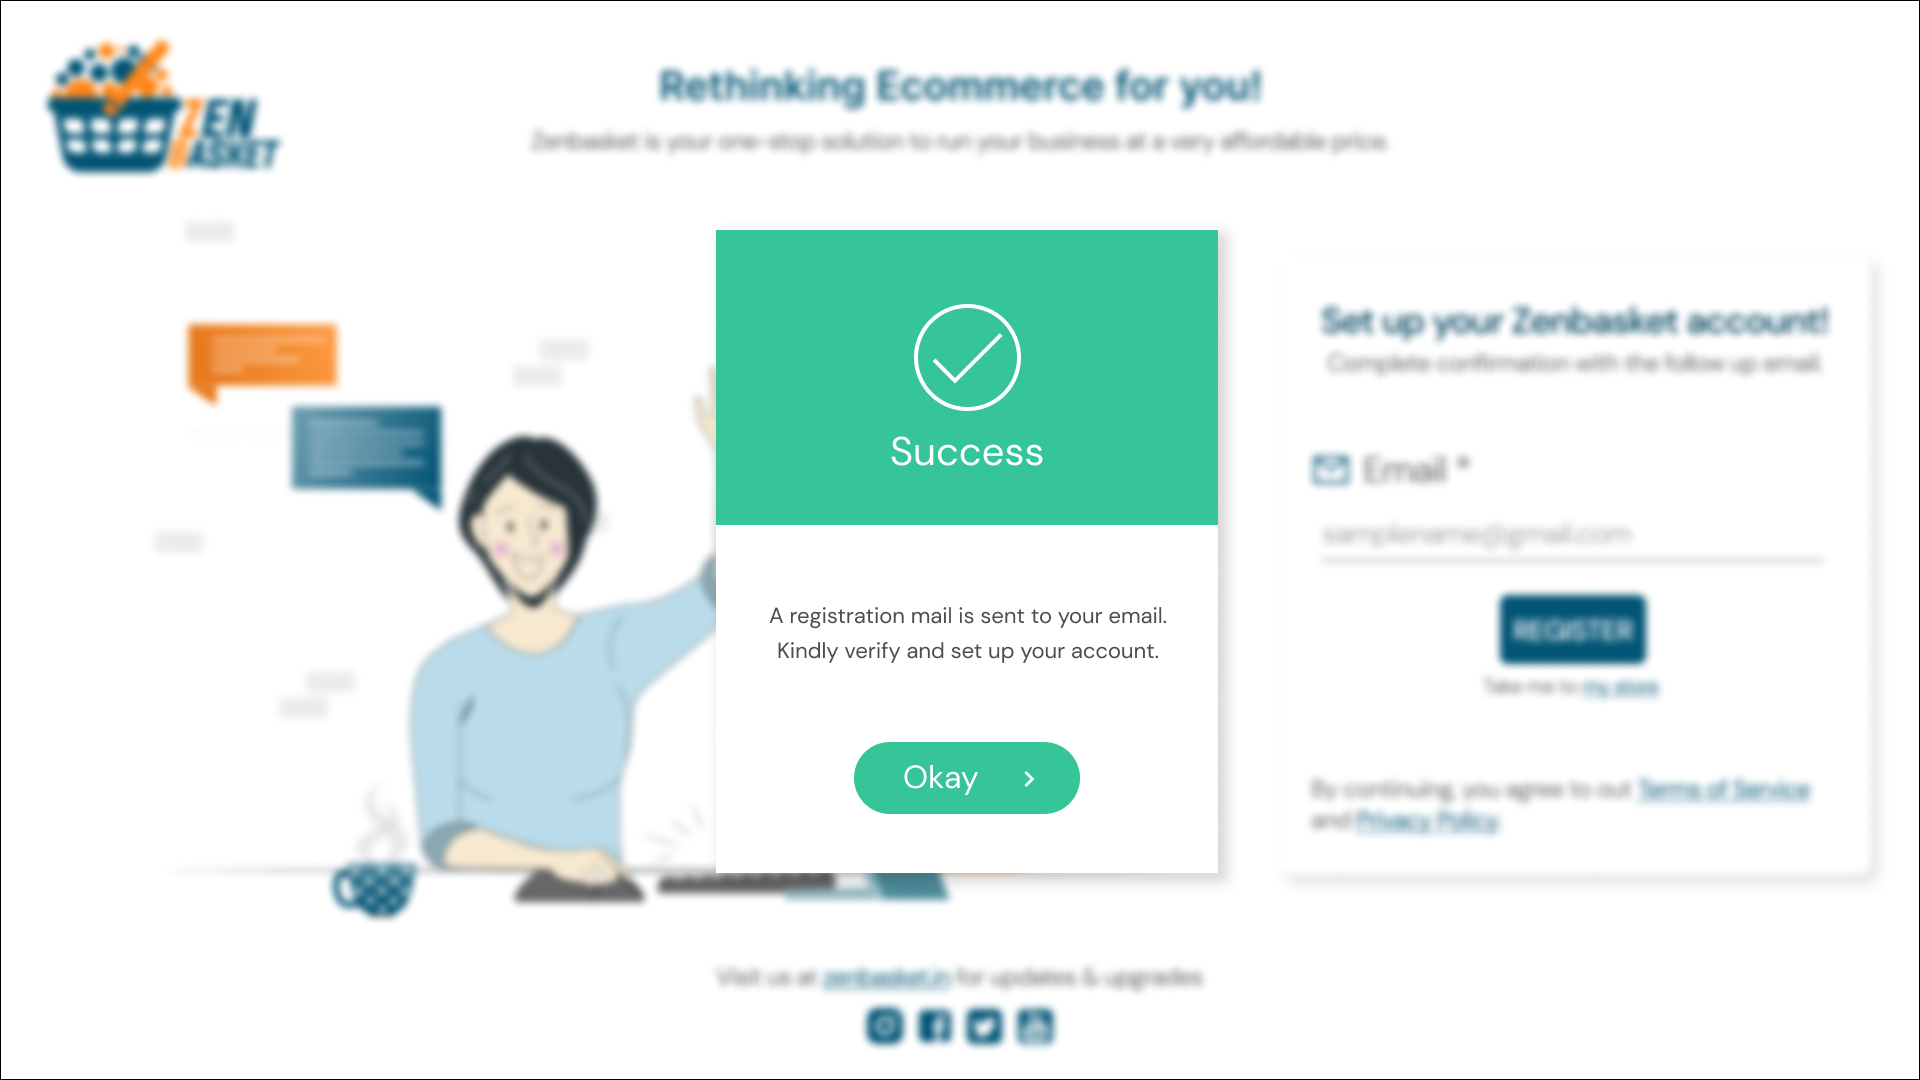
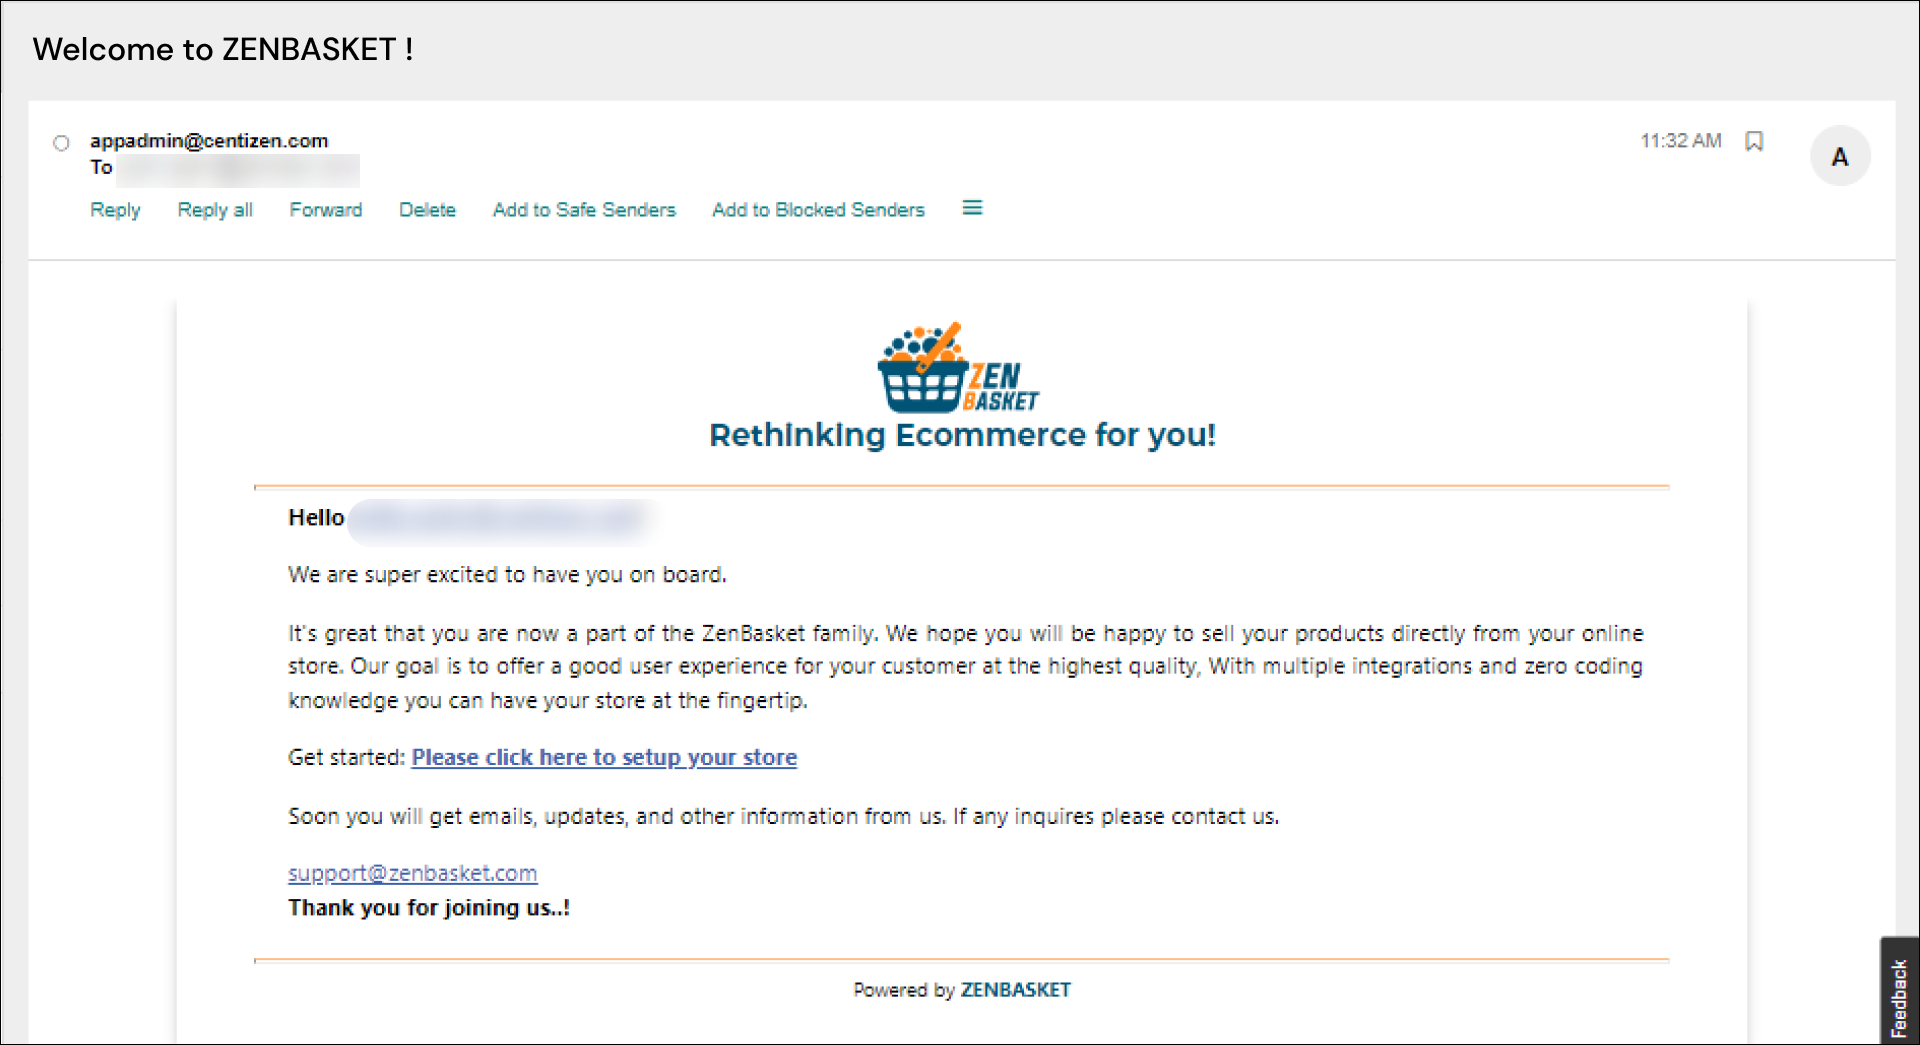
Once registered, you will receive a mail with a link to Setup & Update your account information.
2. Setting Up your Store
Enter details like the Store Name, Industry type, Contact Number, and Address. The required details are marked with an asterisk * to help you identify them.

Once registered, Sign-In and select the plan of your choice to continue. After completing the payment, you will be taken to your Dashboard.
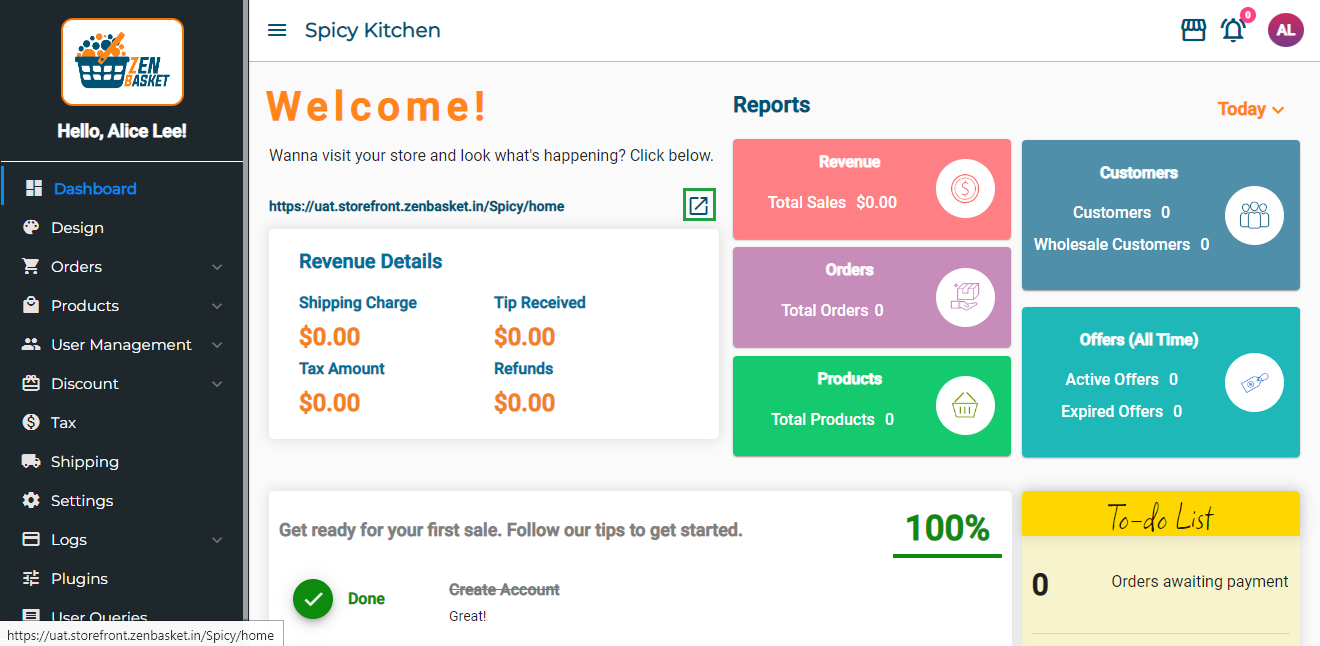
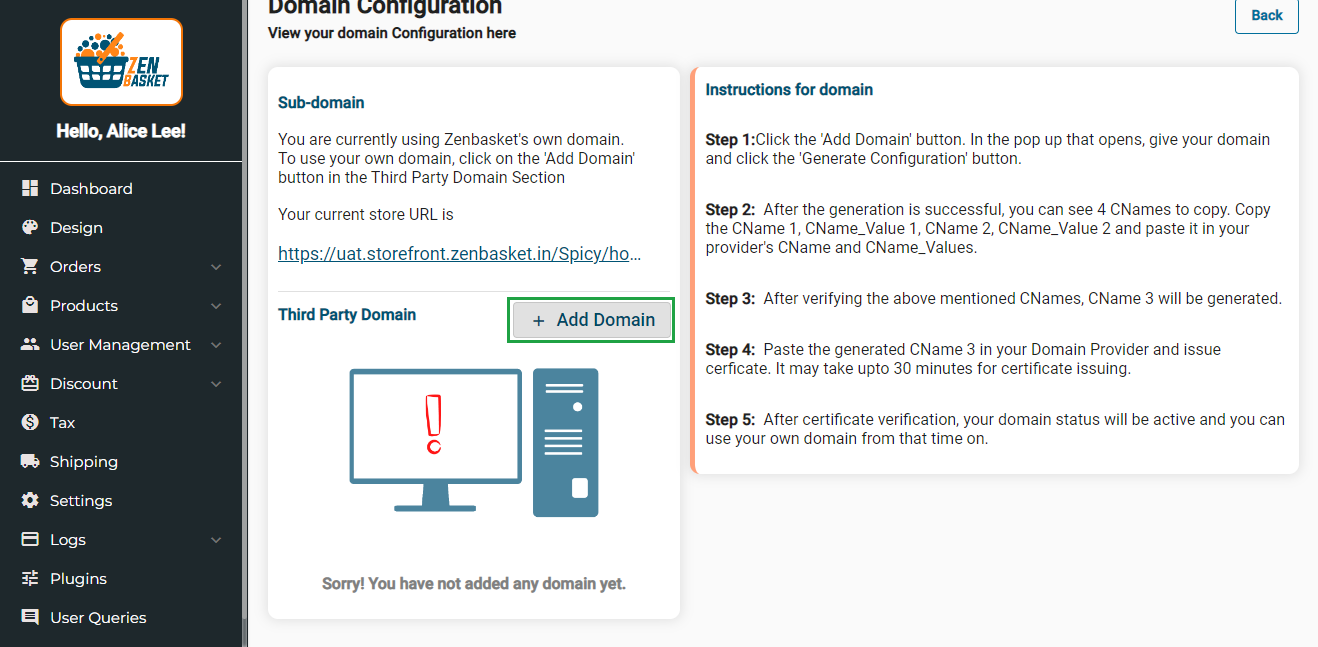
The Section above the Revenue Details Card displays the subdomain that has been generated for your store with ZenBasket. If you intend to run your store as the main domain you can configure the same in a few simple steps.
3. Domain under Business Settings
Business Settings
Business Settings consists of three Sections - Order Settings, Product Settings and Announcement settings.
Order settings allow you to set the Handling fees, restrict order amount, set hold amount for orders and allows user to edit orders.
Product Settings helps customize category order, set Ribbon, Enable/Disable Product Instructions, and set wholesale pricing and deposit fees.
Announcement Settings allows customizing and publishing announcements that are displayed on the store.
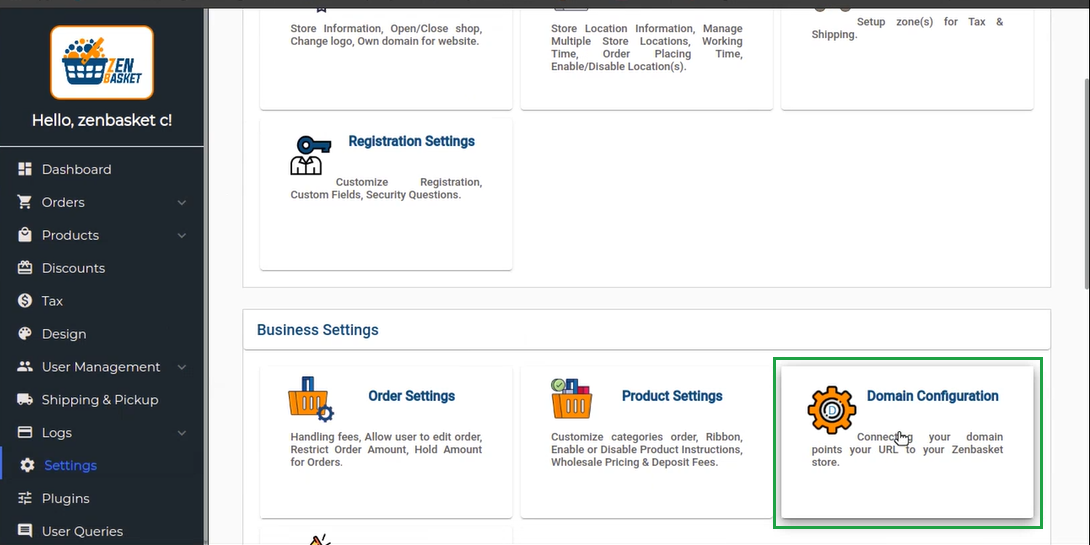
If you prefer to change your subdomain as the main domain or SetUp your own domain with ZenBasket you can do so by clicking on >**Settings » Business Settings » Domain Configuration. **
In the new screen, you can check your current store URL and if you intend to set up a new domain you can do so by clicking the Add Domain button.
*Note - Currently ZenBasket does not provide Domain Name Services. Kindly purchase your Domain from recognised Domain service providers.*
In the new pop-up screen paste your Domain name.
Note - Currently ZenBasket does not provide Domain Name Services. Kindly purchase your Domain names from recognised service providers. > *Type your preferred subdomain excluding the HTTP & HTTPS. For example, if you prefer to open a subdomain for your treats shop it might be pop.treats.com*
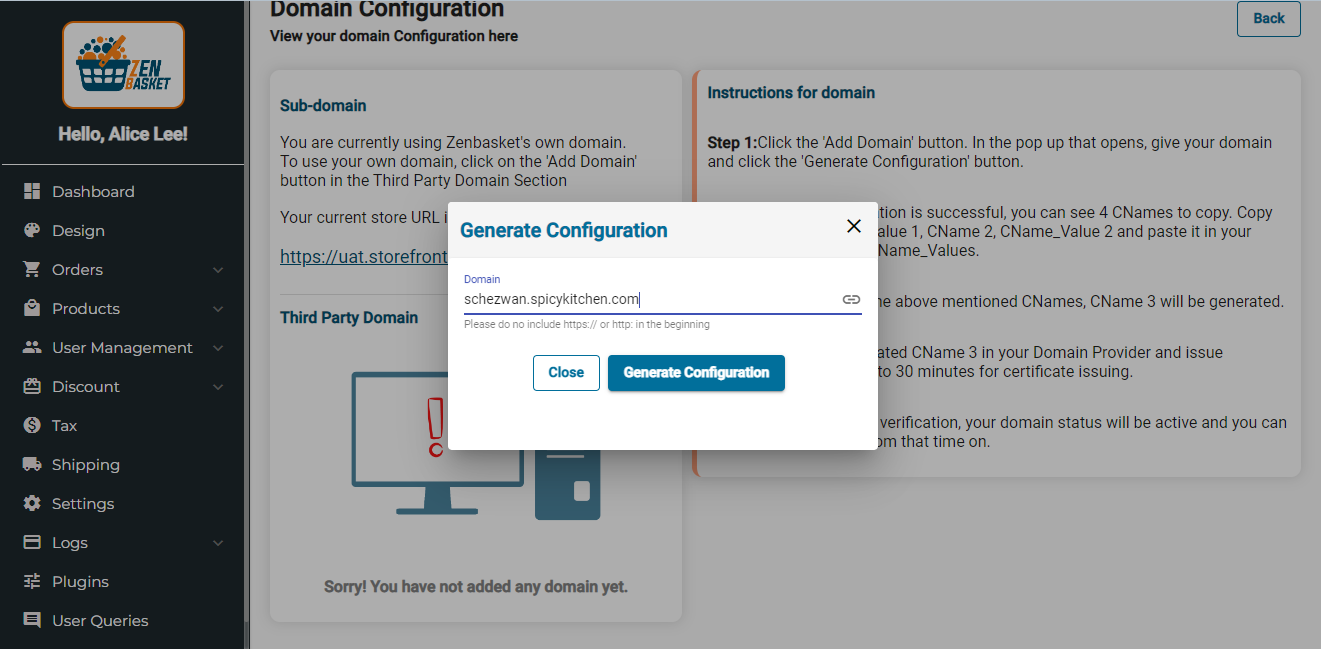
And clicking on Generate Configuration creates your CNAME tags.
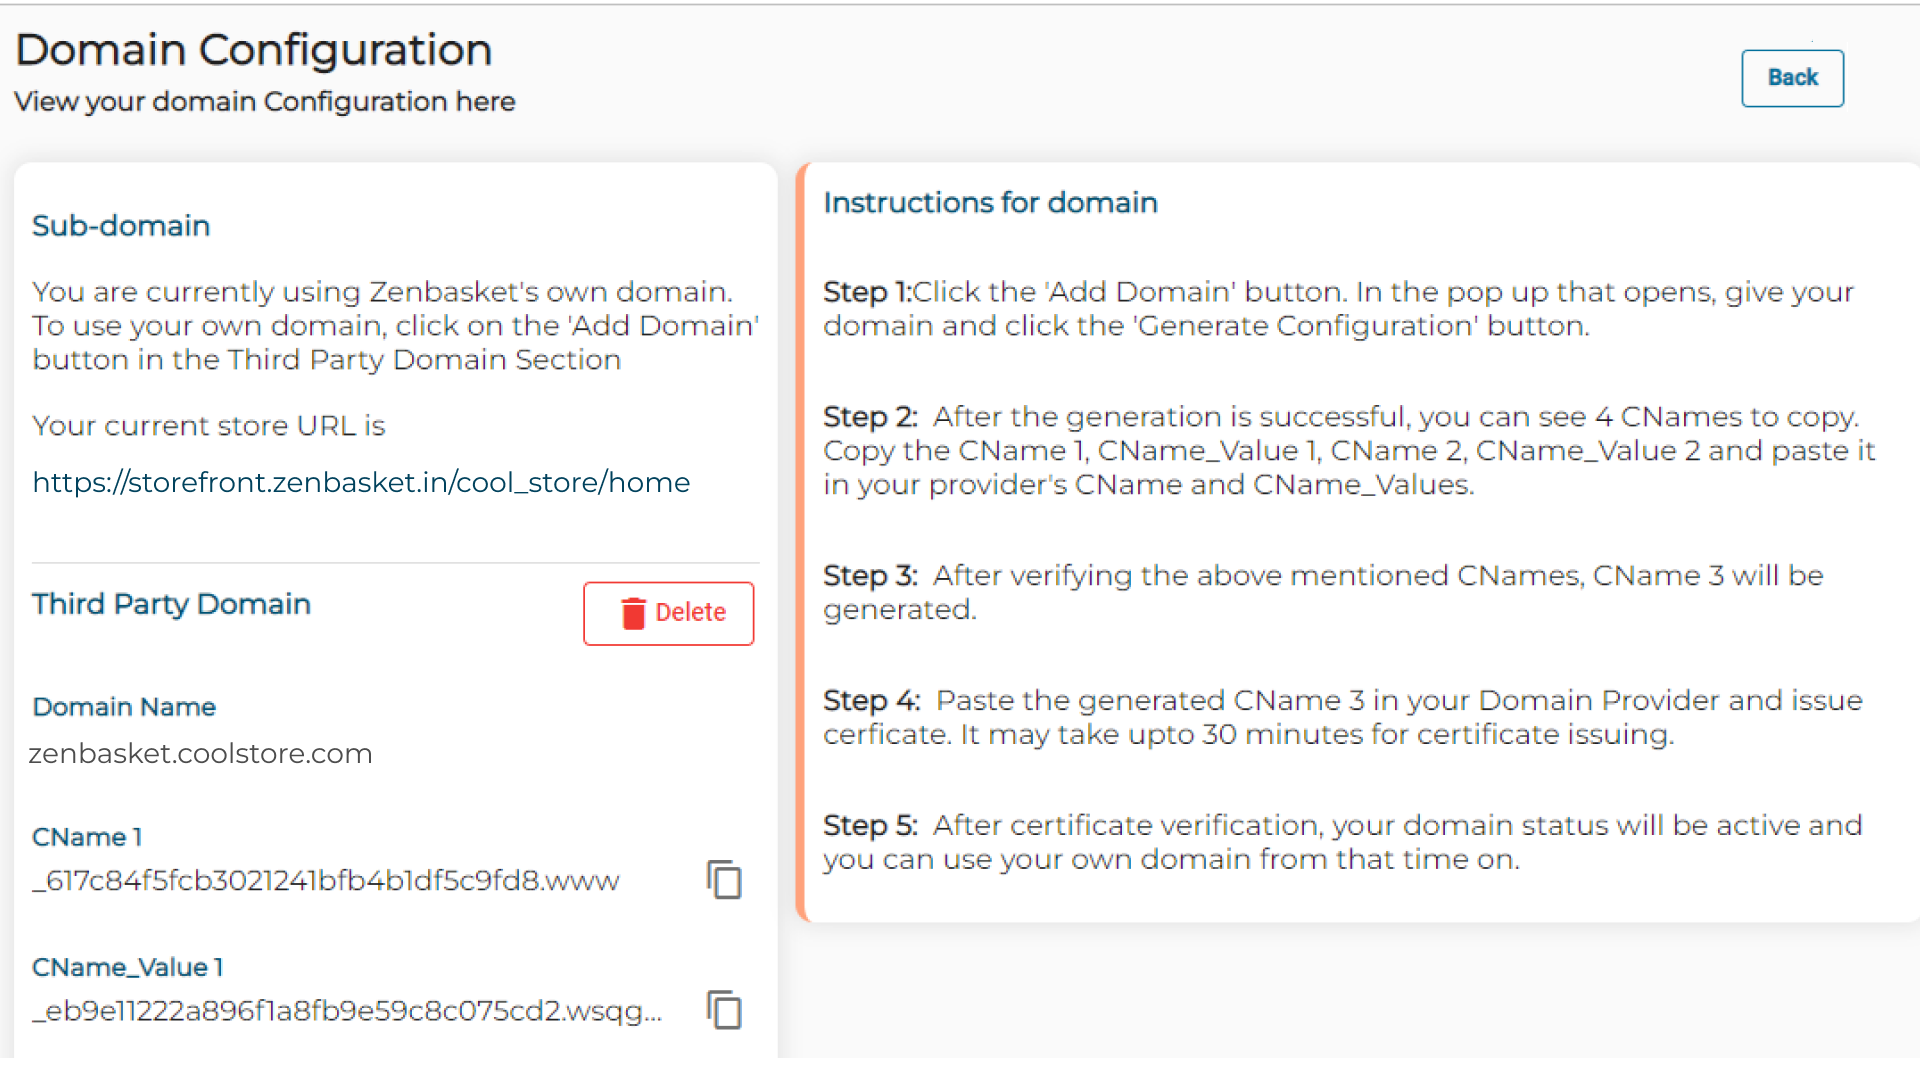
CNAME records are essential to map the hosting domain and sub-domains such as WWW or HTTP and their variants and aliases to the main domain name.
Once your CNAME versions and values are created, copy and paste them with your domain service provider’s DNS settings to complete the configuration process.
*Note that this process varies in accordance with your choice of Domain Service provider. If you have issues talk to our team to help you with your issue*
4. Domain Name Verification
DNS Verificaion using AWS
After getting the C_Name and C_Value, you are in need to verify them.
The verification is based on the domain name and from where you brought the domain name.
Some of the general domain name service providers are godaddy, shopify etc. AWS itself provides the Domain Name Service.
*Note : You get 2 pairs of C_Name_1, C_Value_1 and C_Name_2, C_Value_2, one for domain name configured with WWW prefix (example.com) and the other is for without WWW prefix (www.example.com)*
AWS Domain Name Service is available under the service called Route 53.
Step 1 : Login into the AWS console and navigate to the Route 53 dashboard.
Step 2 : There you can find the number of hosted zones under DNS Management. Within that you can find the list of Domain Names available, select the appropriate domain in which you are in need to verify it.
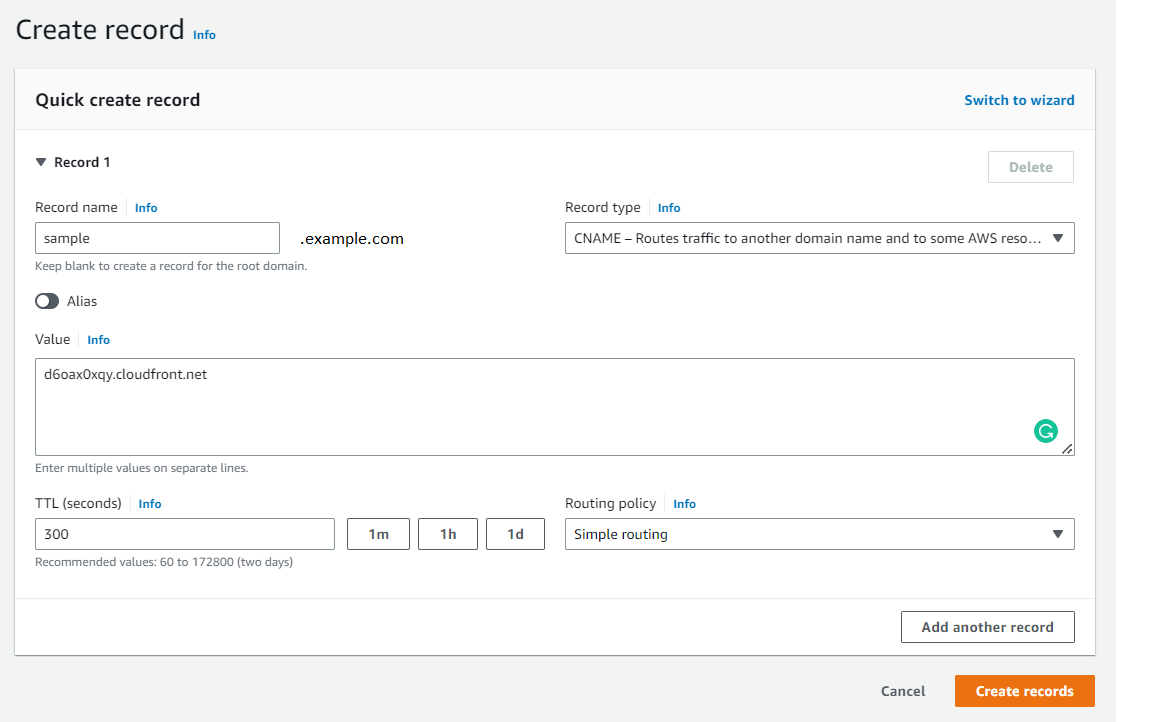
Step 3 : Create the records with The C_Name as Record Name, record type as the C_Name and C_Value as the Value from the previous steps (C_Name : _d8cda32145698717yd74js4fd32hfddfefe.example.com and Value : _c589dfdf3sssabc12c2d3bee8a8ac4b6.hkmnqpw.acm-validations.aws.)
* Note : C_Name itself is configured along with the domain name so you are in need to remove the domain name suffixed in the C_Name*
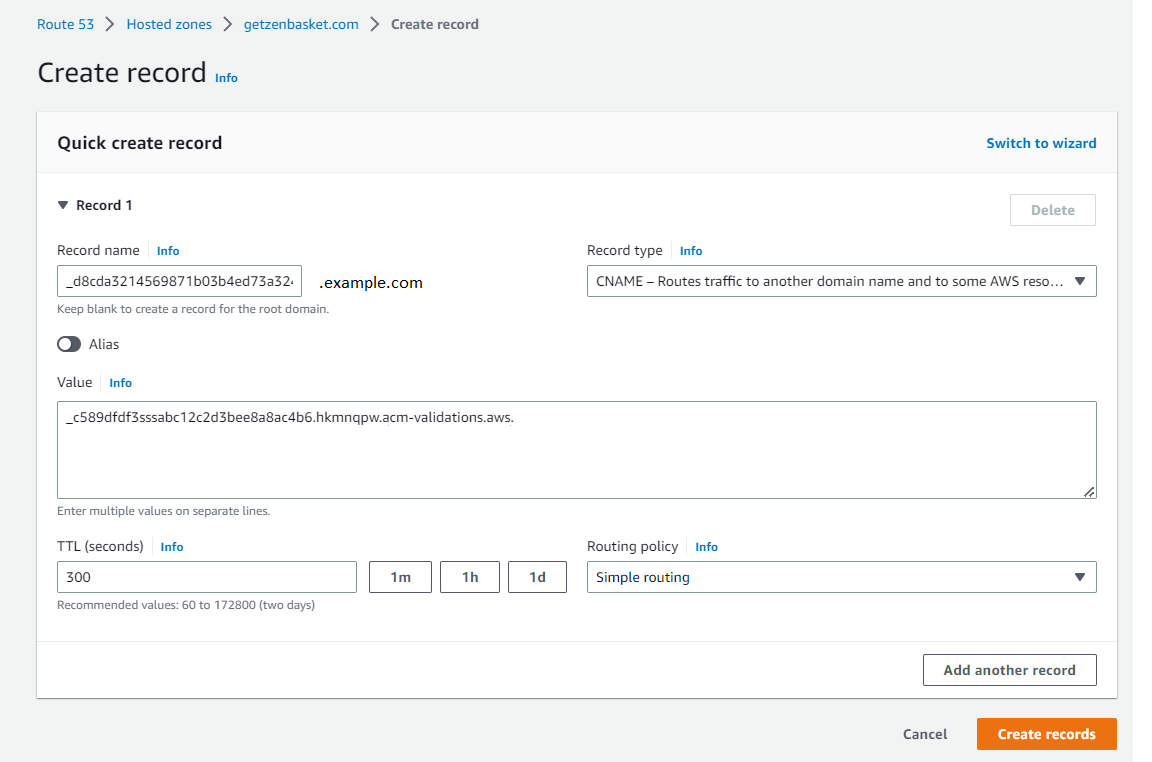
*Note : Create 2 records, one for C_Name_1 & C_Value_1 and the other is for C_Name_2 & C_Value_2.*
Step 4 : After Verifying the the C_Name and C_Value, you get a new id suffixed with cloudfront.net (d60ax0xqy.cloudfront.net). This is the hosting ID for your site.
Step 5 : Now create another record in AWS Route 53, with the Record Name as the Domain URL and the Value as the generated ID and the record type as C_Name.
After completing all the DNS verifications, your domain status is active and you can use your domain.
Video Tutorial