
Readymade Products
ZenBasket allows you to add products to the product catalog in many ways. One of the ways is adding products from a readymade product repository. Adding products one by one can be a time-consuming process, especially if you have a large number of products to add. The Readymade Products consists of a list of preloaded items based on your industry type. You can just easily include them in your store. This feature minimizes your effort in just a few simple clicks by preventing you from having to add products one by one.
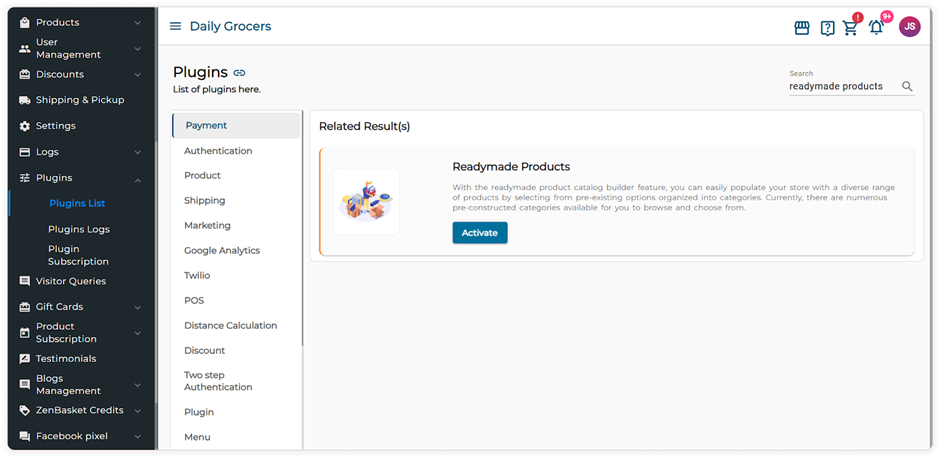
To enable this feature on your All Products page, navigate to Plugins in the main menu. Select Plugins List and use the search bar to find the Readymade Products plugin. Click the Activate button to activate the plugin.
How To Add Products from Readymade Products In ZenBasket?
-
In the Products menu, select the All Products sub-menu.
-
To add products from the list of readymade products in ZenBasket, click on the Readymade Products button.

-
A list of preloaded items based on your industry type is displayed on the product list page.
-
Enter the Product Name in the Search bar to quickly locate a specific item.
-
Use the category drop-down to display products related to the selected category.
-
Click on the Add symbol against the products to add the products one by one to your store’s product catalog. To add multiple products, check the boxes near each product and then click on the Add Product button in the top right corner. The products are added successfully. If you try to add a product that already exists in your store, you’ll be notified that the product already exists.

-
Once the products are added, they are listed on the All Products page.

-
To edit the existing data or add information to the products you just added to your store, click on the Edit icon. You can rename your product, assign it to a specific category, or a specific brand, adjust the pricing details or add a Ribbon for your product’s promotion.

-
You can add more images and indicate the stock availability at your store locations.

-
Once you’re done, click Update. The details have been updated successfully.
Video Tutorial