
Shippo Orders
ZenBasket partners with Shippo to help store owners streamline their order fulfillment process. With Shippo, store owners can easily connect to multiple shipping carriers and compare rates to find the best option for their business. It can save time and money on shipping while providing customers with a seamless delivery experience.
How to Get the Access Key for Shippo Integration?
To set up a Shippo Account, get an API token to make a delivery using Shippo shipment.
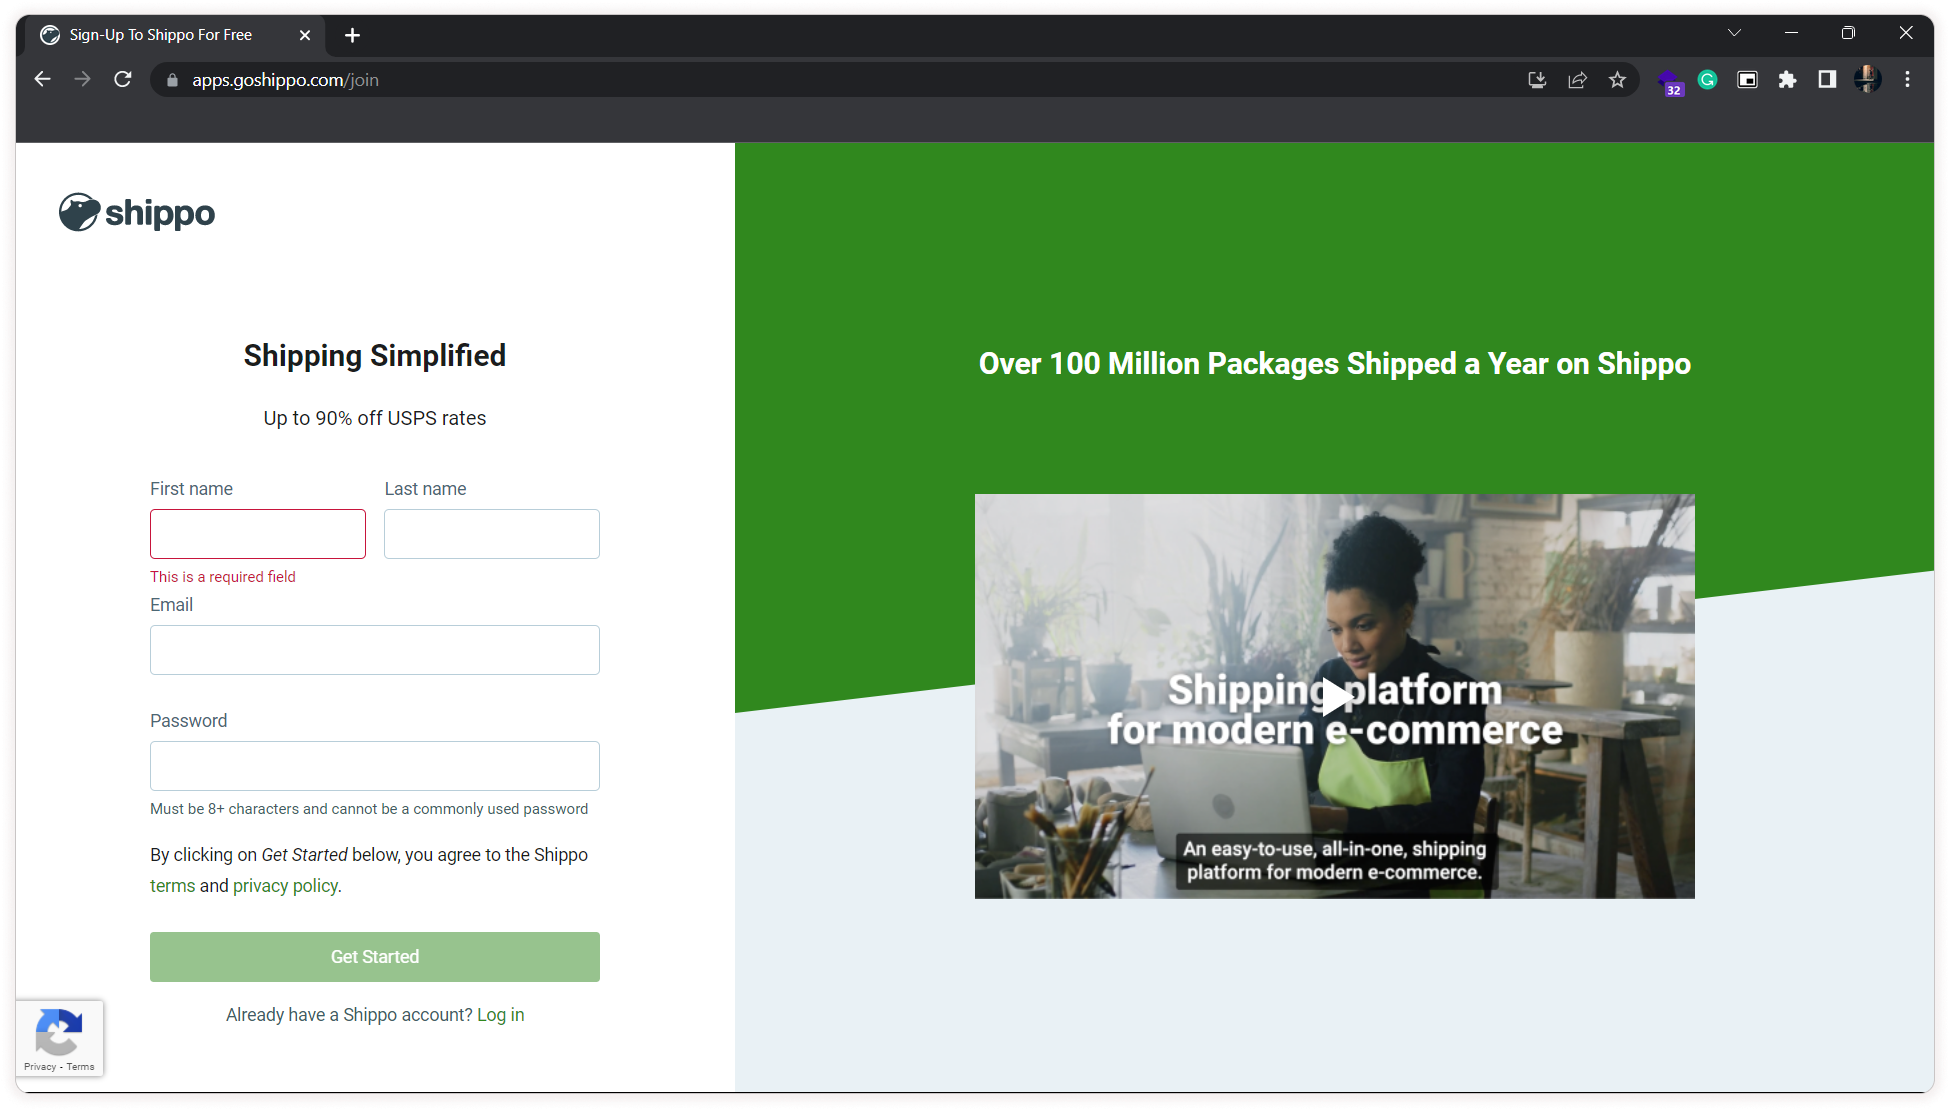
Step 1: Go to Shippo and sign up.
Step 2: Fill in the details like First & Last Name, Email and Password. Click Get Started.
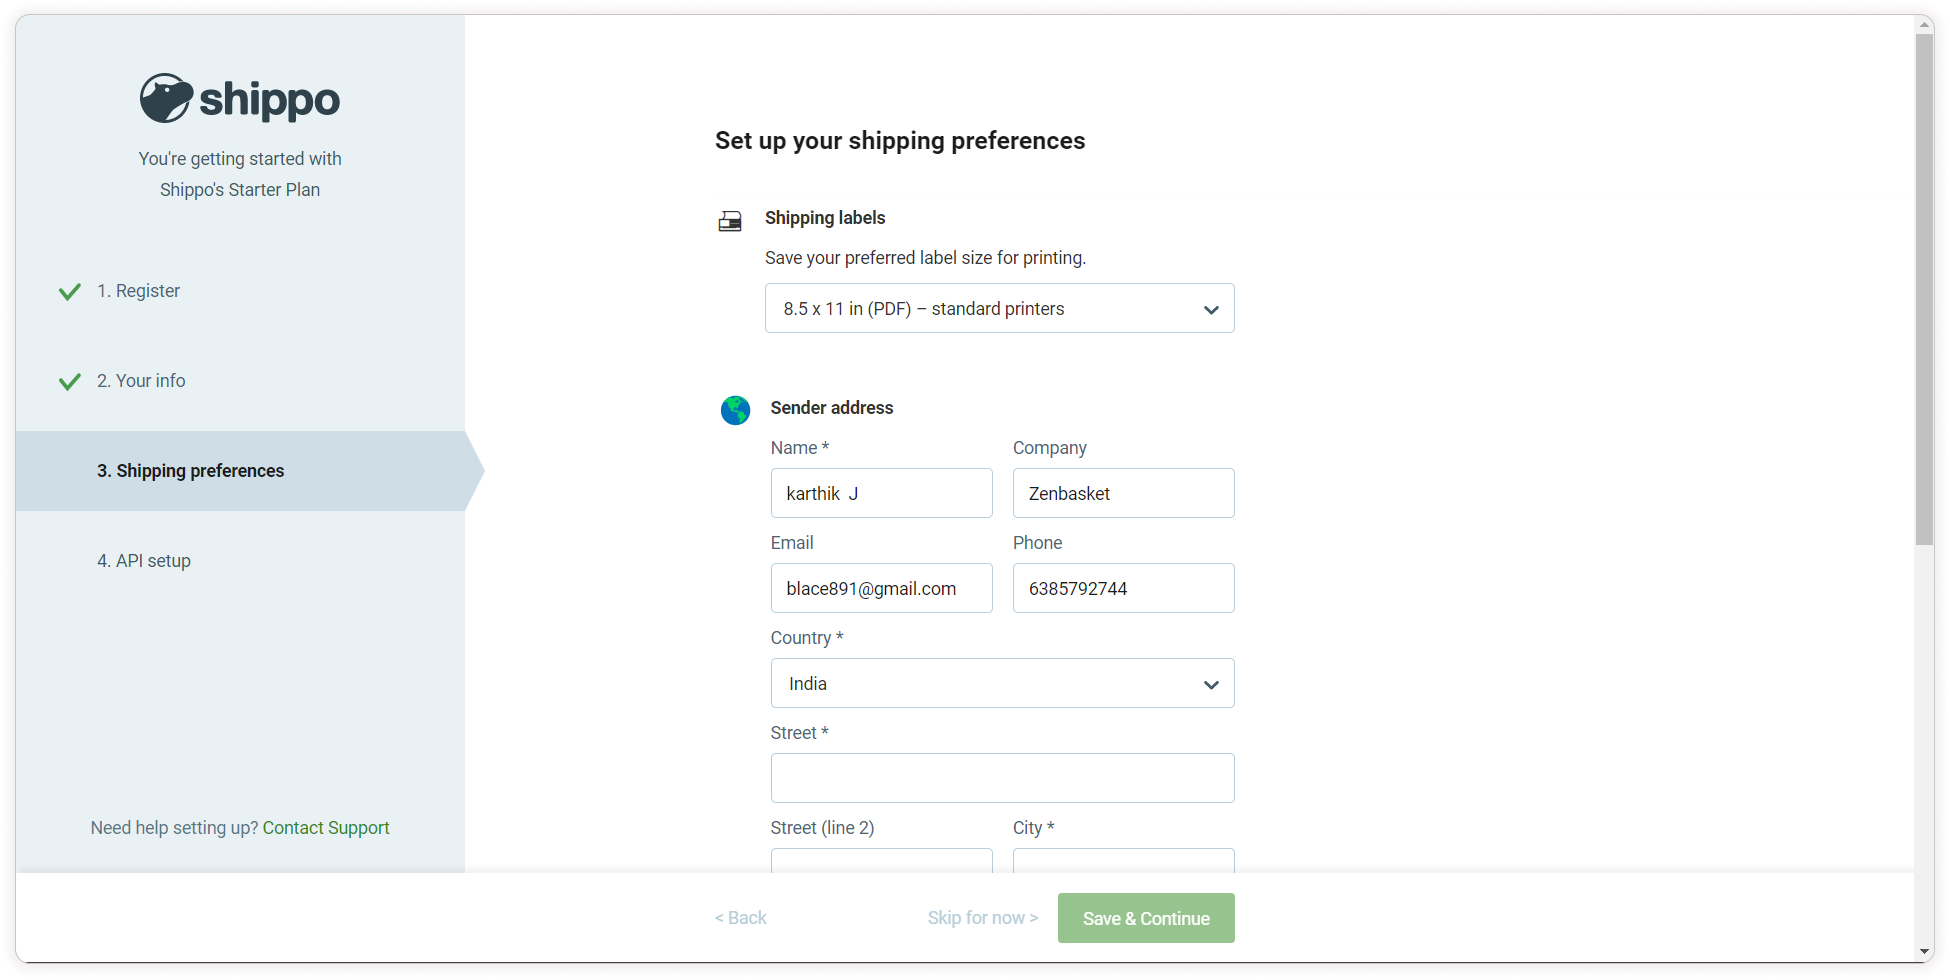
Step 3: After registration fill in information about your needs. For example, the purpose of using Shippo, Country, Contact Number, etc. Click Save & continue.

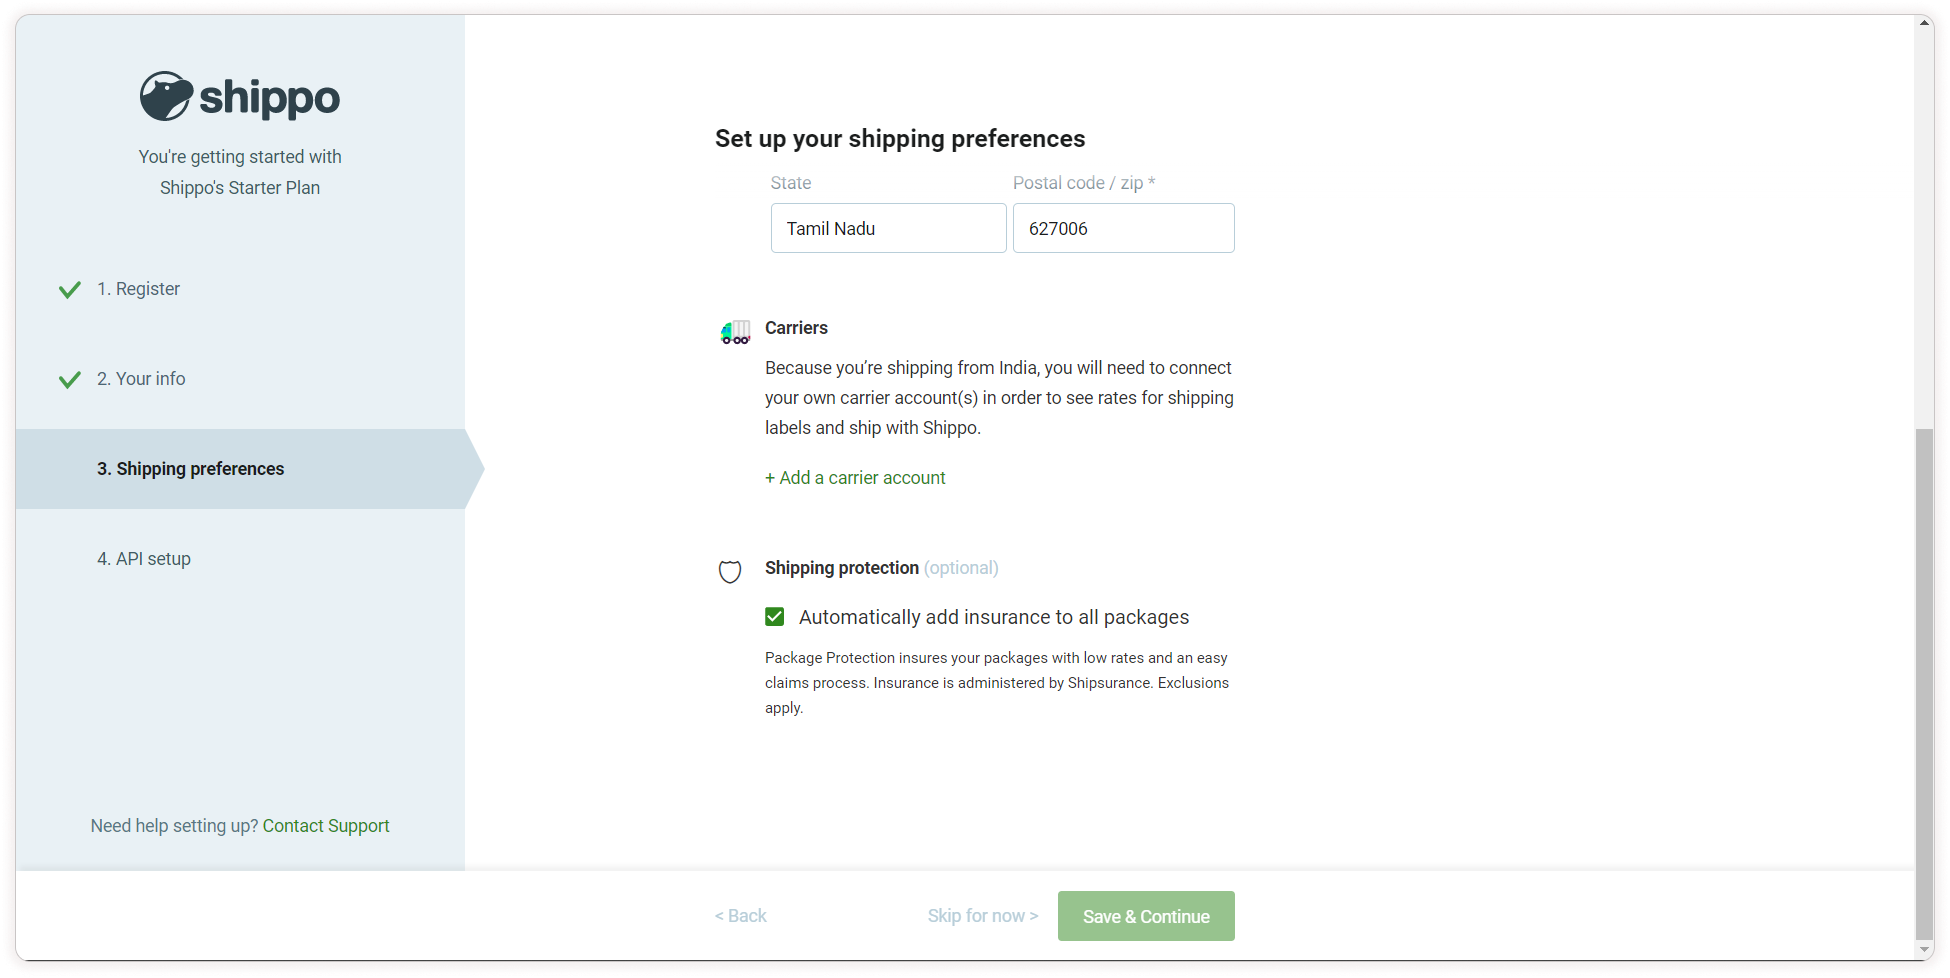
Step 4: Then fill in the shipping preferences details like your preferred Label Size for printing, Sender Address, etc.
Now you need to connect your own carrier account to see the shipping rates. So click on the Add a Carrier Account Link.
Step 5: You can connect to any of the listed carrier accounts.
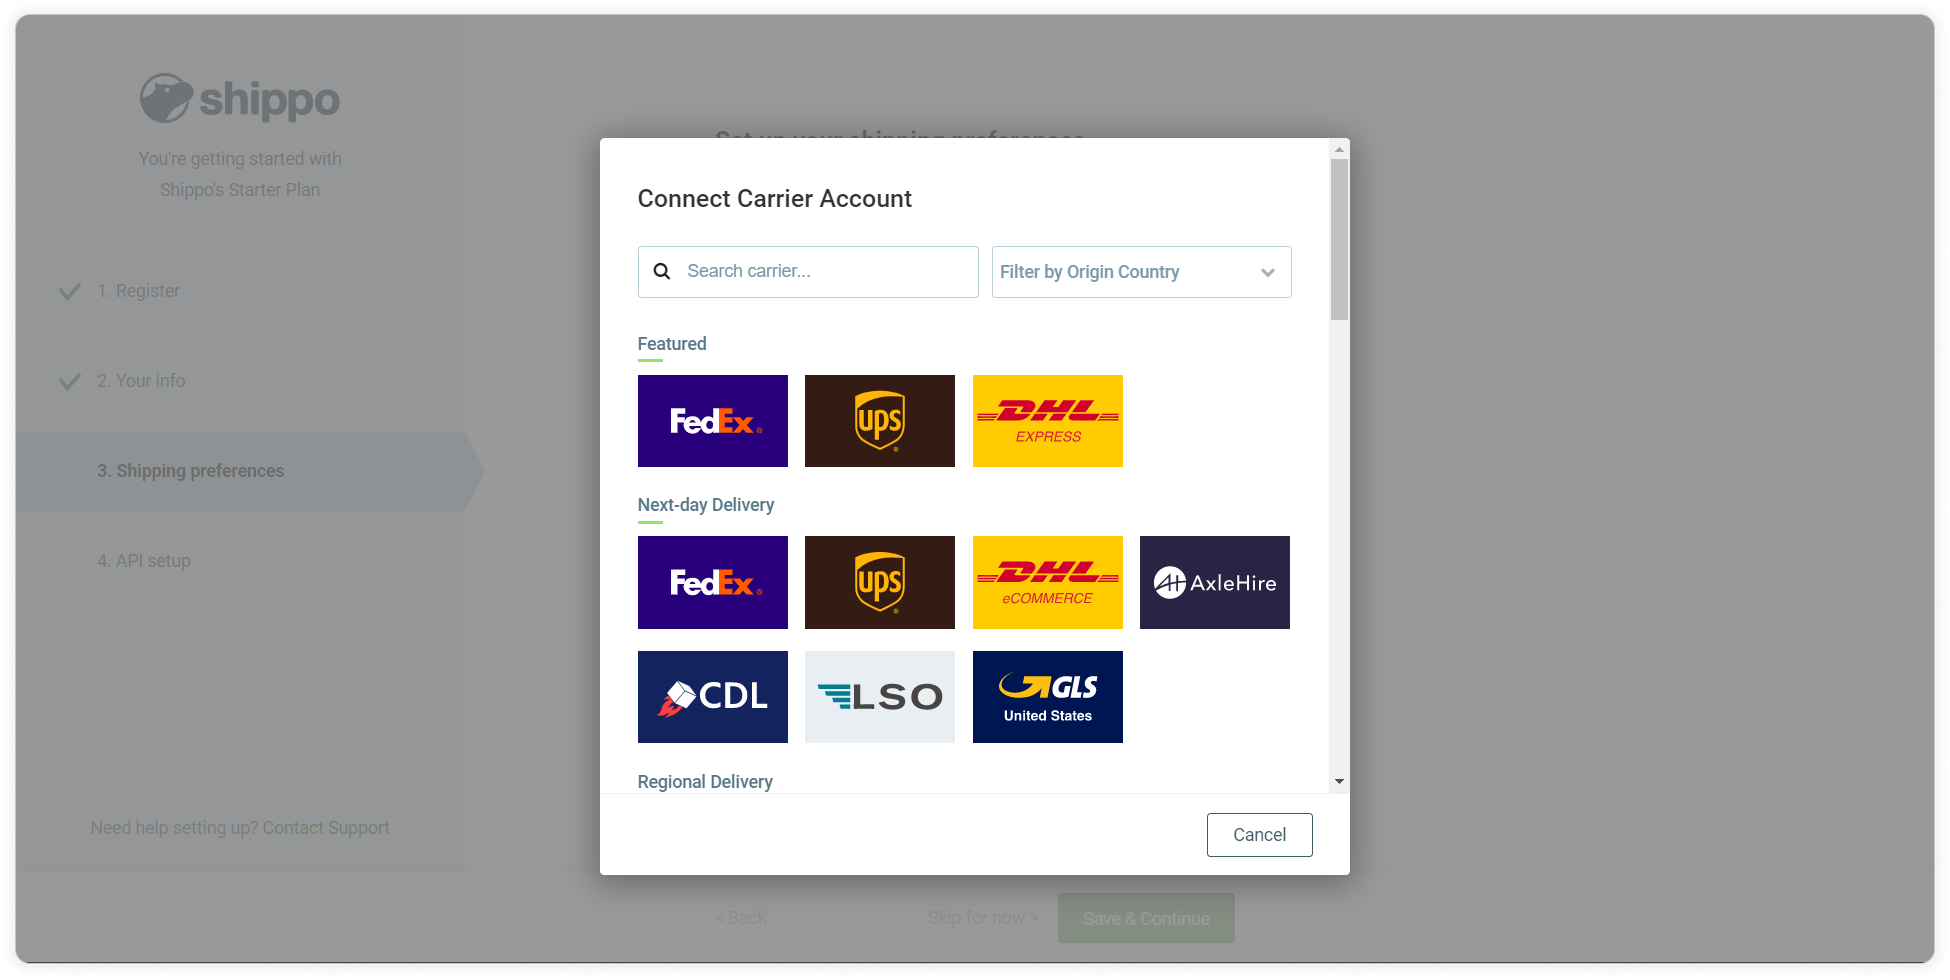
Step 6: Select any one carrier and fill in the details.
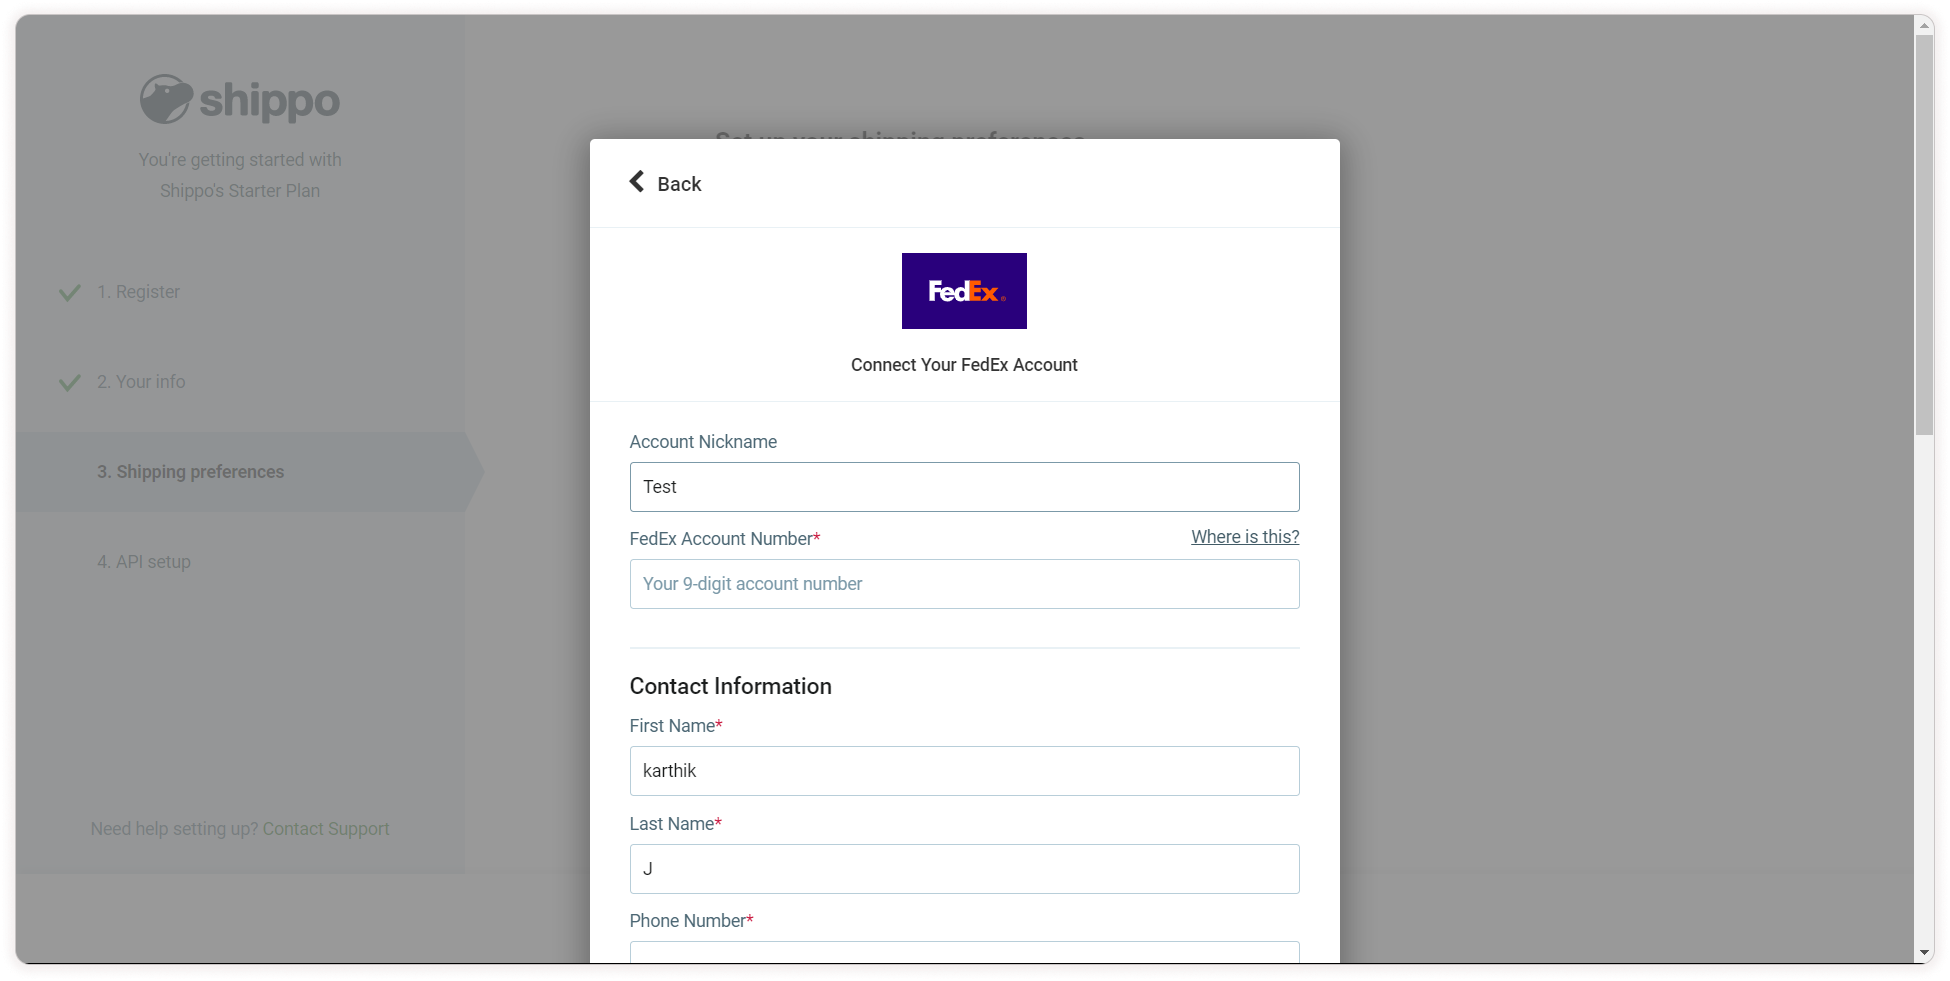
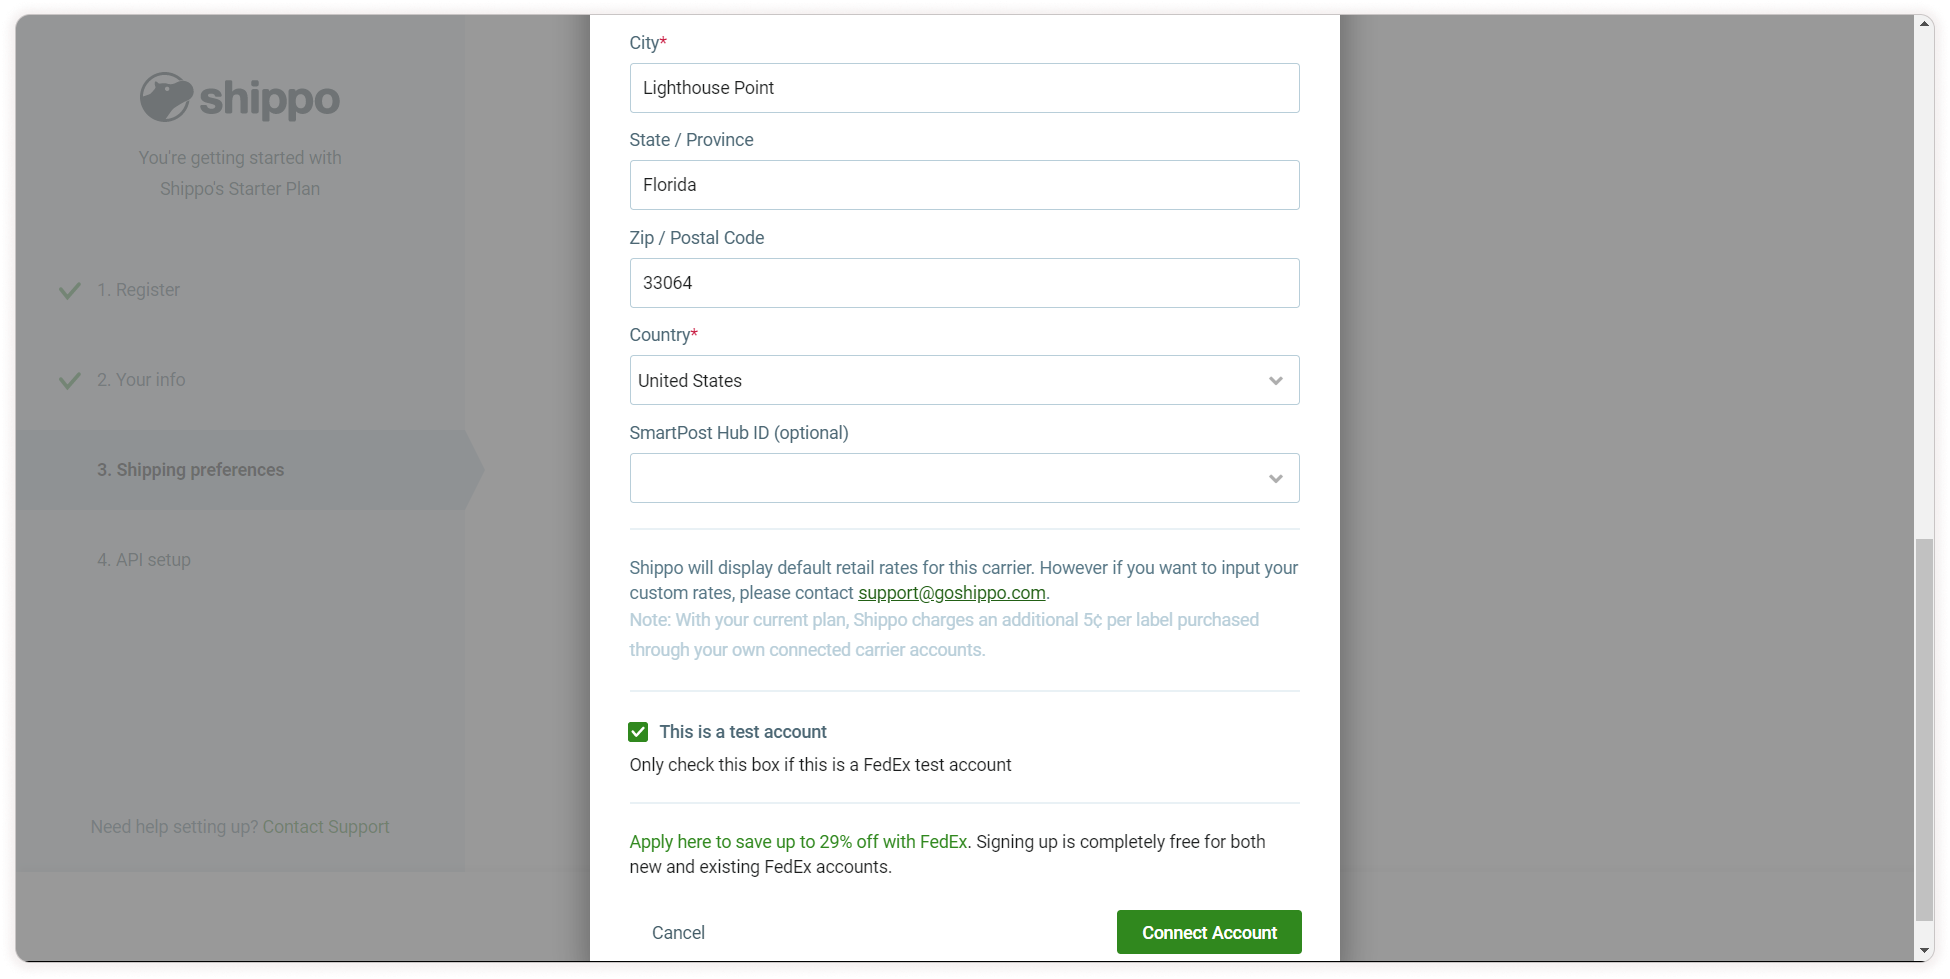
Step 7: Once done click on the Connect Account button.
Note:
- If the purpose of the account is for testing, then select the check box.
- Give a valid address based on the country and carrier account.
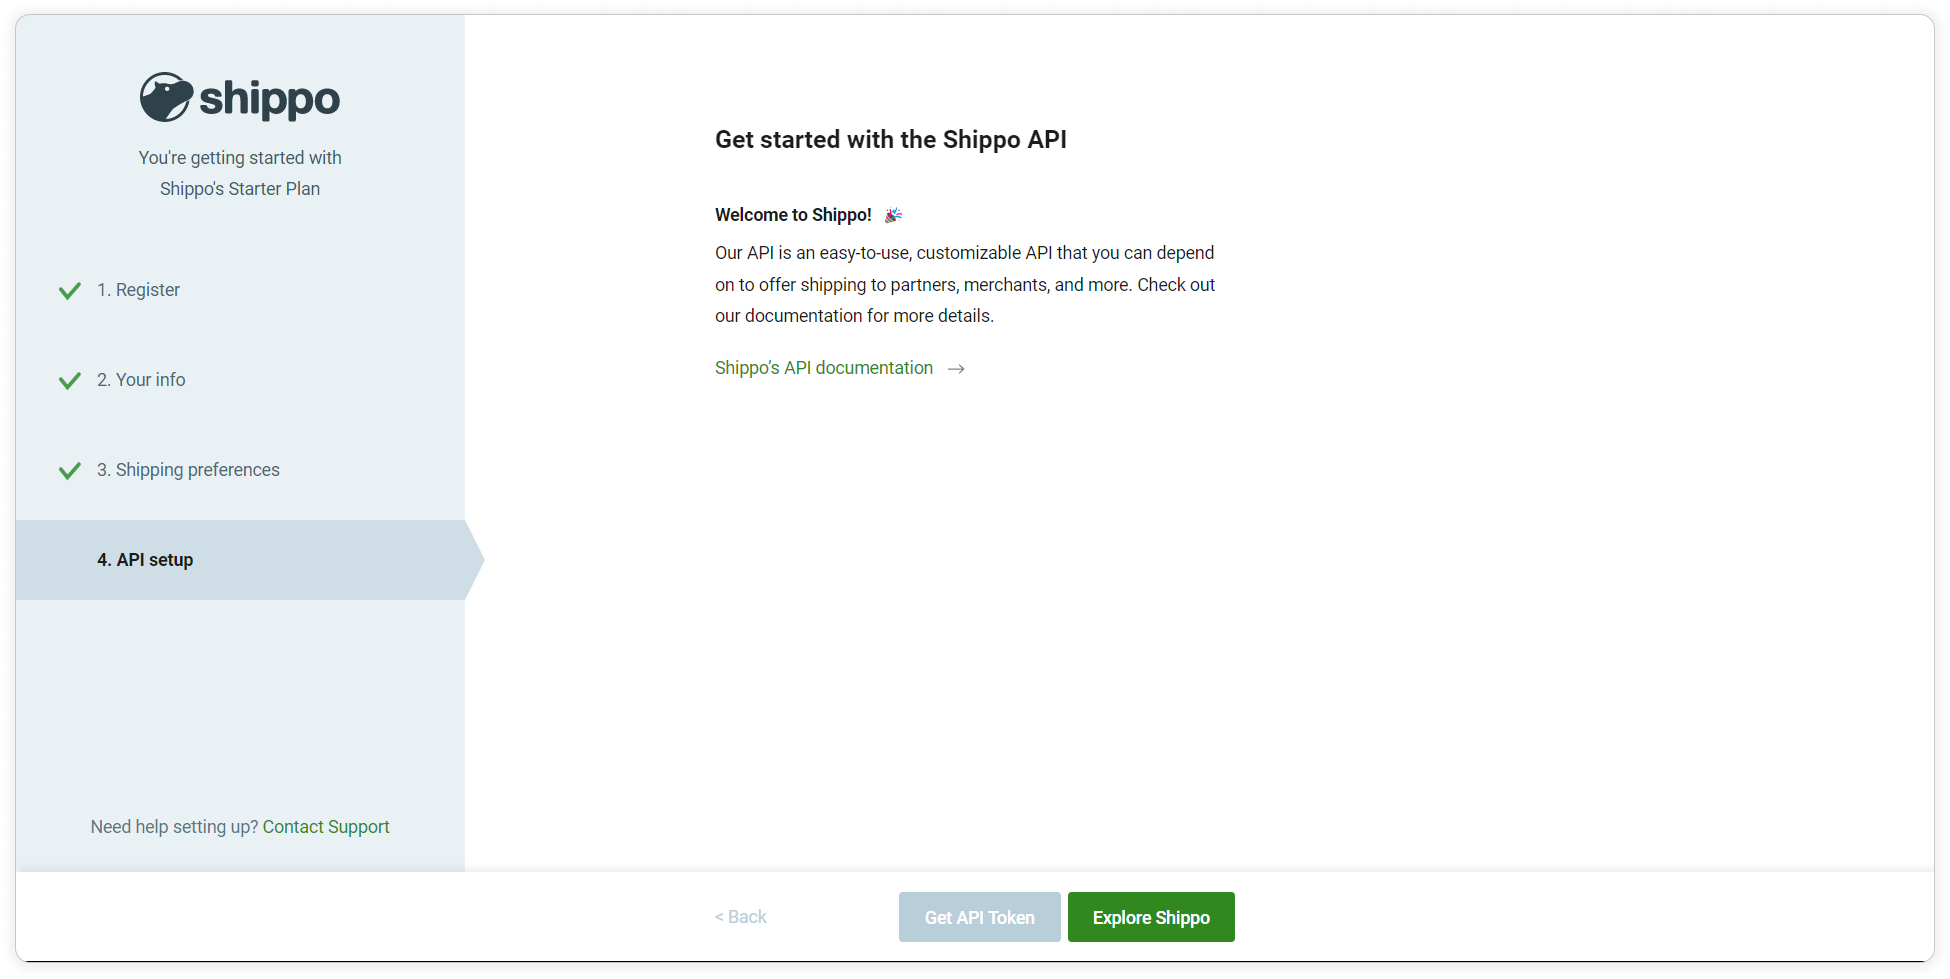
Step 8: The setup for Shippo is completed. Click on the Explore Shippo for Shippo API setup.
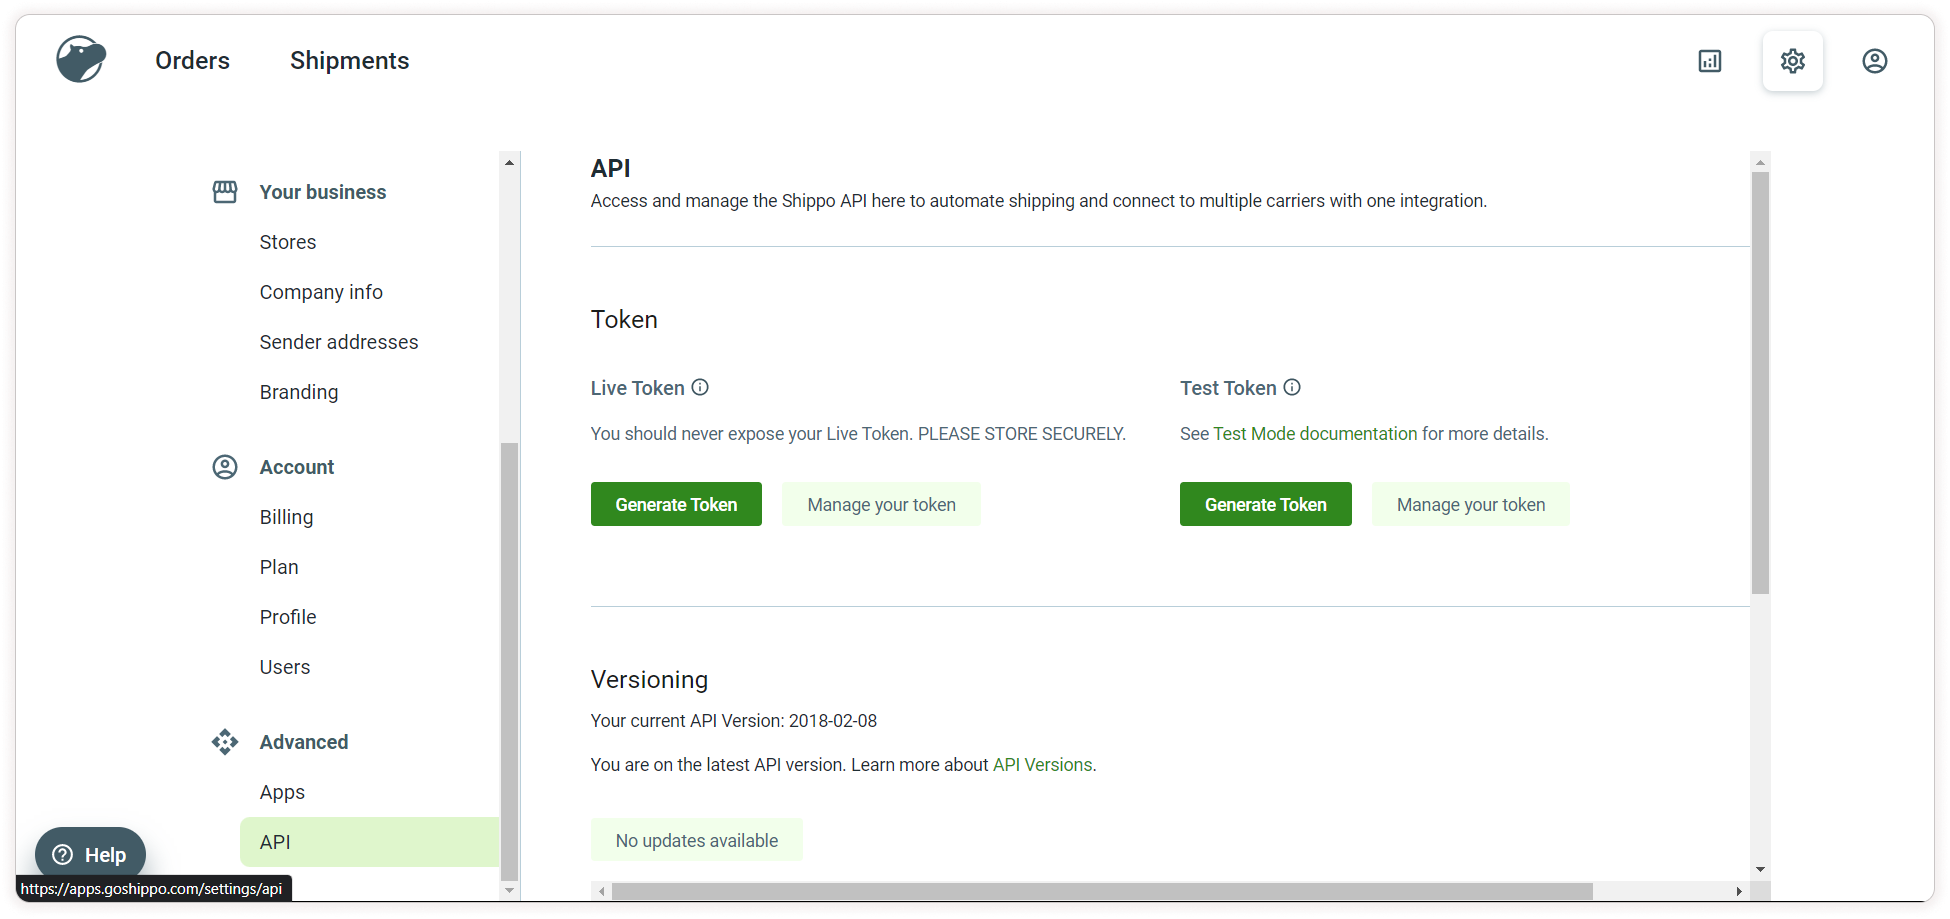
Step 9: Click the Settings icon on the top right corner and choose the API sub-menu under the Advanced menu from the control panel. Click on Generate Token to get the Shippo Token.
Step 10: After completing registration, if you want to add multiple carrier accounts, click on the Settings icon, and choose the Carriers sub-menu under the Shipping menu from the control panel.
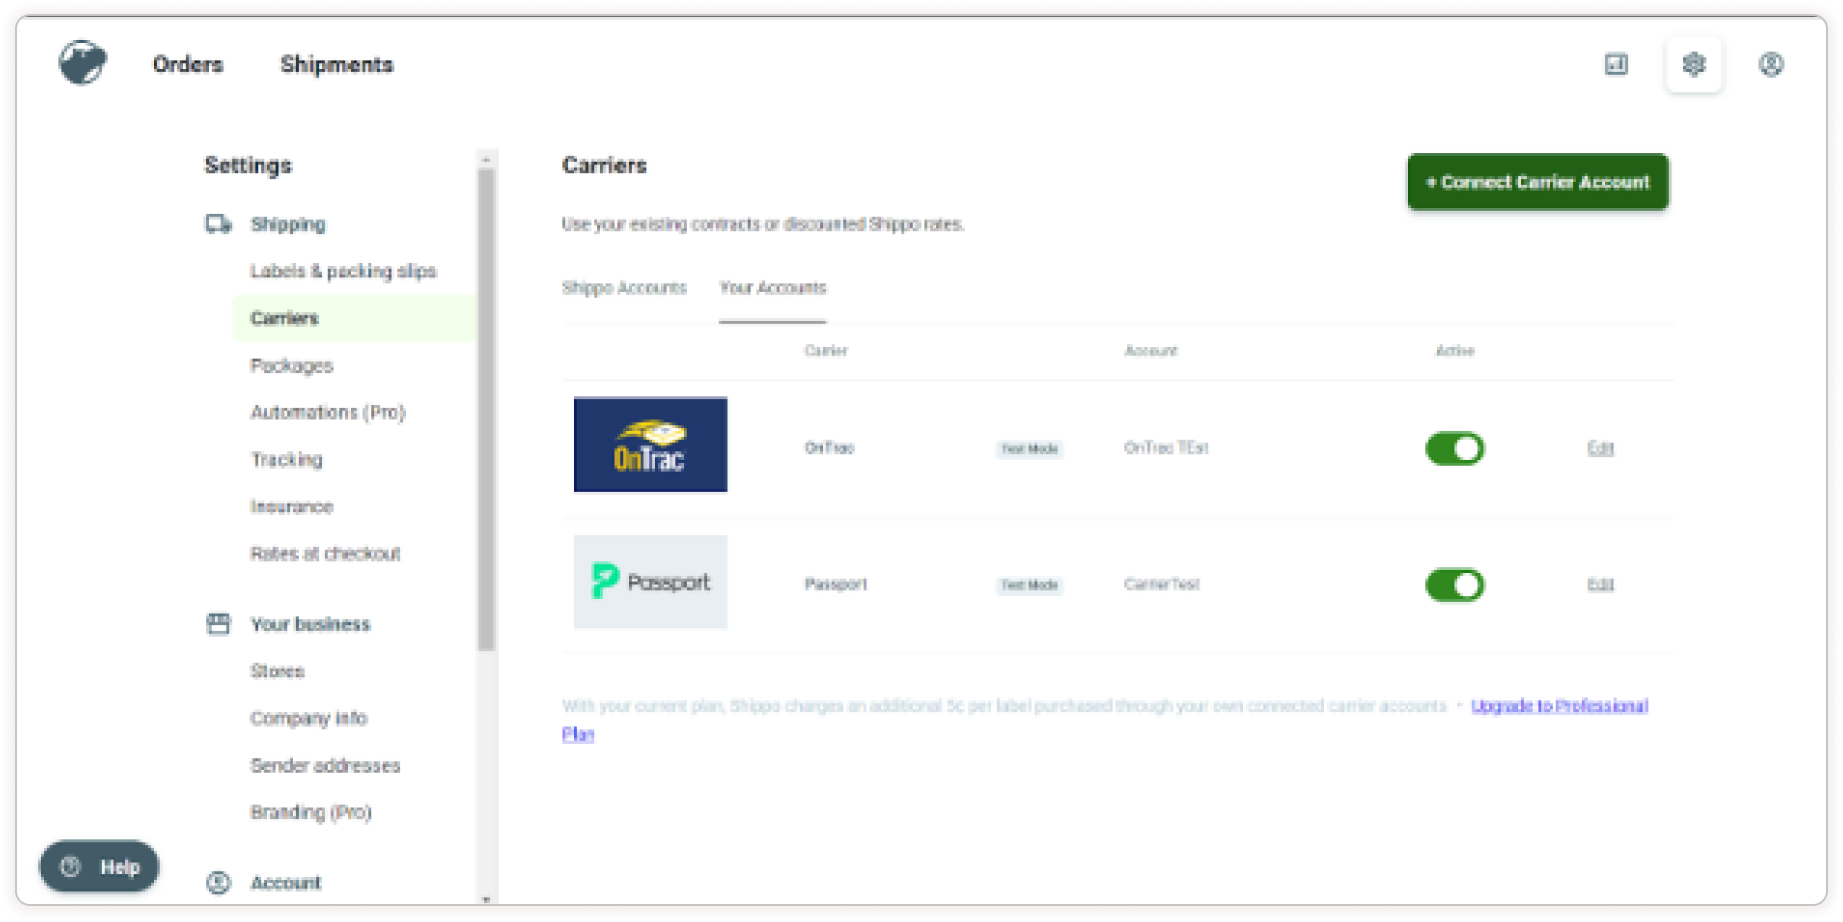
Step 11: Click Connect Carrier Account and add another account you want.
Step 12: Select one of the available carriers and provide the necessary details, similar to when you registered your carrier account.
How to Enable the Shippo Plugin?
To activate Shippo in your store, go to the Plugins menu and Select the Plugin List sub-menu. In the Plugins List, choose Shipping from the list of plugins, and then select Shippo or search for Shippo in the search bar. Click on the Activate Button Enter the Authentication Shippo Token (Refer to Step 9) and click on Save. Your plugin gets enabled successfully.

How to View the Shippo Orders?
-
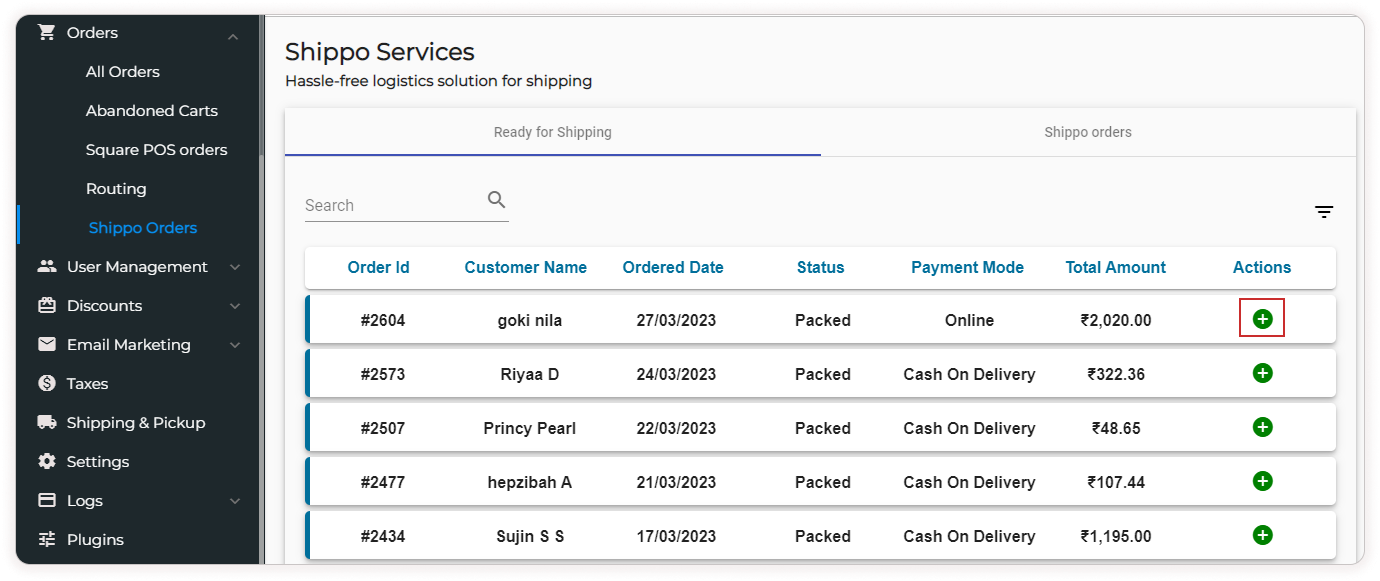
In the Orders menu, click on the Shippo Orders.
-
In the Ready for Shipping tab, a table contains all the packed orders.
-
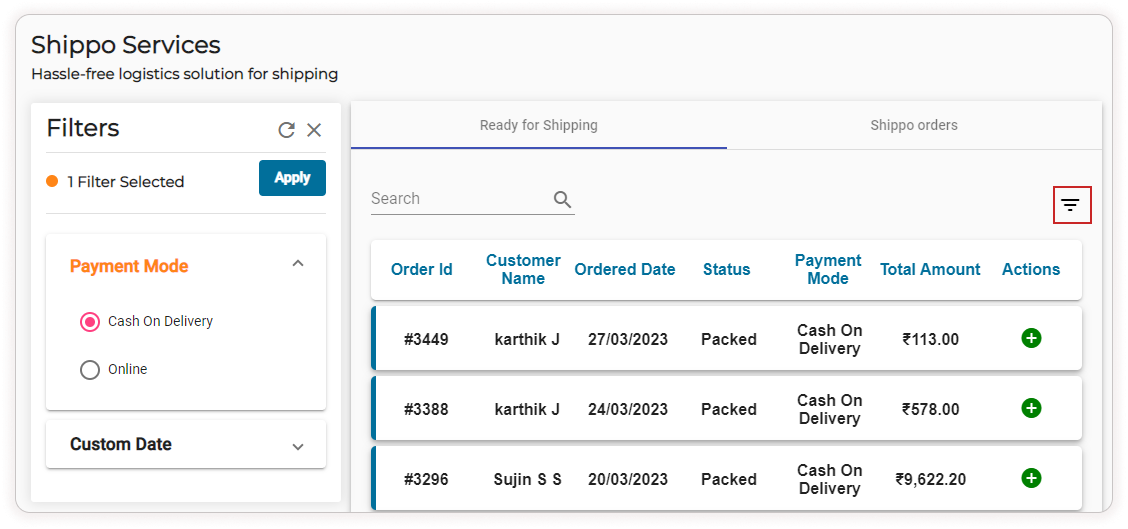
Click on the filter icon to filter the order list based on payment mode and custom date. Click on Apply.
-
Click on the Add symbol to add the shipping details.
-
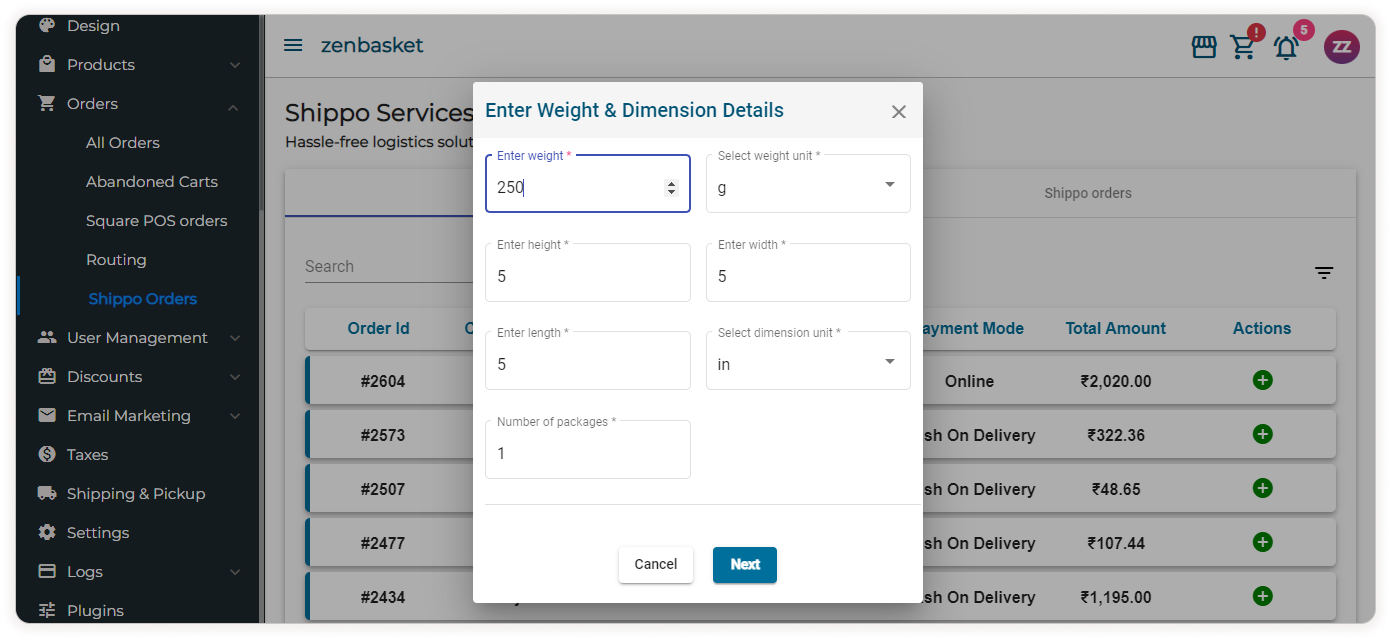
Enter the Weight, Height, Length, Number of Packages and Width. Select the weight unit and the dimension unit. Click Next.
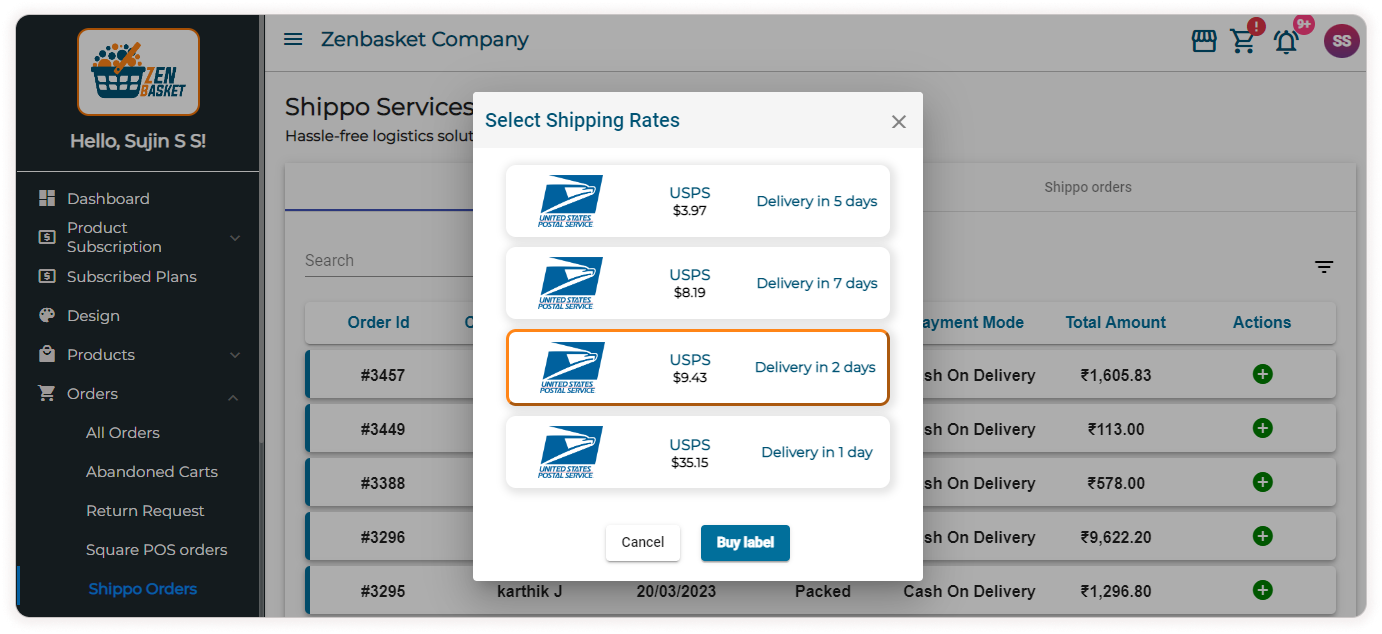
-
Choose the Shipping rate from the list and click Buy Label.
-
The order gets moved to the Shippo Orders tab.
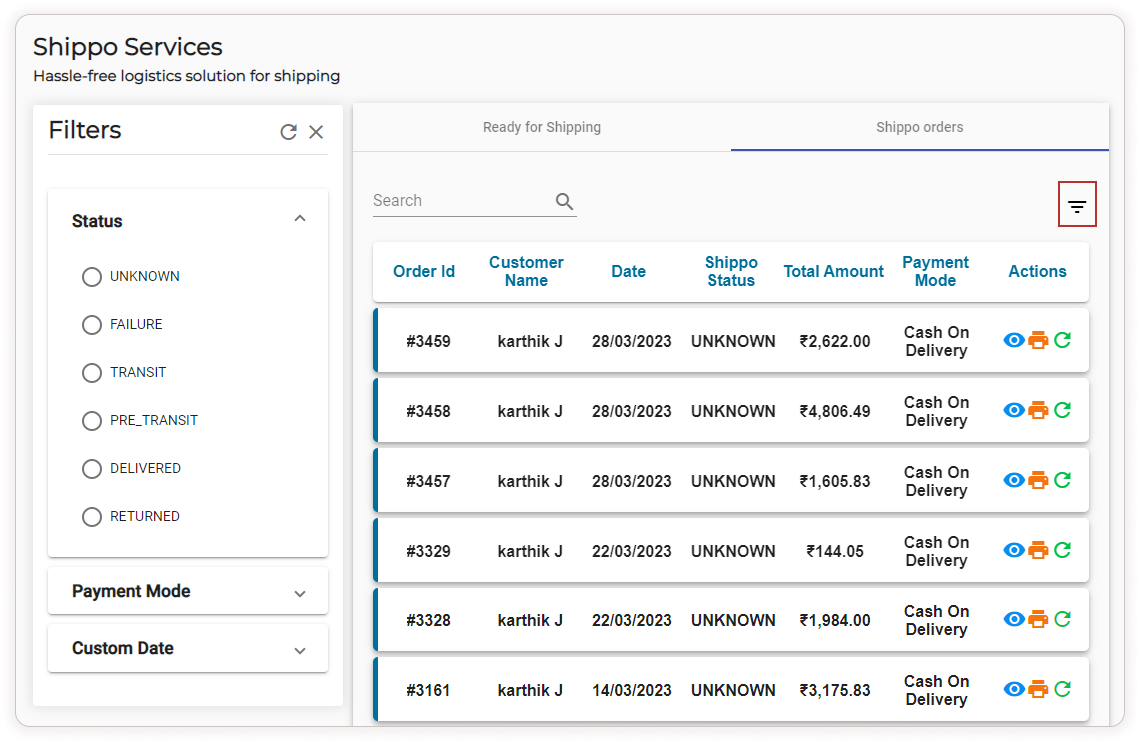
-
Click on the Filter icon to filter the orders based on status, payment mode and custom date.
Shippo Status
Possible values for status and description are available below.
| Status | Description |
| PRE_TRANSIT | The label is created before the package is dropped off or picked up by the carrier |
| TRANSIT | The package has been scanned by the carrier and is in transit |
| DELIVERED | The package has been successfully delivered |
| RETURNED | The package is en route to be returned to the sender or has been returned successfully |
| FAILURE | An issue with the delivery. This can happen for various reasons and depends on the carrier. This status does not indicate a technical, but a delivery issue |
| UNKNOWN | The package has not been found via the carrier’s tracking system |
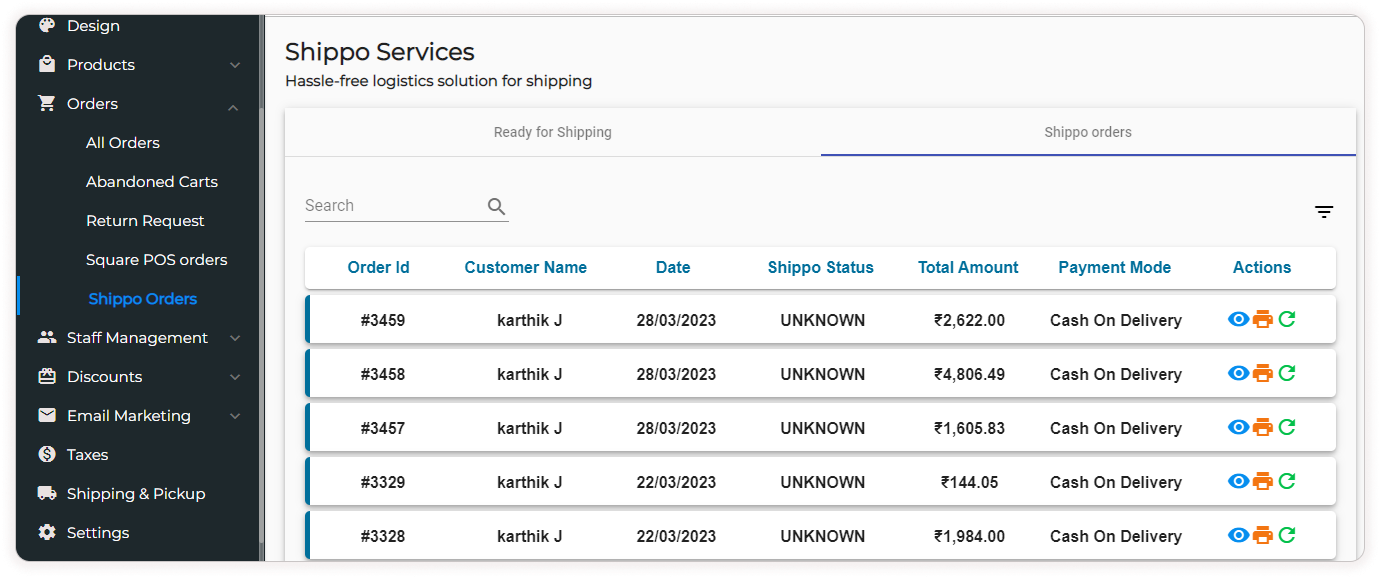
-
In the Shippo Orders tab, click on icons under action to carry out processes like view the current status, Print the Shipment Label and Refresh.
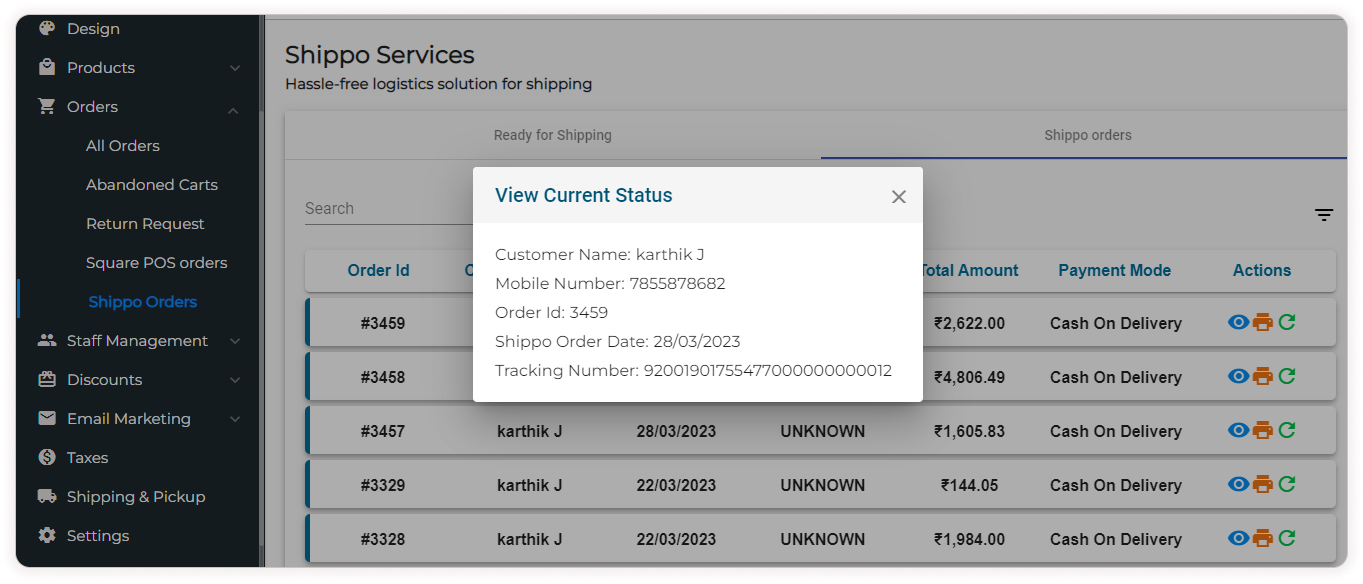
-
Click on the View icon to view the current status of the order.
-
Click on the Print icon to print an invoice that consists of details like seller address, shipping address, courier name, ship date and weight. This can be used for shipment labeling.
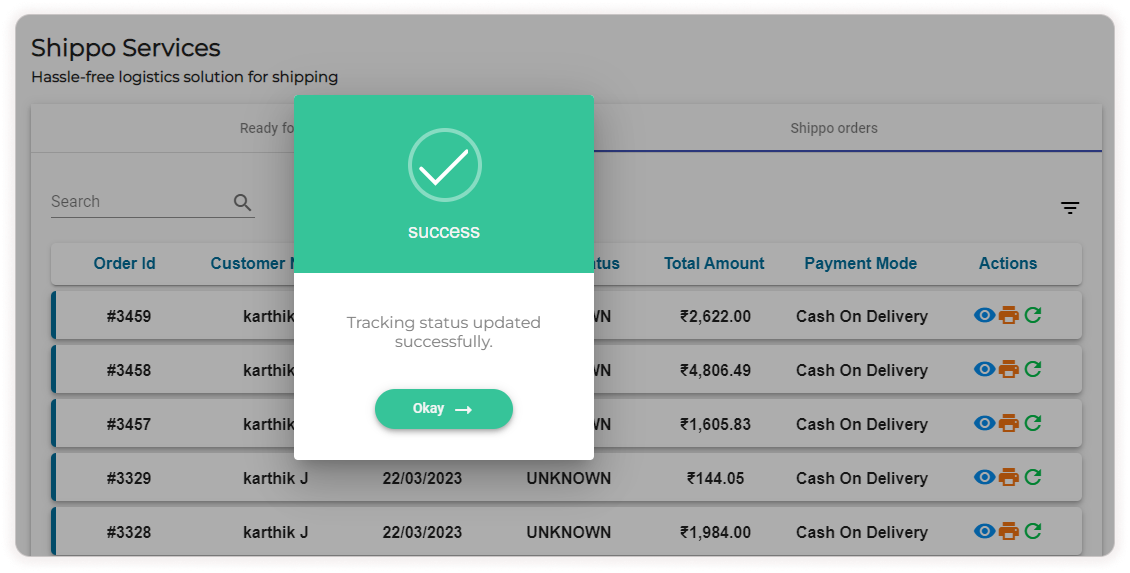
-
Click on the Refresh icon to update the tracking status.
Video Tutorial