
Note : This article is written with a new user in concern and hence the process begins with registering. You can skip to section three directly if you are a previous ZenBasket User.
1. Start with Sign Up.
As you initially Sign up with ZenBasket, by default, you get started with a subdomain for your shop. For example, say your shop name is Epic Ranger then your initial site will be getzenbasket.epicranger.com.
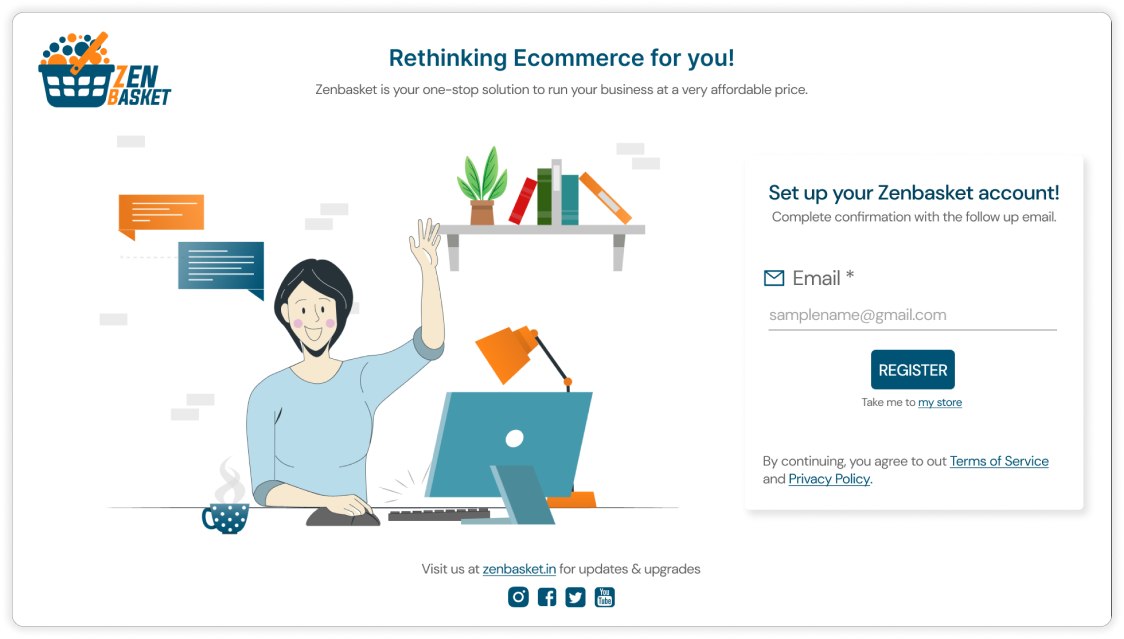
Enter your business mail id and Register your store. You can also register using your google, Facebook or Apple accounts.
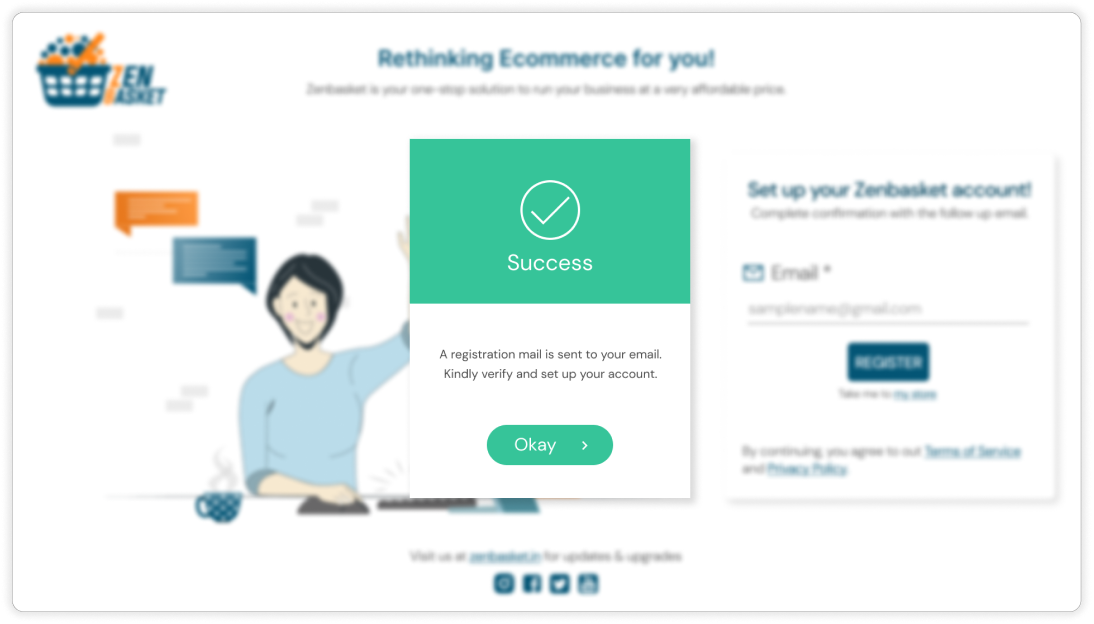
Once registered, you will receive a mail with a link to Setup & Update your account information.

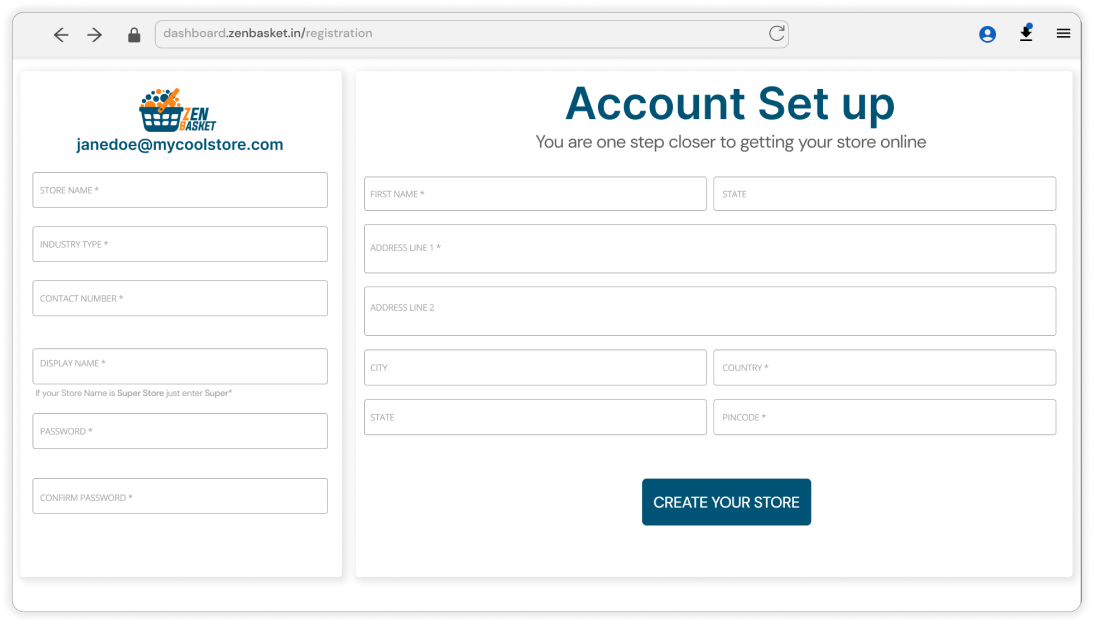
2. Setting Up your Store
Enter details like the Store Name, Industry type, Contact Number, and Address. The required details are marked with an asterisk * to help you identify them.
Once registered, Sign-In and select the plan of your choice to continue.
After completing the payment, you will be taken to your Dashboard.
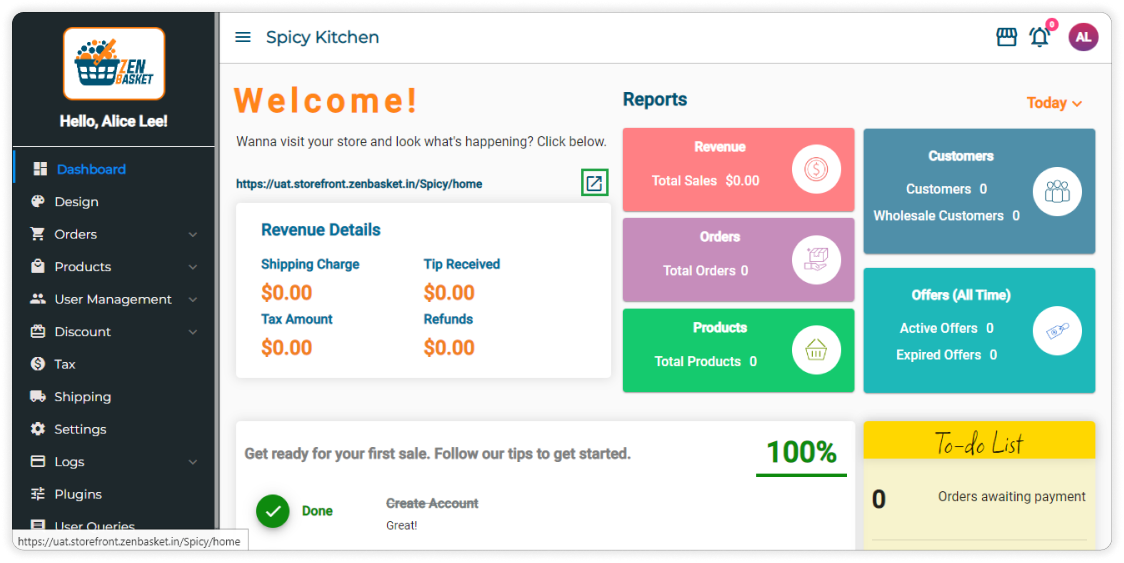
The Section above the Revenue Details Card displays the subdomain that has been generated for your store with ZenBasket. If you intend to run your store as the main domain you can configure the same in a few simple steps.
3. Domain under Business Settings
Business Settings
Business Settings consists of three Sections - Order Settings, Product Settings and Announcement settings.
Order settings allow you to set the Handling fees, restrict order amount, set hold amount for orders and allows user to edit orders.
Product Settings helps customize category order, set Ribbon, Enable/Disable Product Instructions, and set wholesale pricing and deposit fees.
Announcement Settings allows customizing and publishing announcements that are displayed on the store.
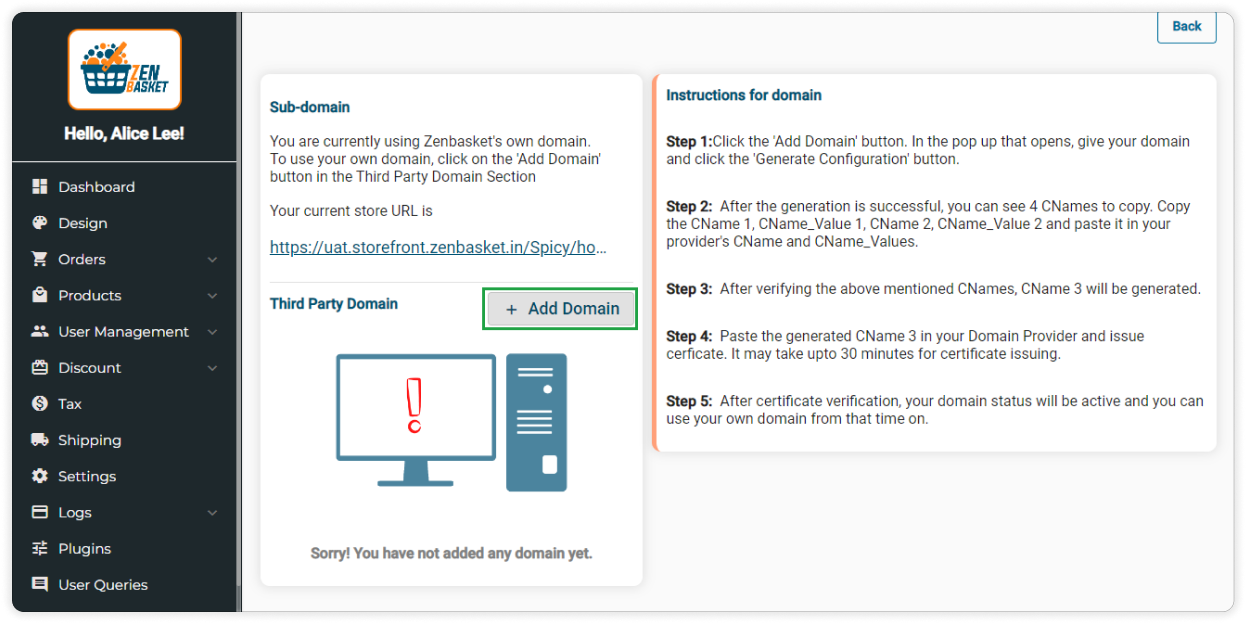
If you prefer to change your subdomain as the main domain or SetUp your own domain with ZenBasket you can do so by clicking on
Settings » Business Settings » Domain Configuration.

In the new screen, you can check your current store URL and if you intend to set up a new domain you can do so by clicking the Add Domain button.
Note : Currently ZenBasket does not provide Domain Name Services. Kindly purchase your Domain from recognised Domain service providers.
In the new pop-up screen paste your Domain name.
Note : Currently ZenBasket does not provide Domain Name Services. Kindly purchase your Domain names from recognised service providers.
Type your preferred subdomain excluding the HTTP & HTTPS. For example, if you prefer to open a subdomain for your treats shop it might be pop.treats.com
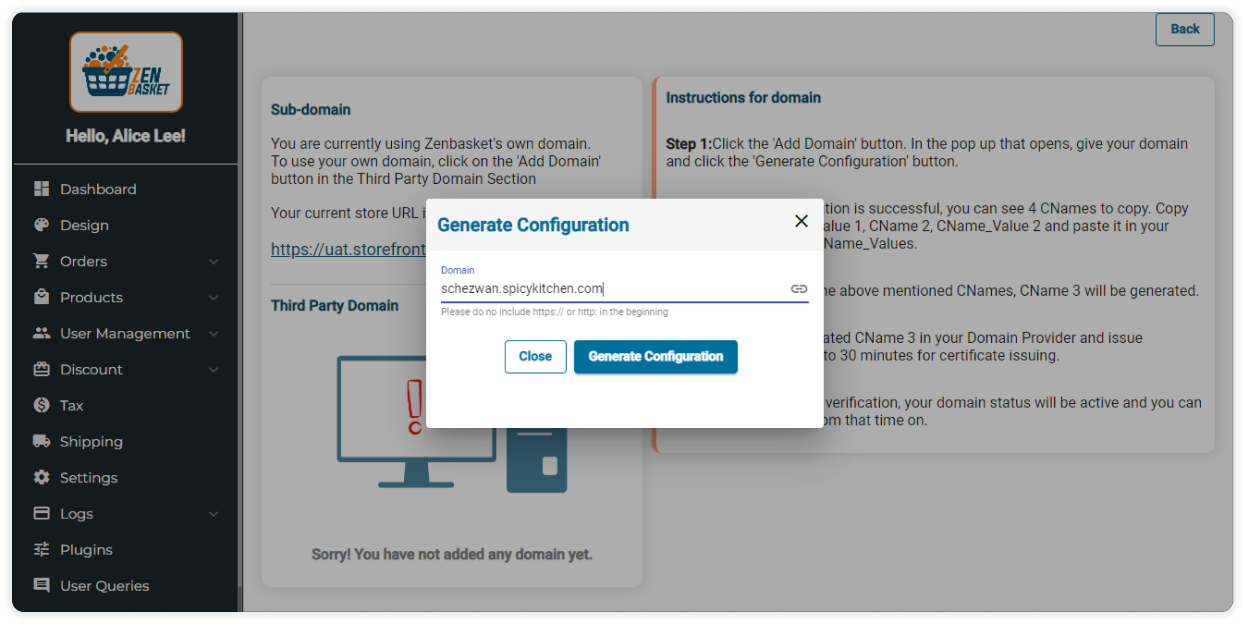
And clicking on Generate Configuration creates your CNAME tags.
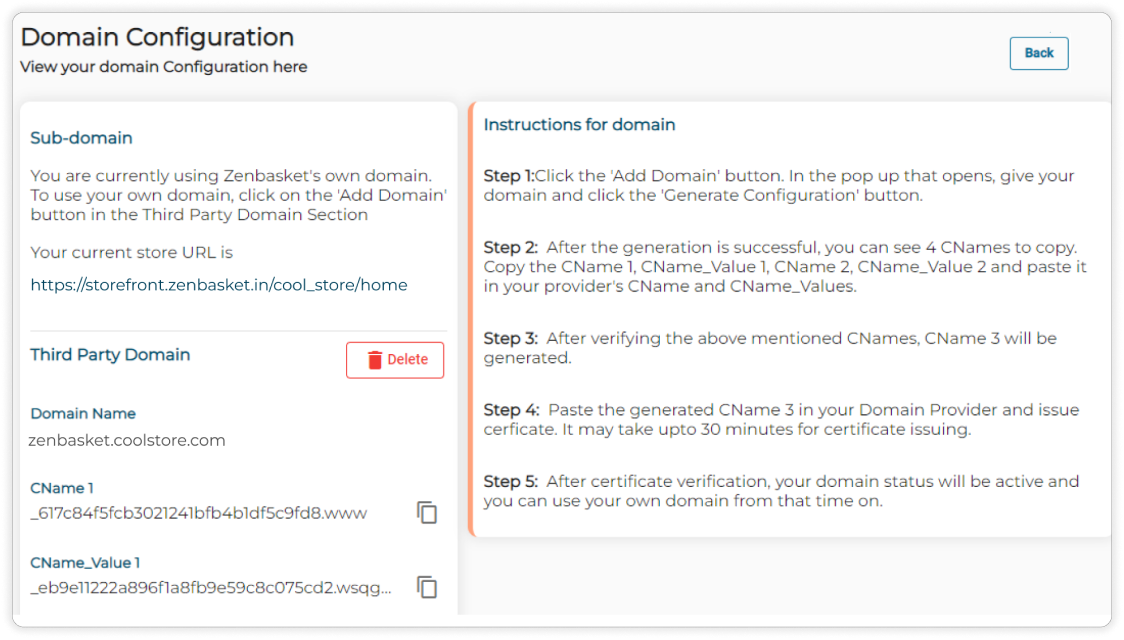
CNAME records are essential to map the hosting domain and sub-domains such as WWW or HTTP and their variants and aliases to the main domain name.
Once your CNAME versions and values are created, copy and paste them with your domain service provider’s DNS settings to complete the configuration process.
Note : This process varies in accordance with your choice of Domain Service provider. If you have issues talk to our team to help you with your issue
Video Tutorial