
OAuth Client ID
The OAuth Client ID allows users to sign in with Google, facilitating secure authentication and access to user data across applications.
To create an OAuth client ID
-
Visit the link google could console and log in to your account.
-
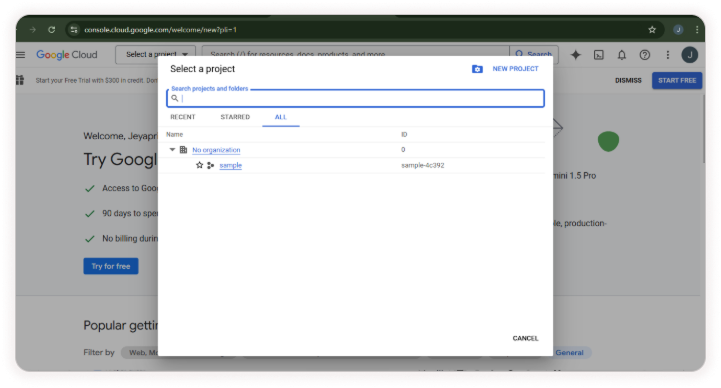
If you already have a project, move to the next step. If not, create a new project first.

-
To create a project, click Select a Project, then click New Project.
-
Enter the project name and click the Create button. The project will be created.

-
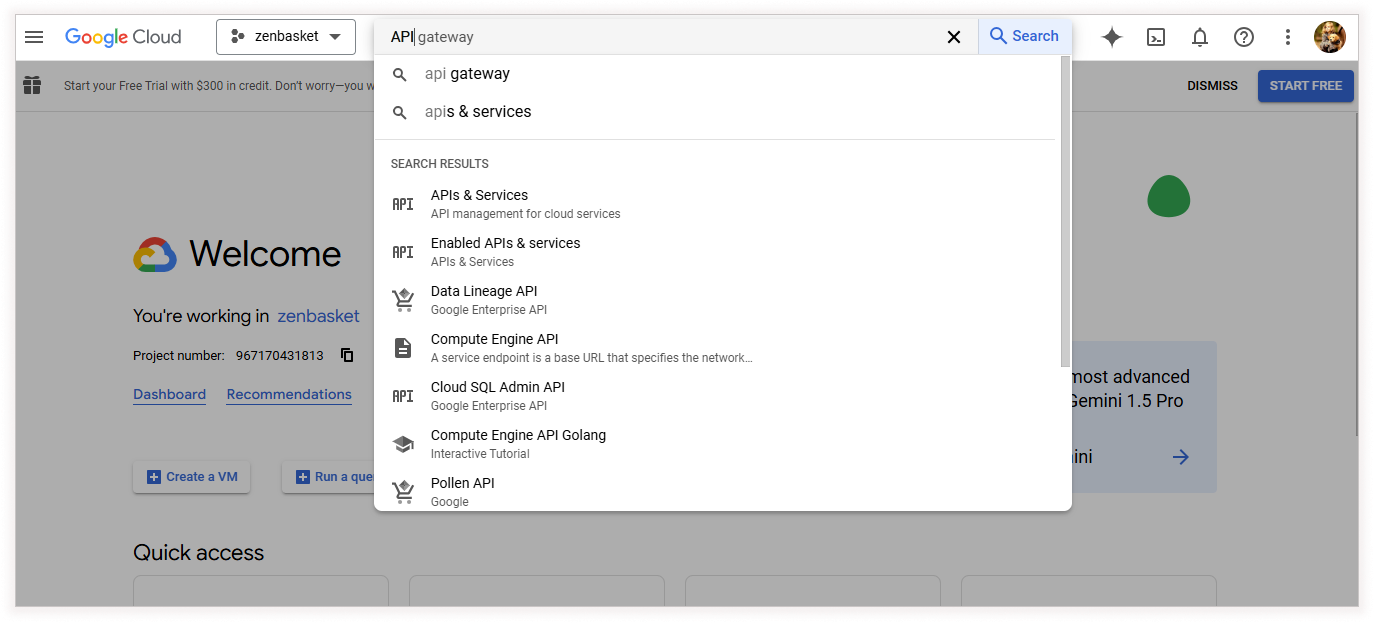
Then, select your project and navigate to APIs & Services by searching for it in the search bar.
-
Go to the OAuth consent screen and click the Get Started button


-
Provide an App Name and User Support Email, then click the Next button. Select the External option and click Next again.


-
Enter the Email Address in the contact information section, then click the Next button.
-
Next, read and agree to the User Data Policy, then click the Continue and Create buttons.
-
The OAuth configuration will be created.


-
Then click the Create OAuth Client Button. In the Application Type dropdown, select Web Application.


-
Add the ZenBasket domain or your custom domain in the Authorized Redirect URIs section. If the URI is www.example.com, include both www.example.com and example.com.
-
Ensure that the redirect URI ends with a “/” (slash), as shown in the example Eg: https://www.example.com/
-
Then, click Create to generate the OAuth Client ID.

Or

-
Go to the Audience page, click the Publish App button, and confirm your action to publish the app.


-
Copy the Client ID from the Clients page.

Note: Instagram does not support Google Sign-in. Copy the link and open it in a different browser.