
FedEx Orders
How to Integrate FedEx with Your ZenBasket Store?
The ZenBasket platform allows you to integrate with various shipping carriers to facilitate easy and efficient order fulfillment. This guide will help you set up FedEx Shipping Integration on ZenBasket.
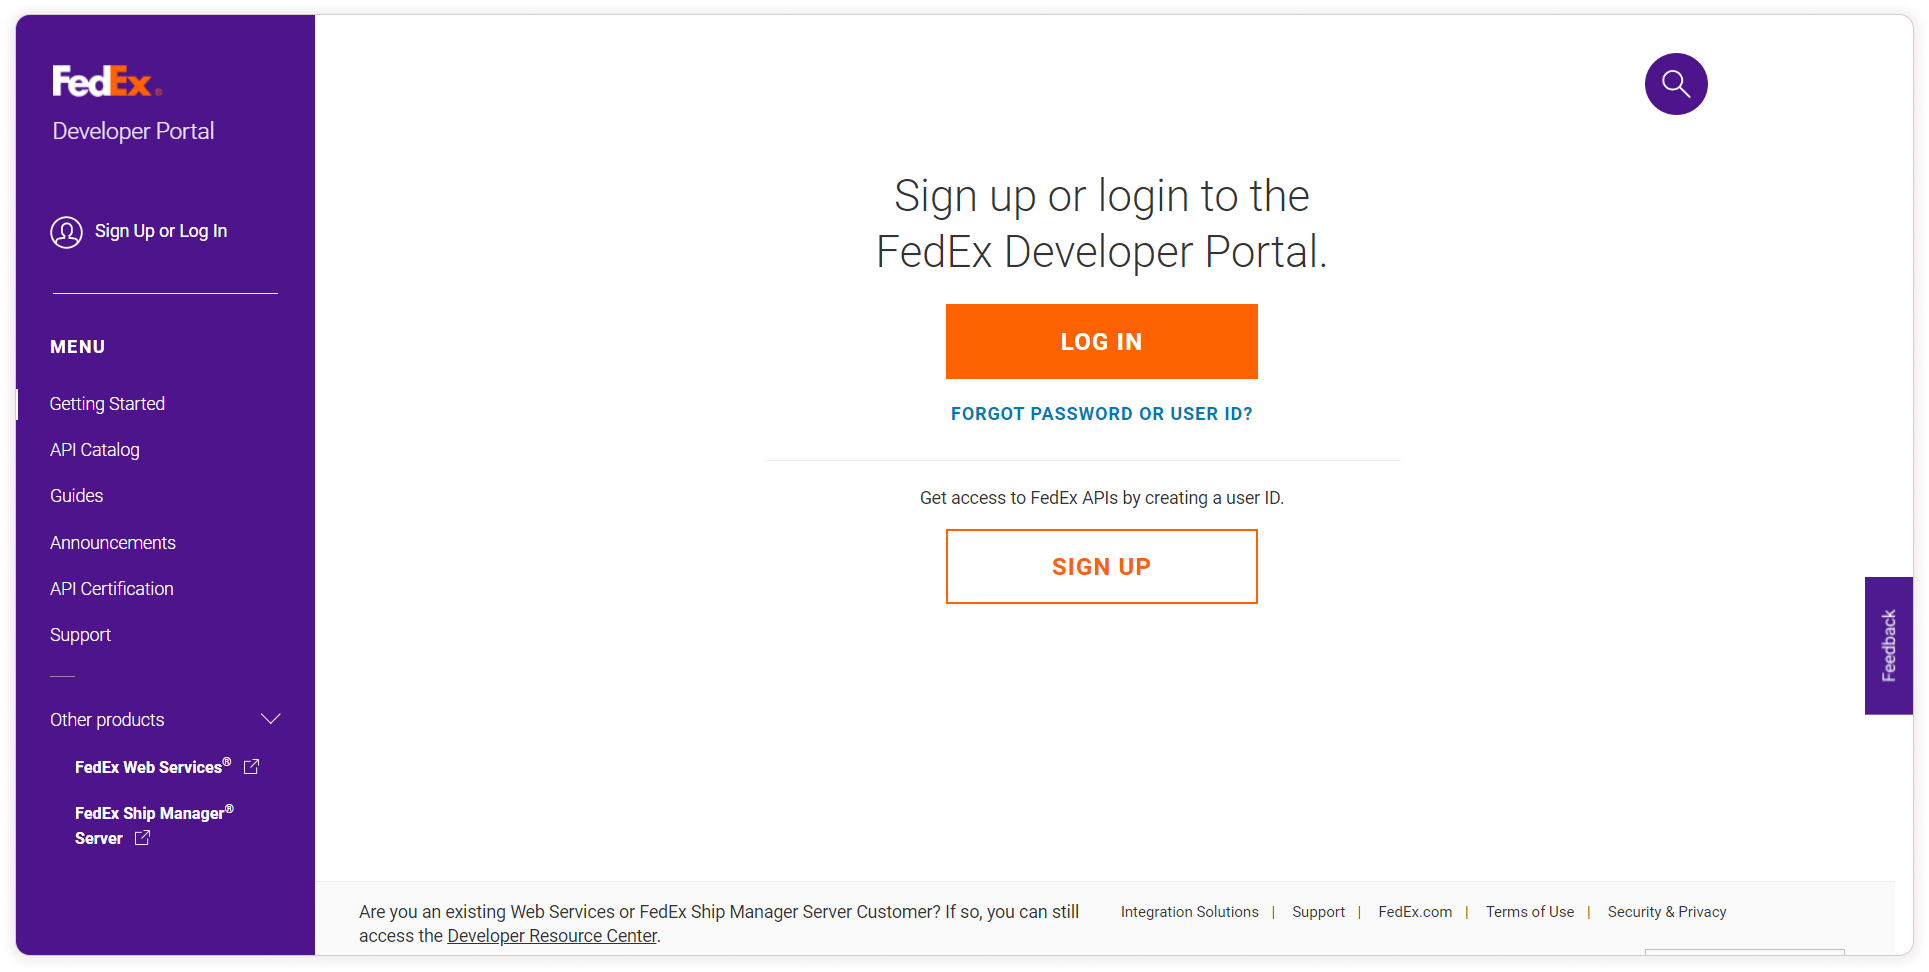
Step 1: Sign up for a FedEx Developer Account
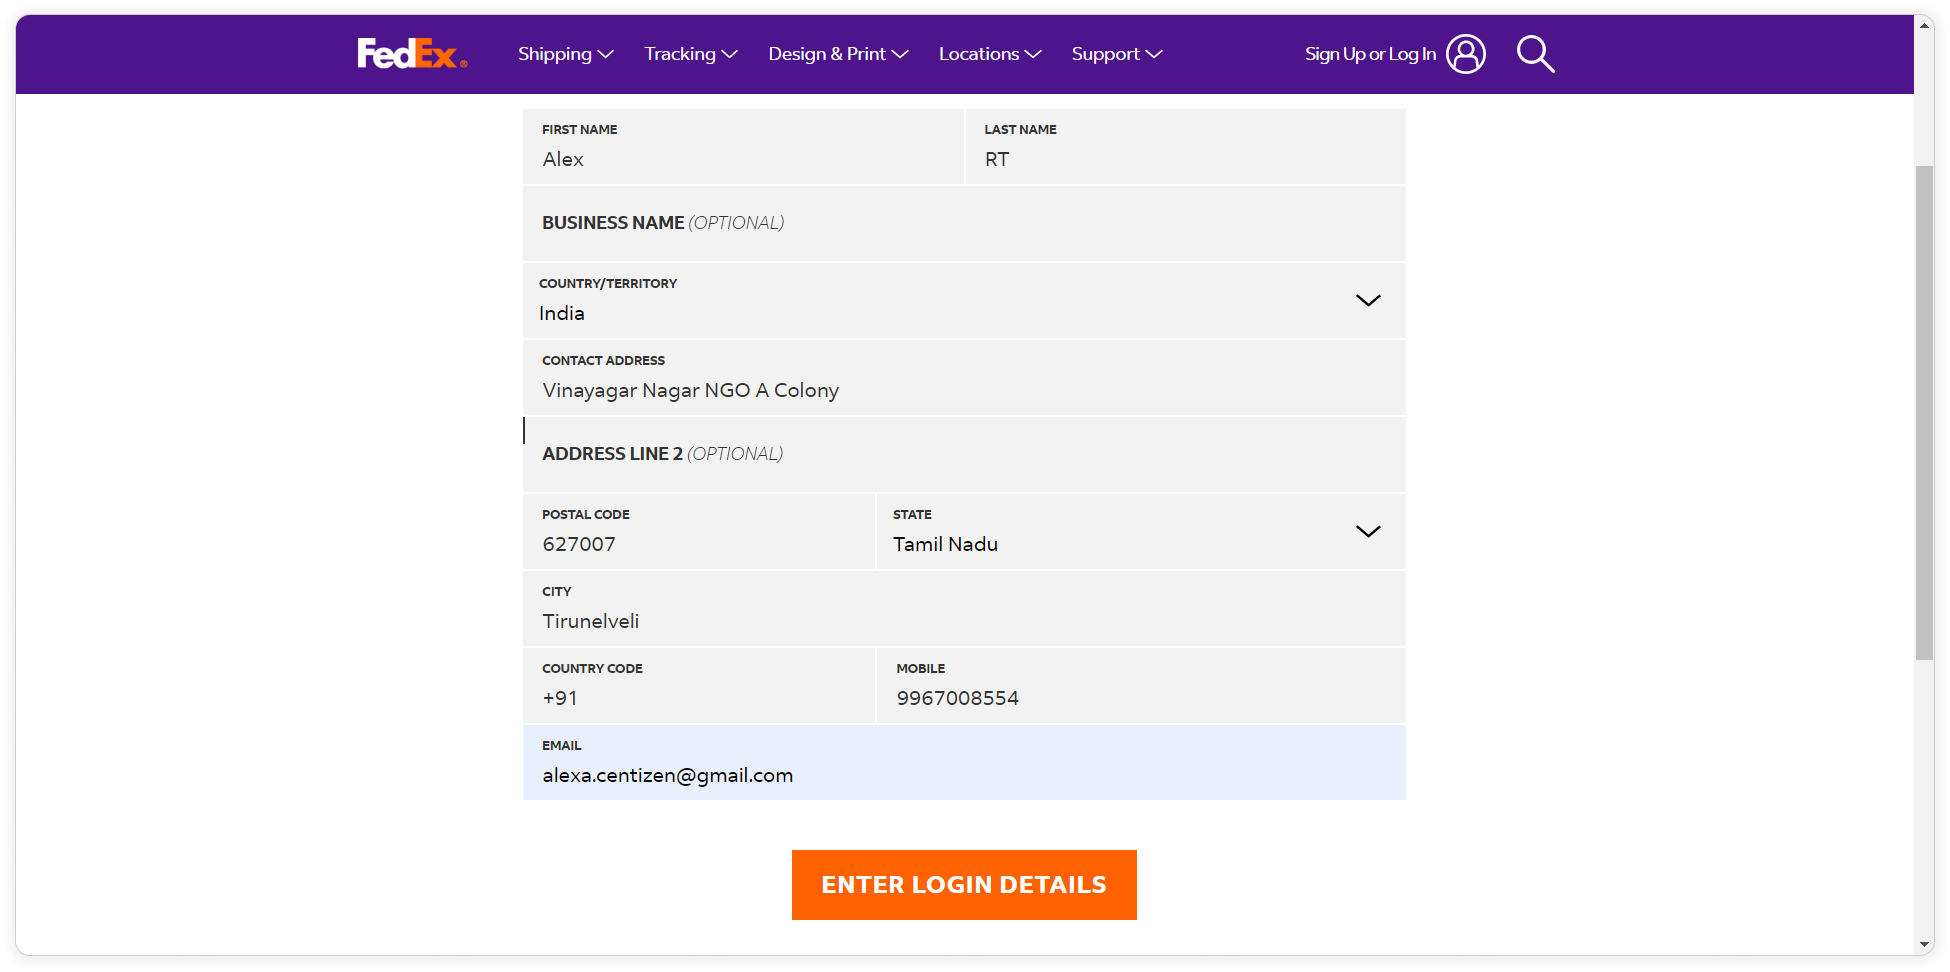
To get started, go to the FedEx Developer Sign Up page at https://developer.fedex.com/api/en-in/home.html. Fill in the required details to sign up for a developer account.
Step 2: Create a User ID
Once you have signed up for a developer account, you will be prompted to create a user ID.
To use your email address as the user ID, choose Use my email as my User ID radio button.
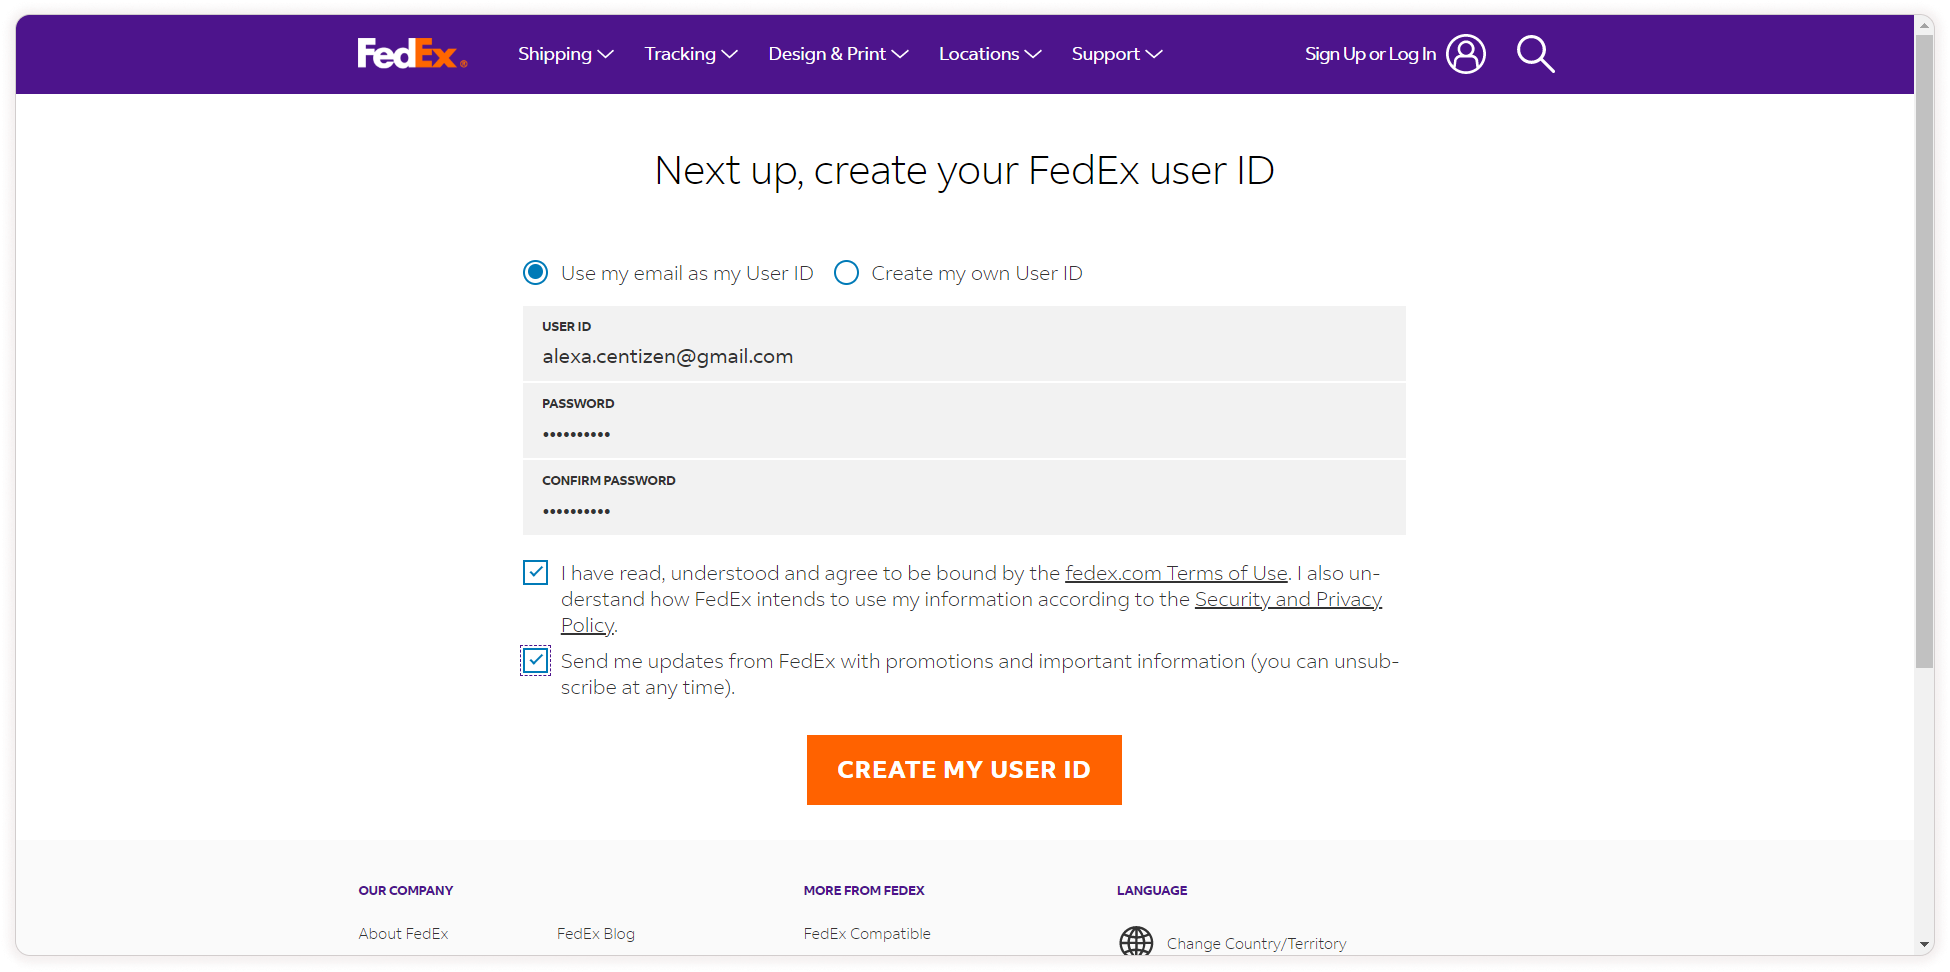
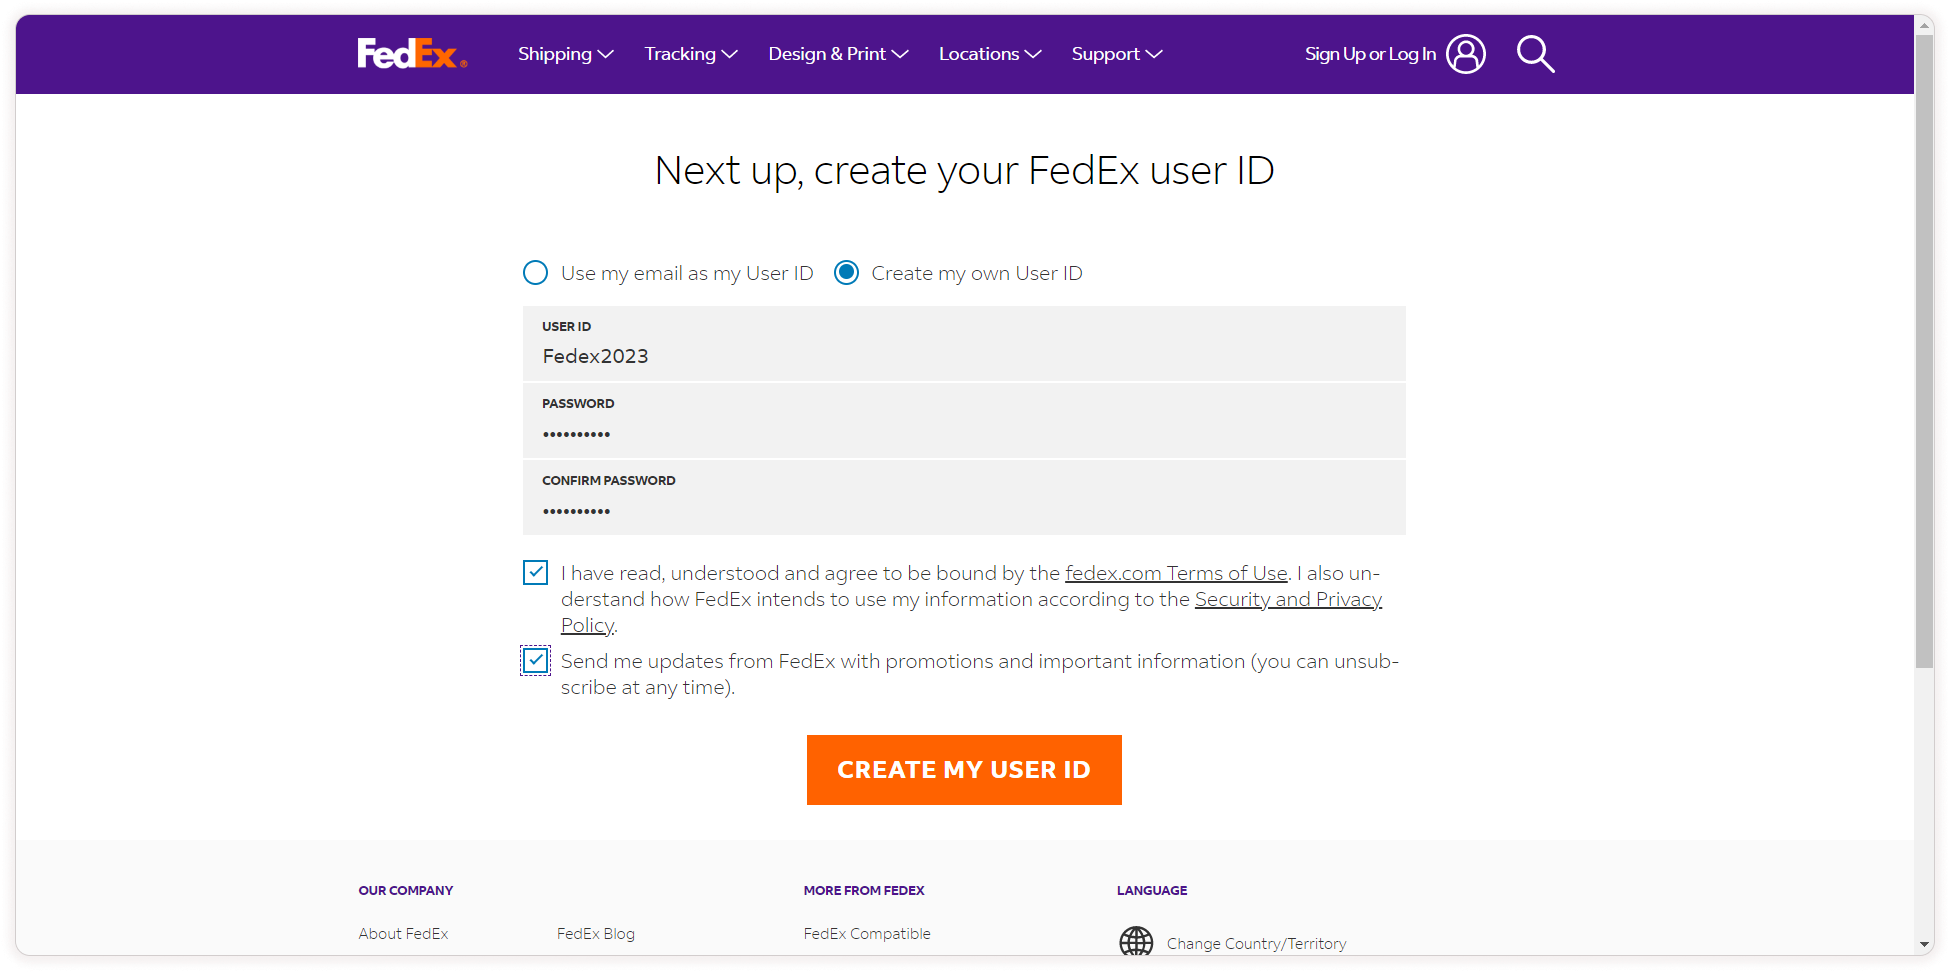
To create your own User ID, choose the Create my own User ID radio button.
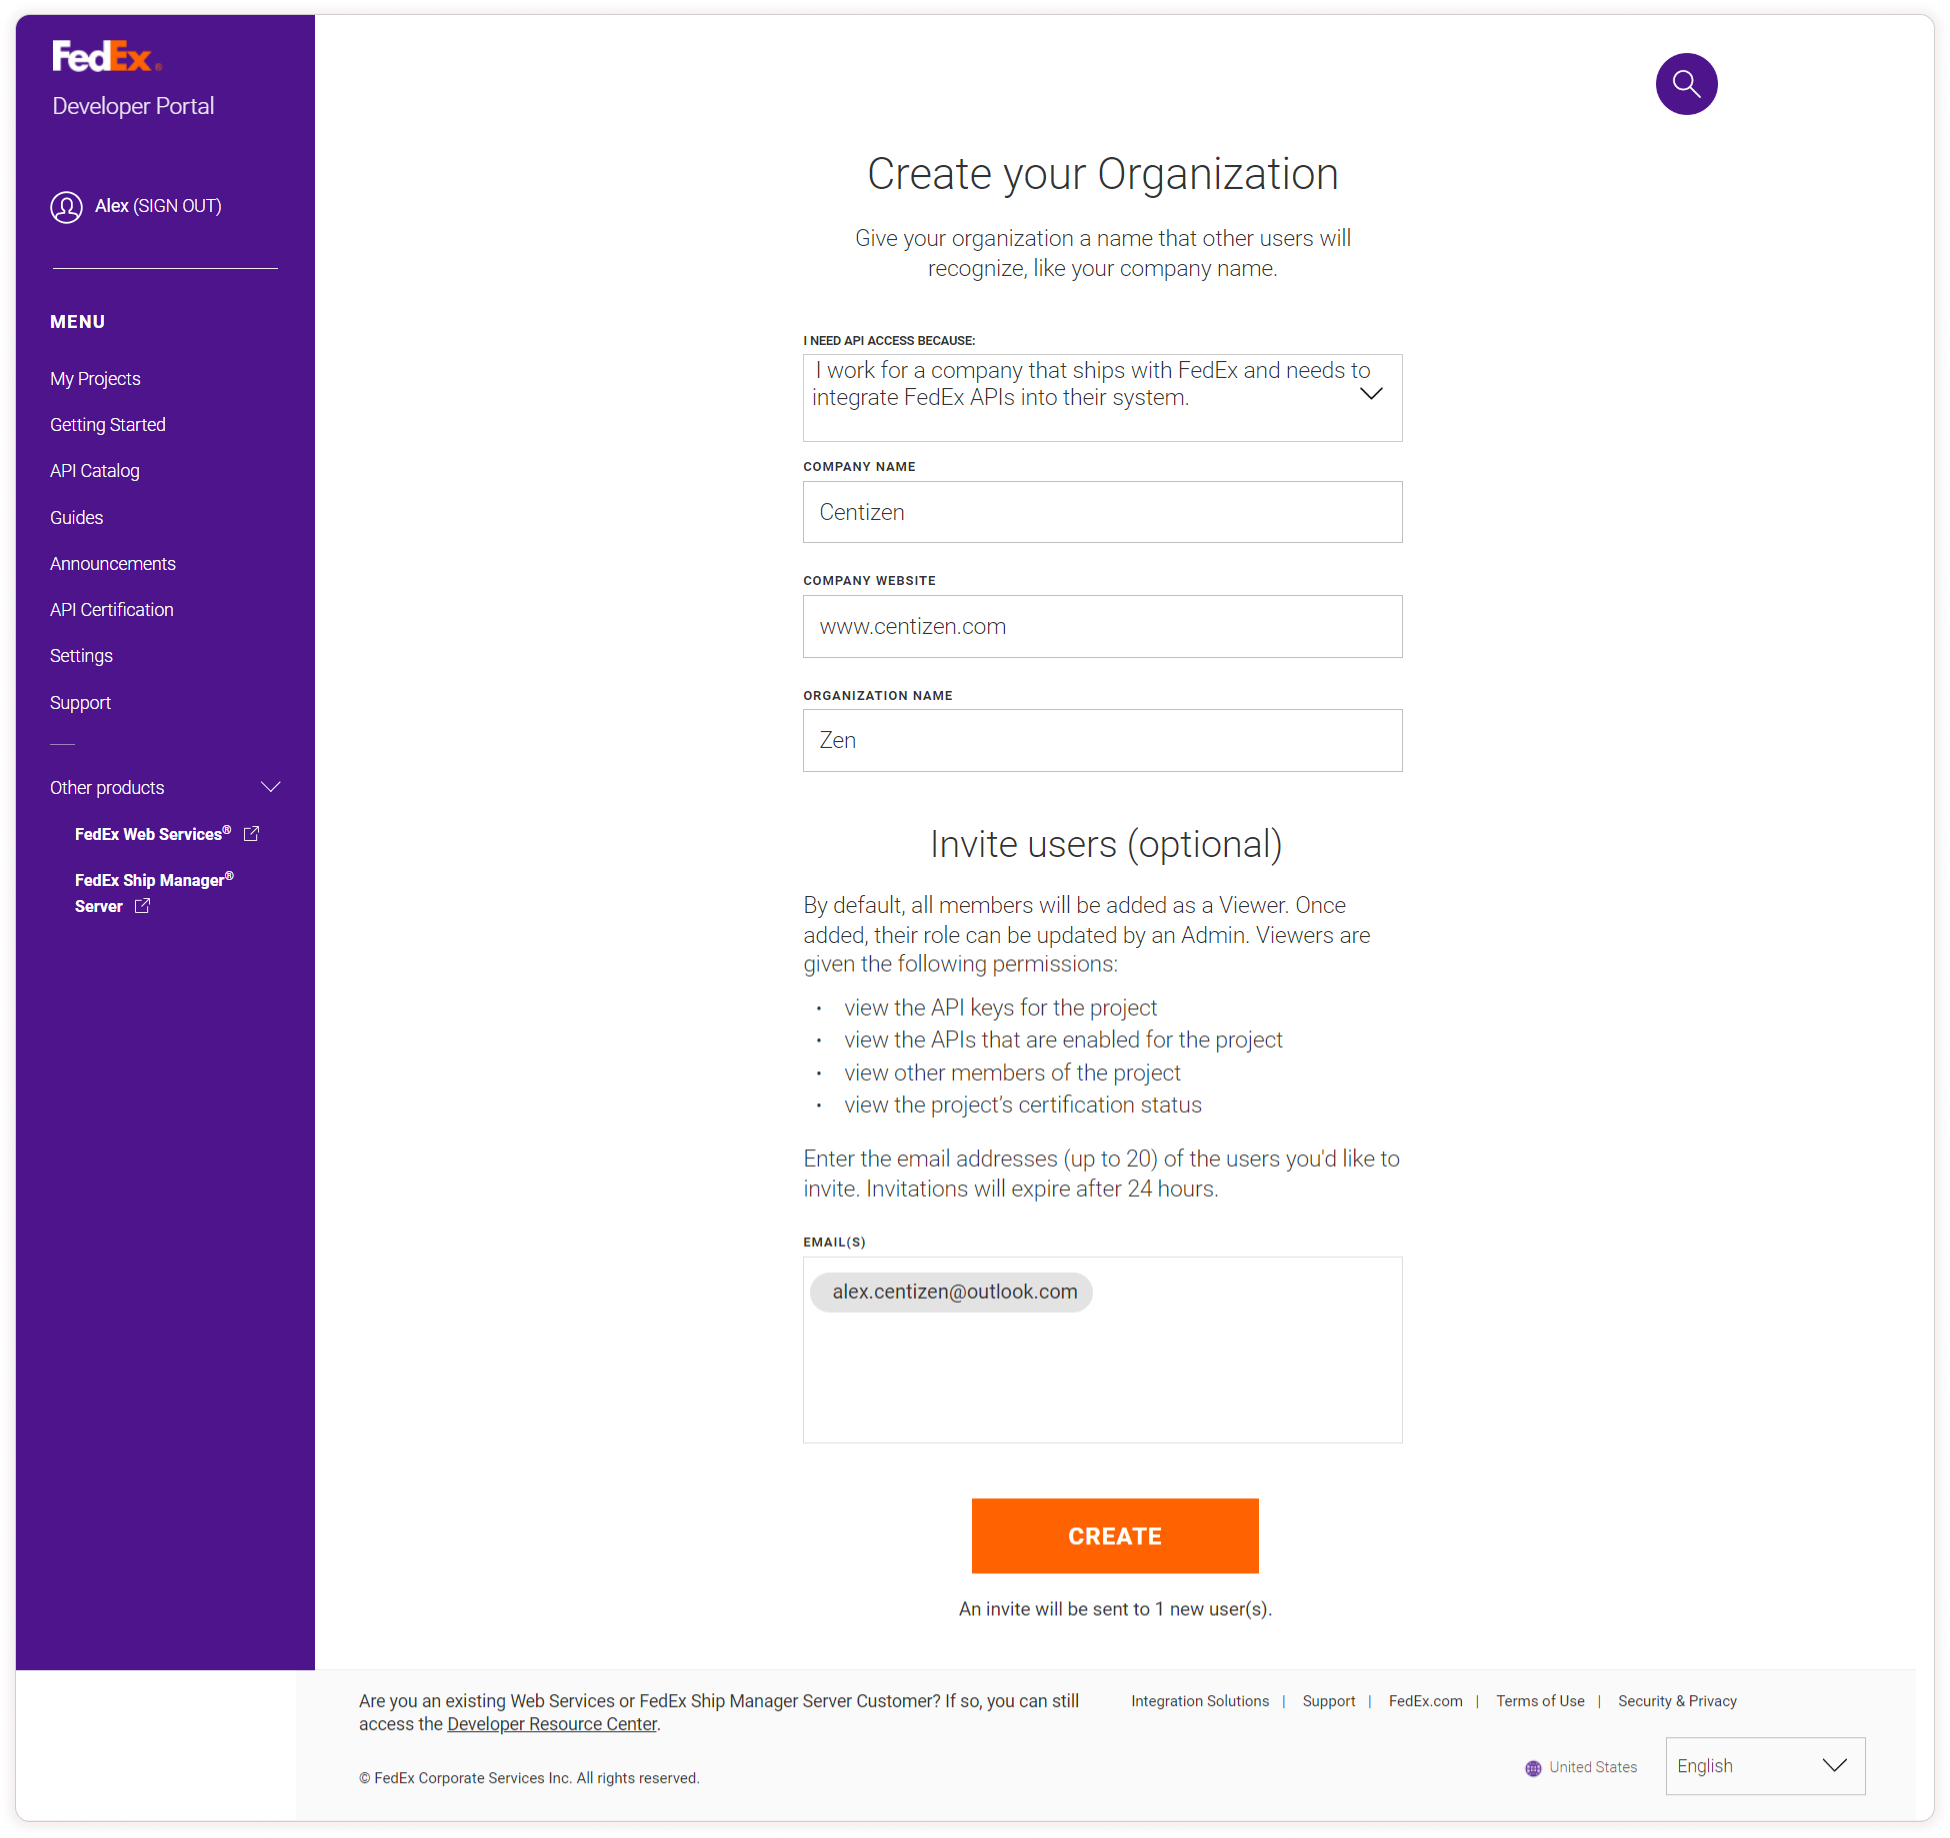
Step 3: Access the FedEx Developer Portal
After creating a user ID, you can access the FedEx Developer Portal.
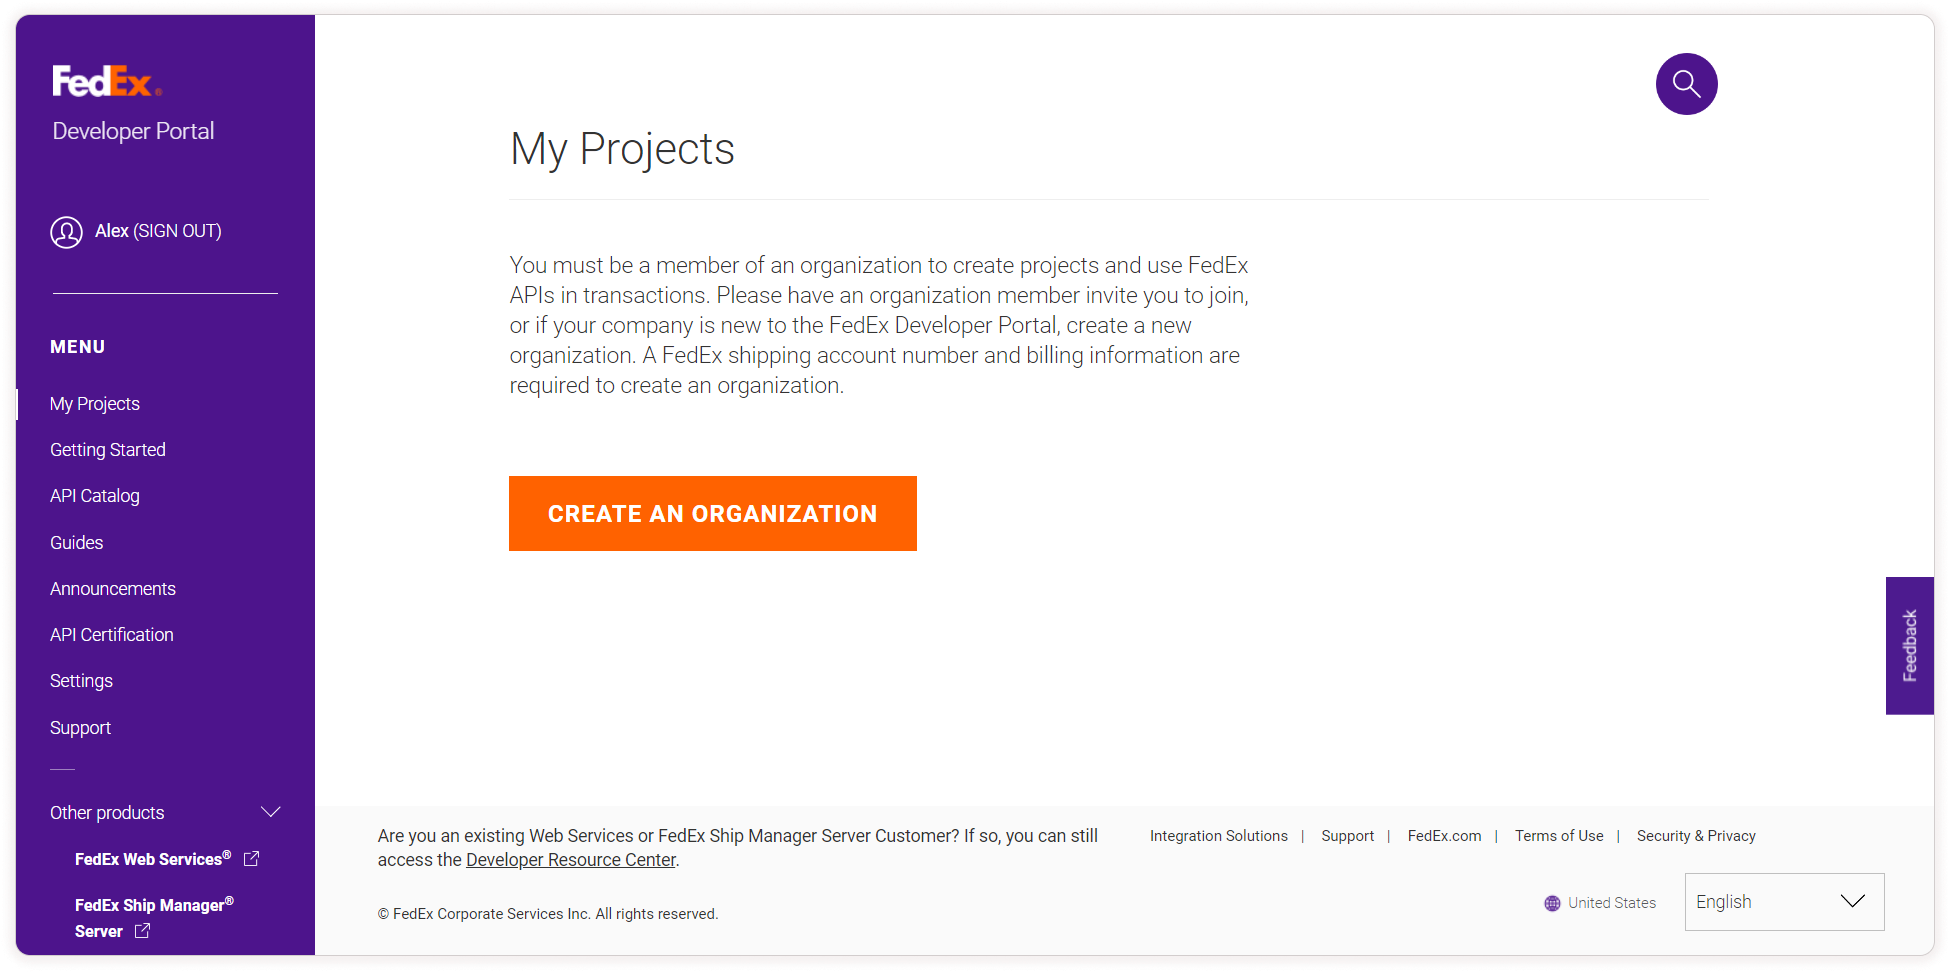
Here, you will need to create an organization with your company details. Enter the reason you need API access for, Company Name, Company Website and Organisation Name. You can also invite additional members to your FedEx Developer Portal using their email addresses.
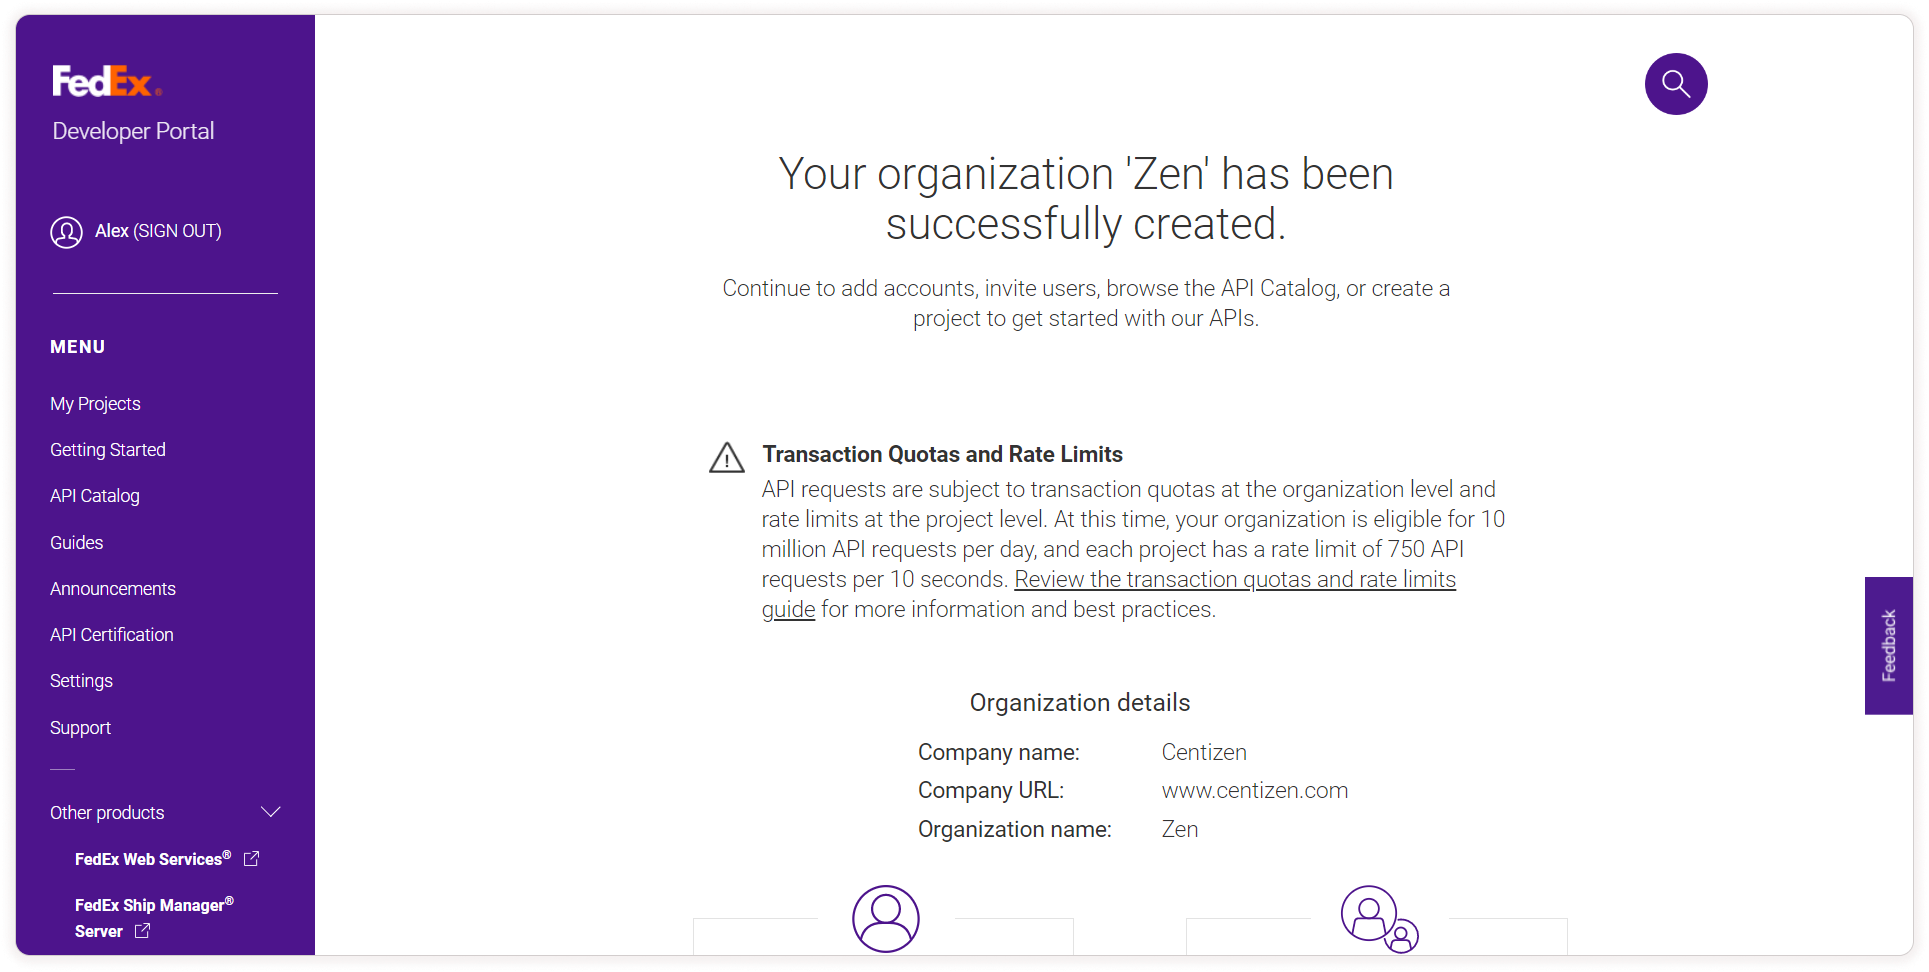
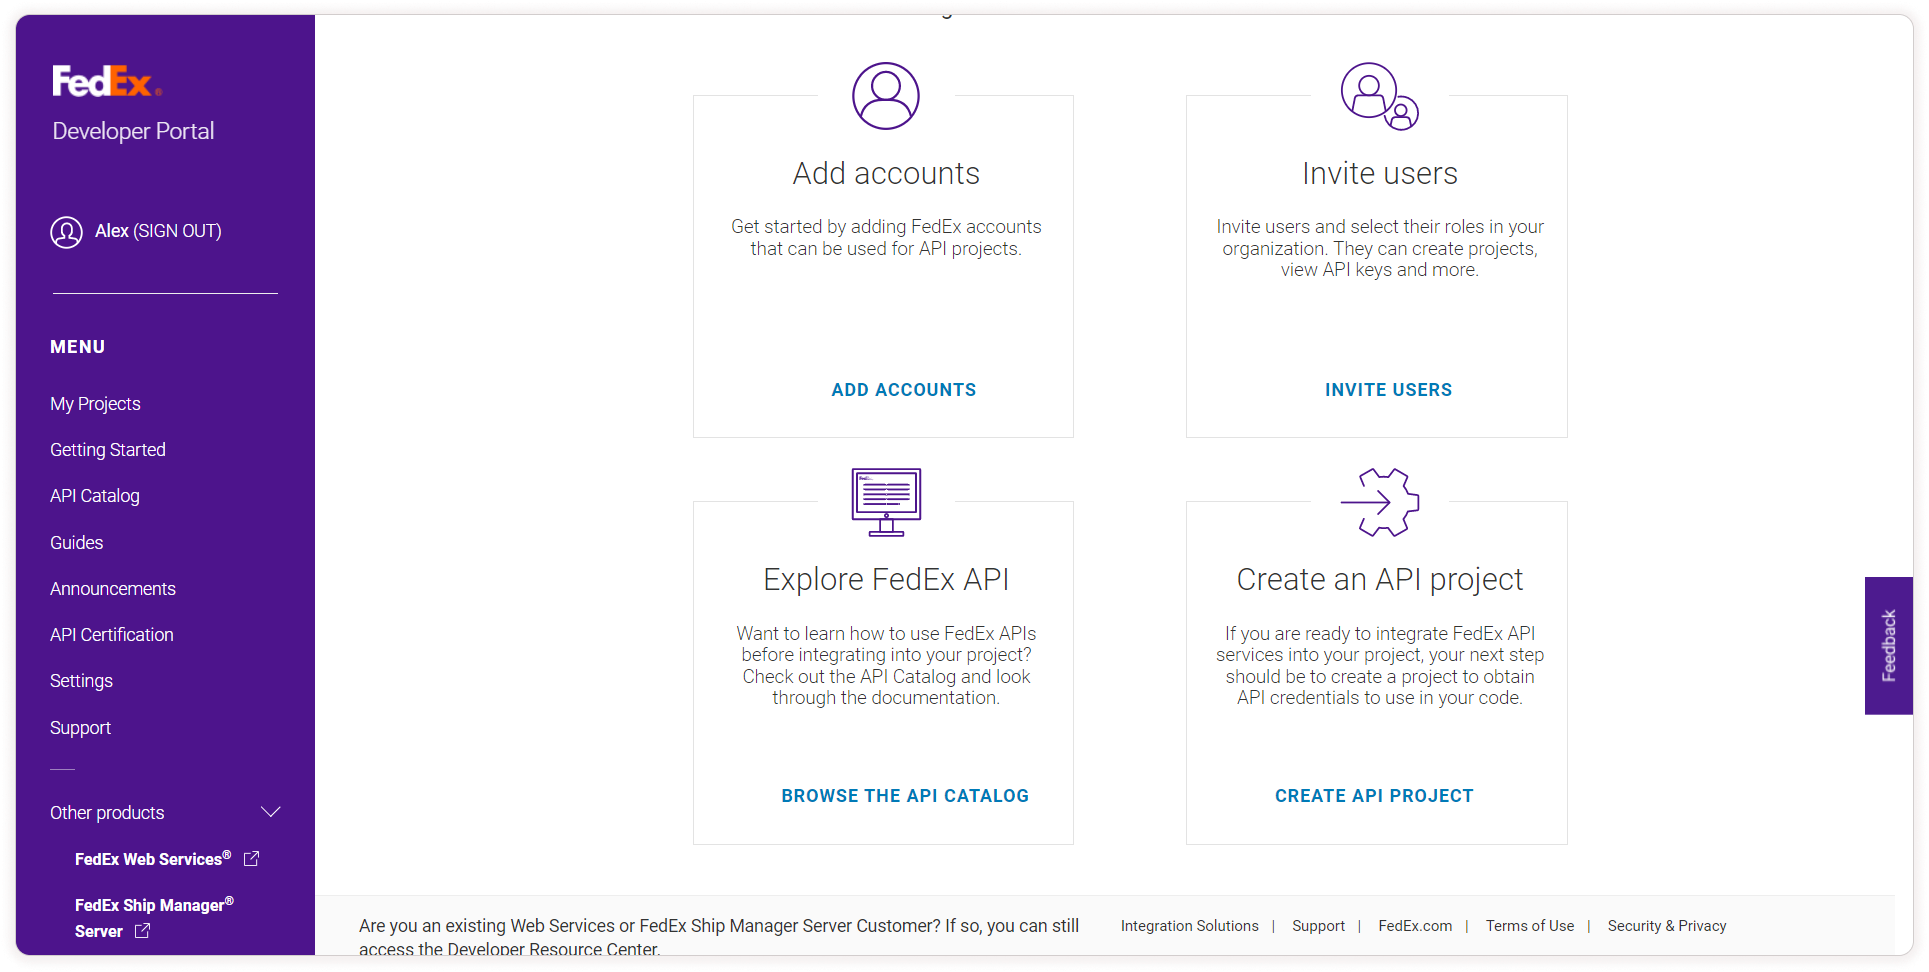
Step 4: Create a Project and a FedEx Account
To create a project and a FedEx account, click the Create API Project button or navigate to the My Project menu and click Create Project. Fill in the required information and proceed to the next step.
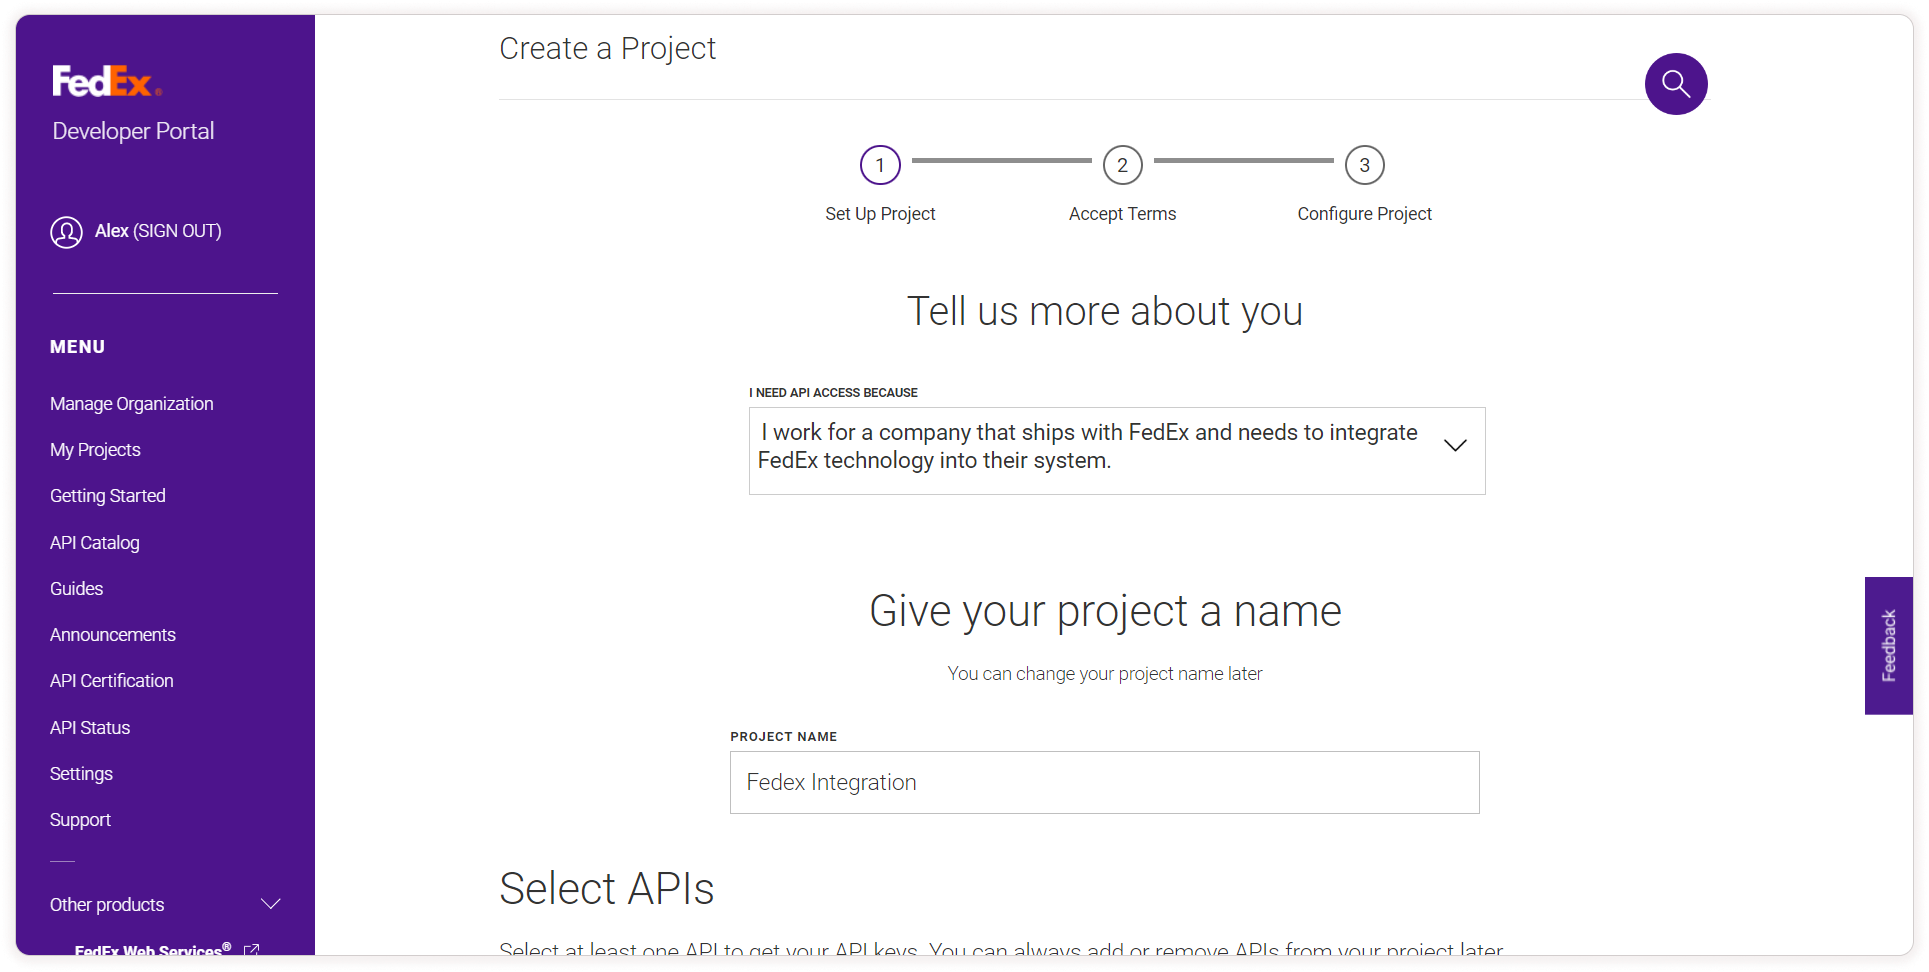
Step 5: Create a FedEx Account
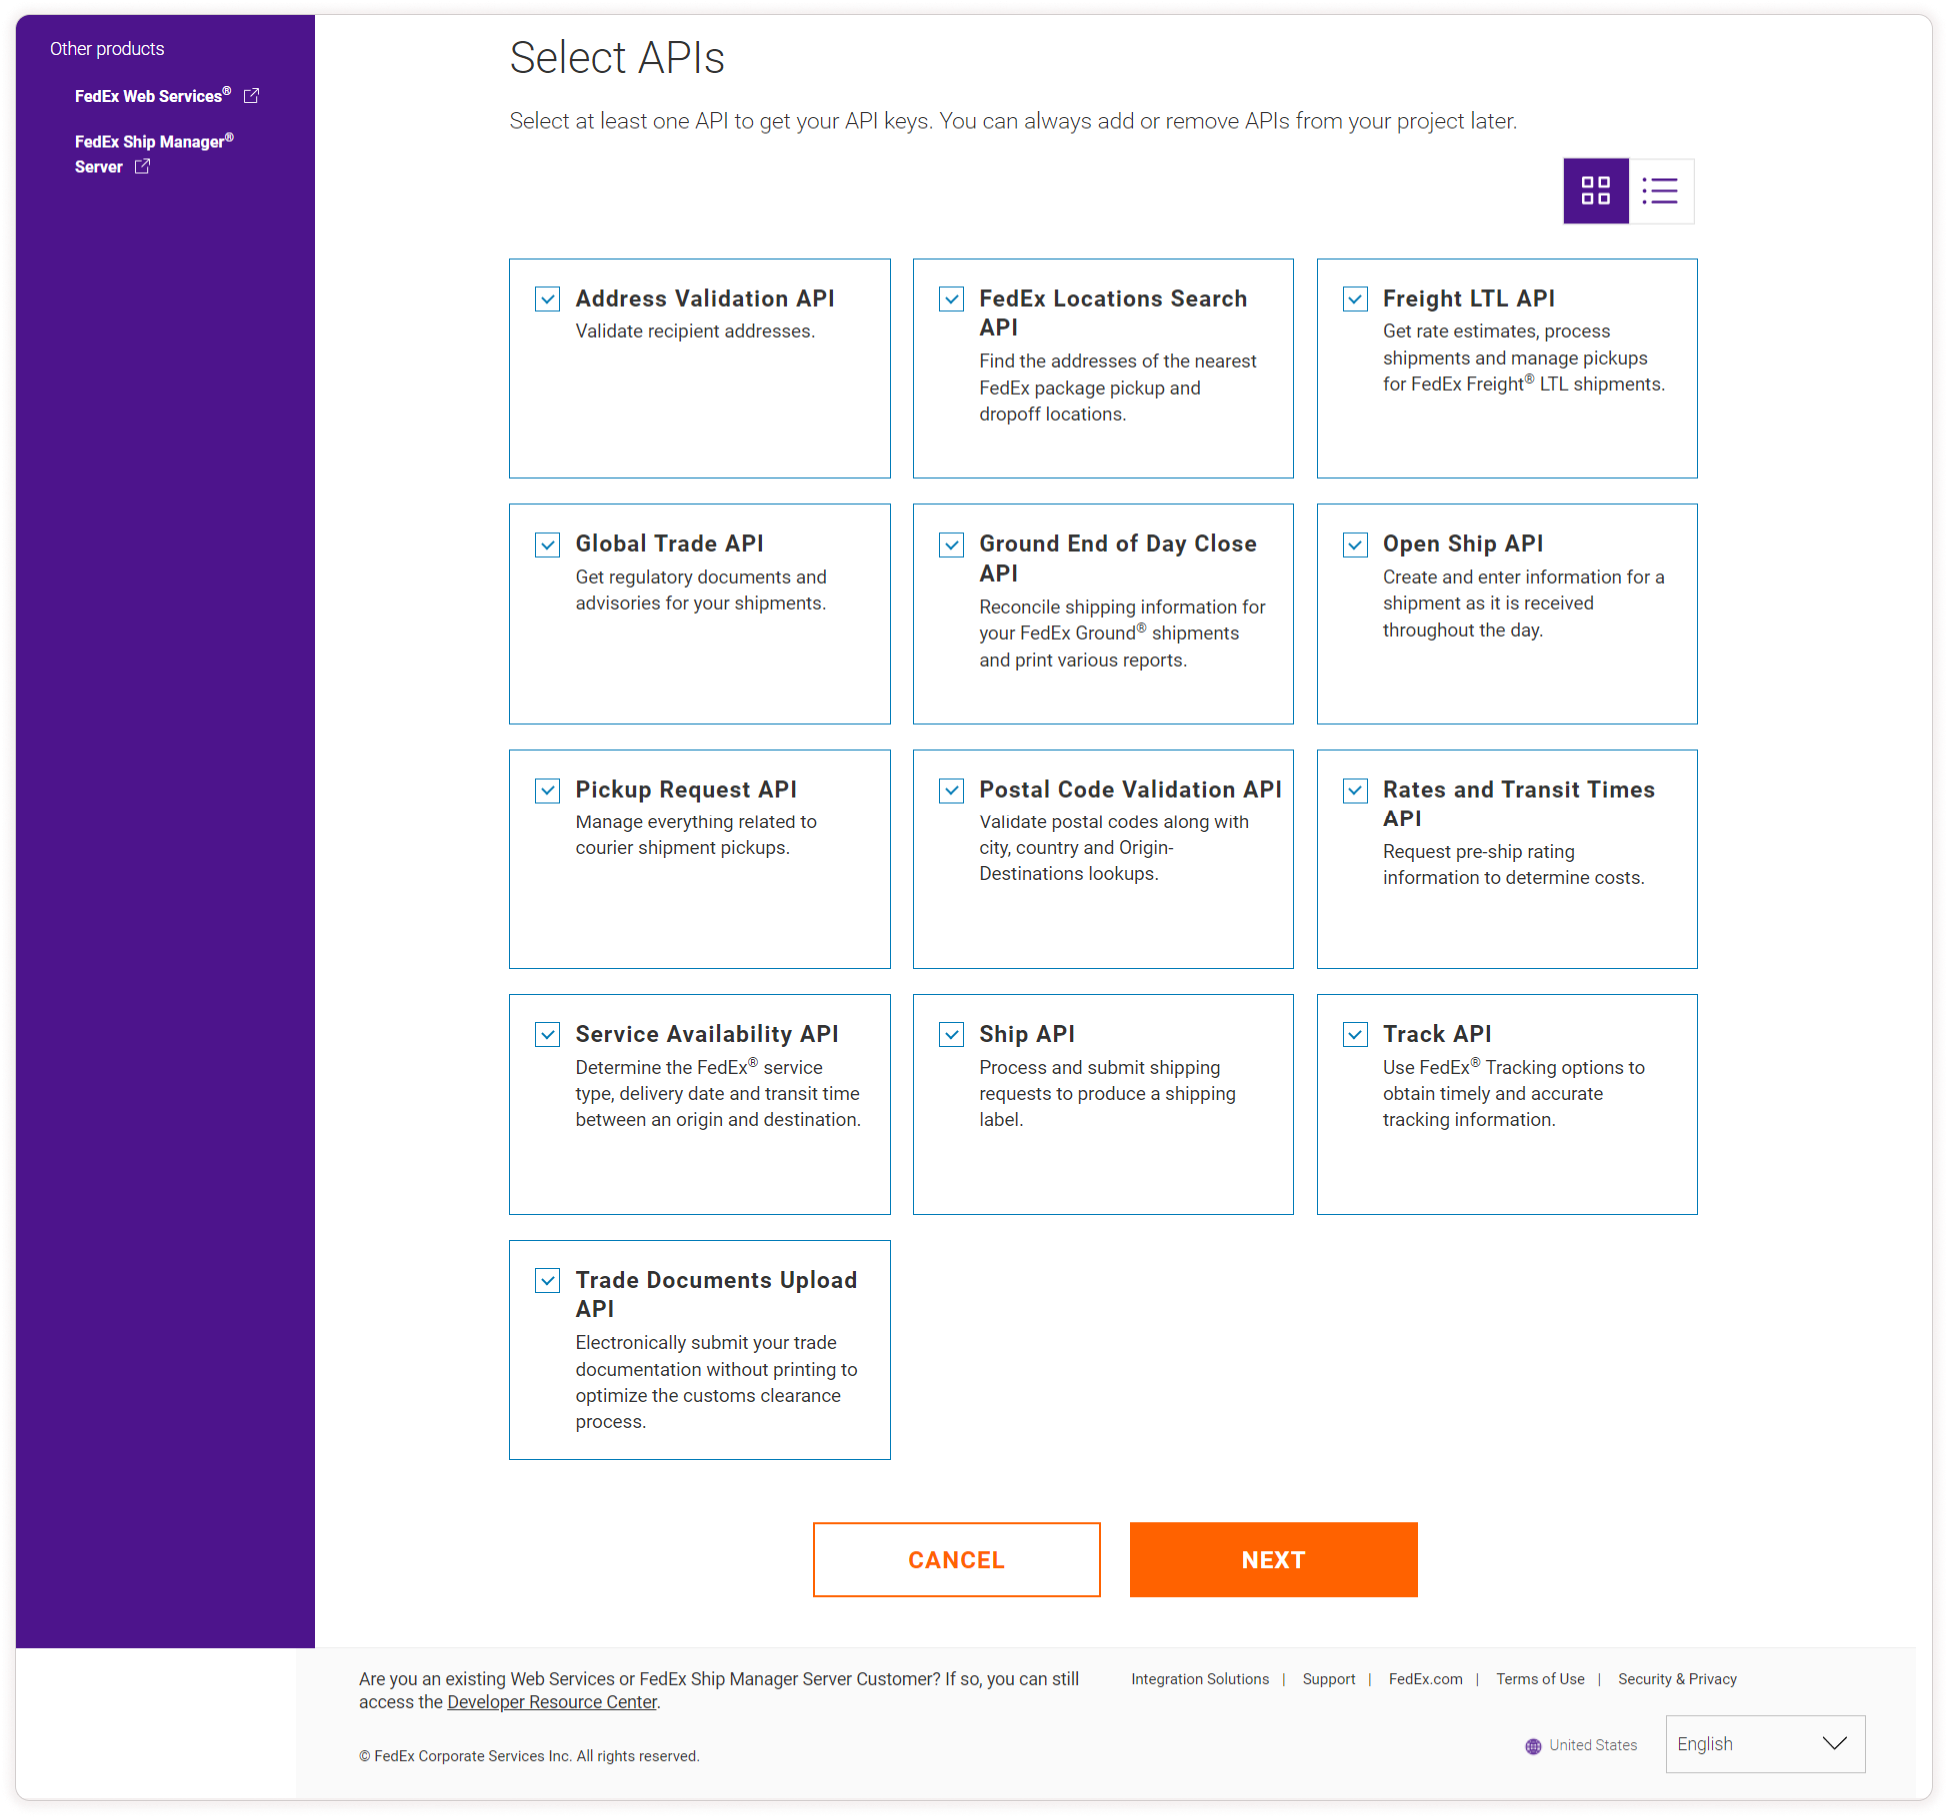
Select the first option, Needs to integrate FedEx into their system, to create a FedEx account. Check all the APIs listed below and click Next.
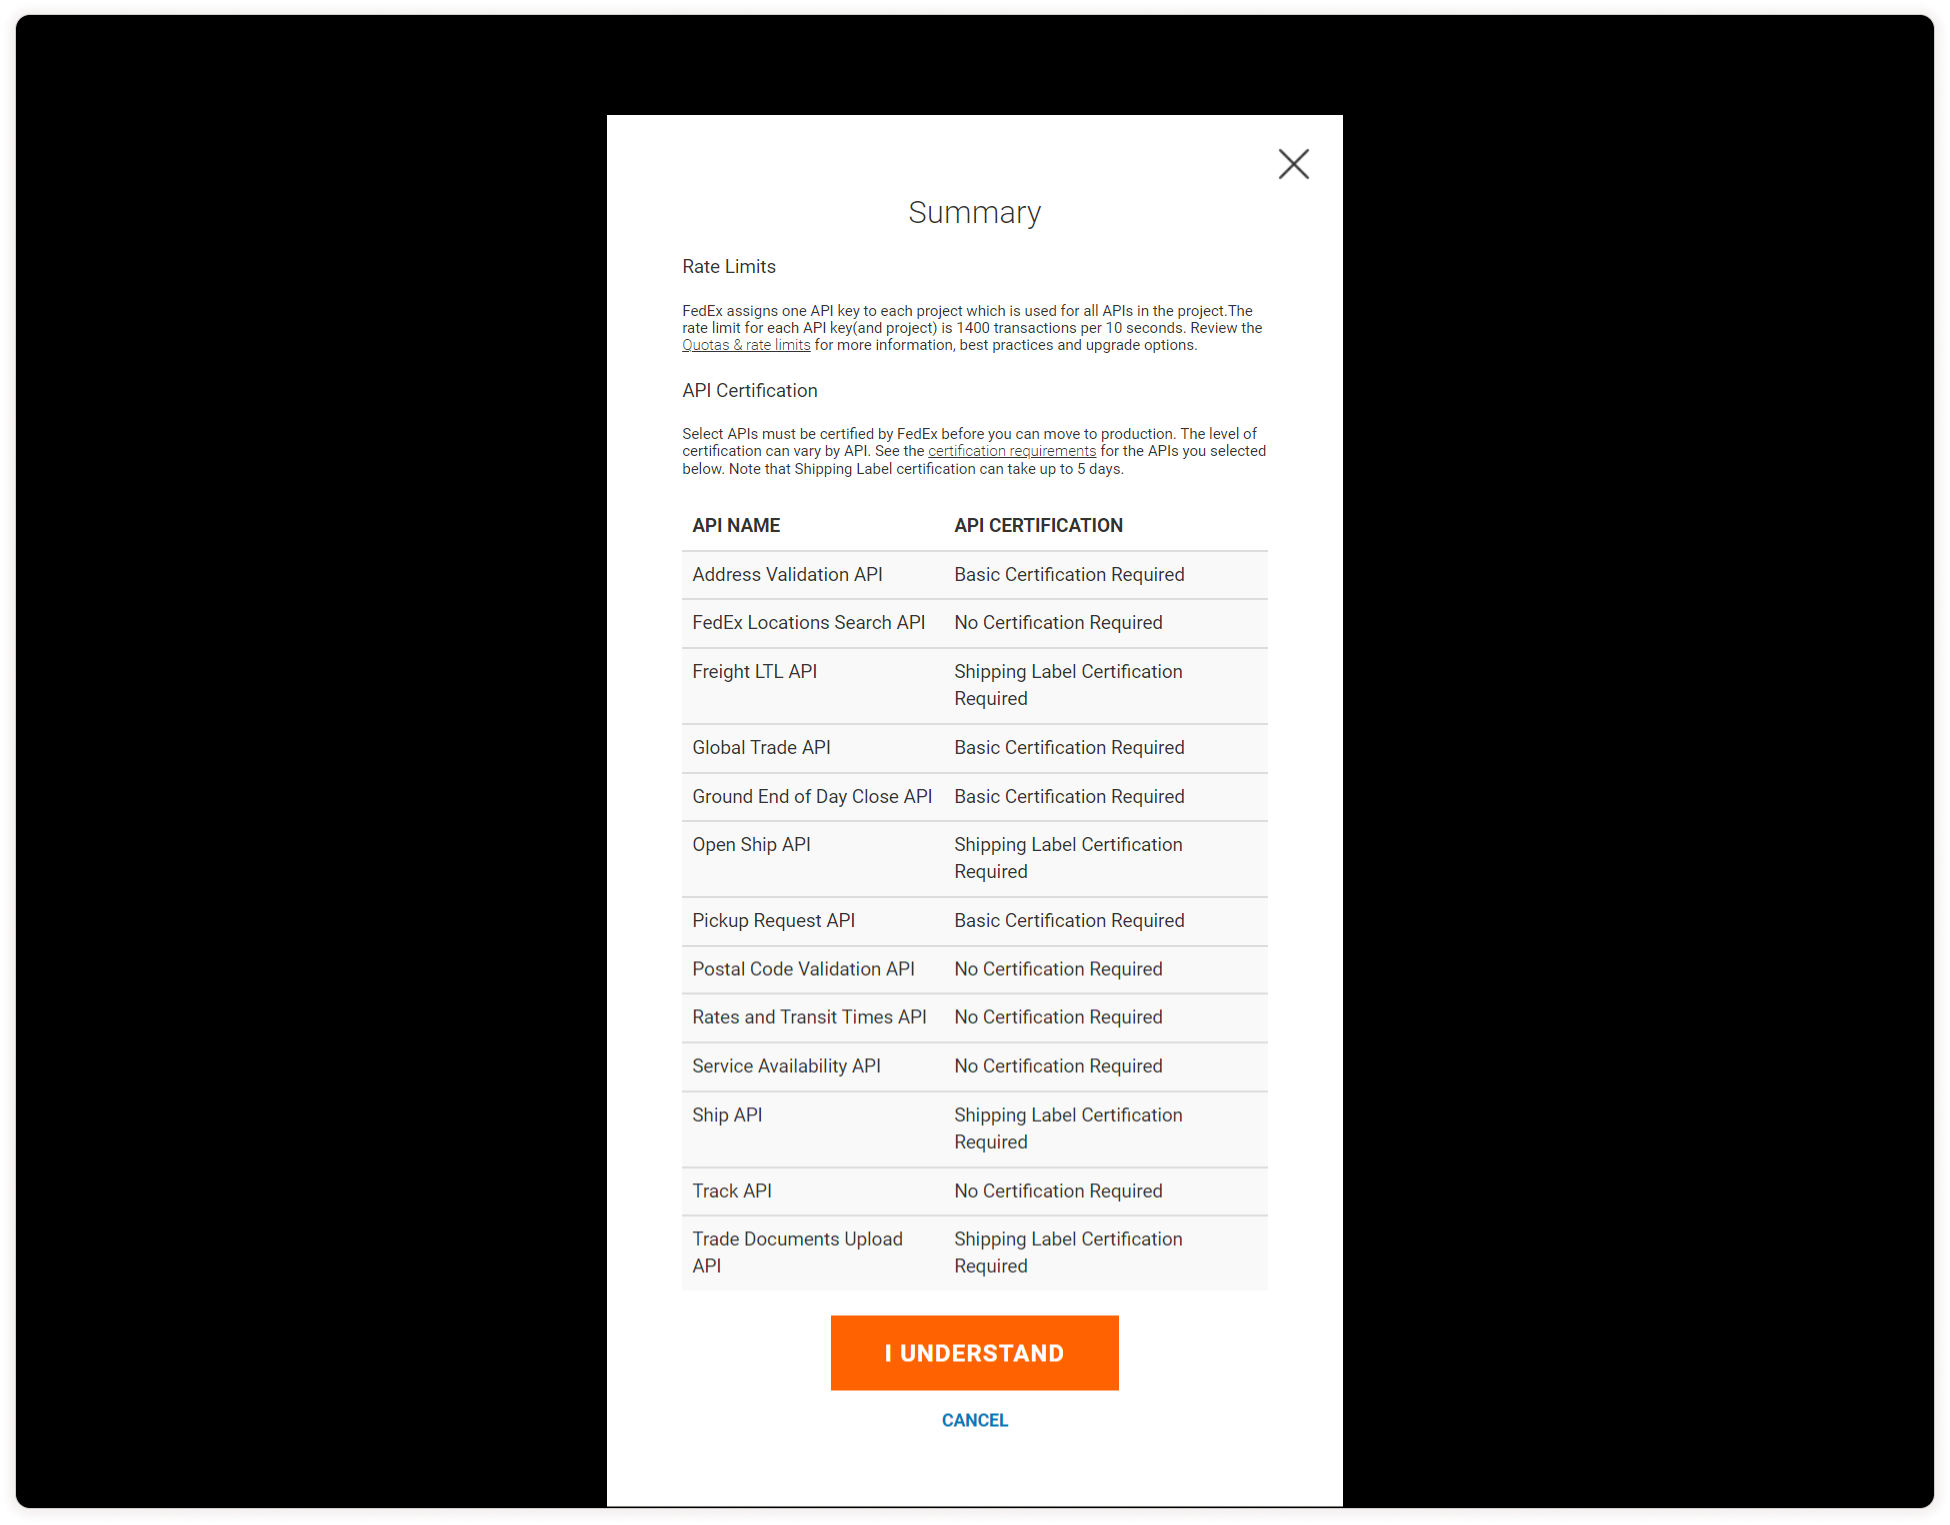
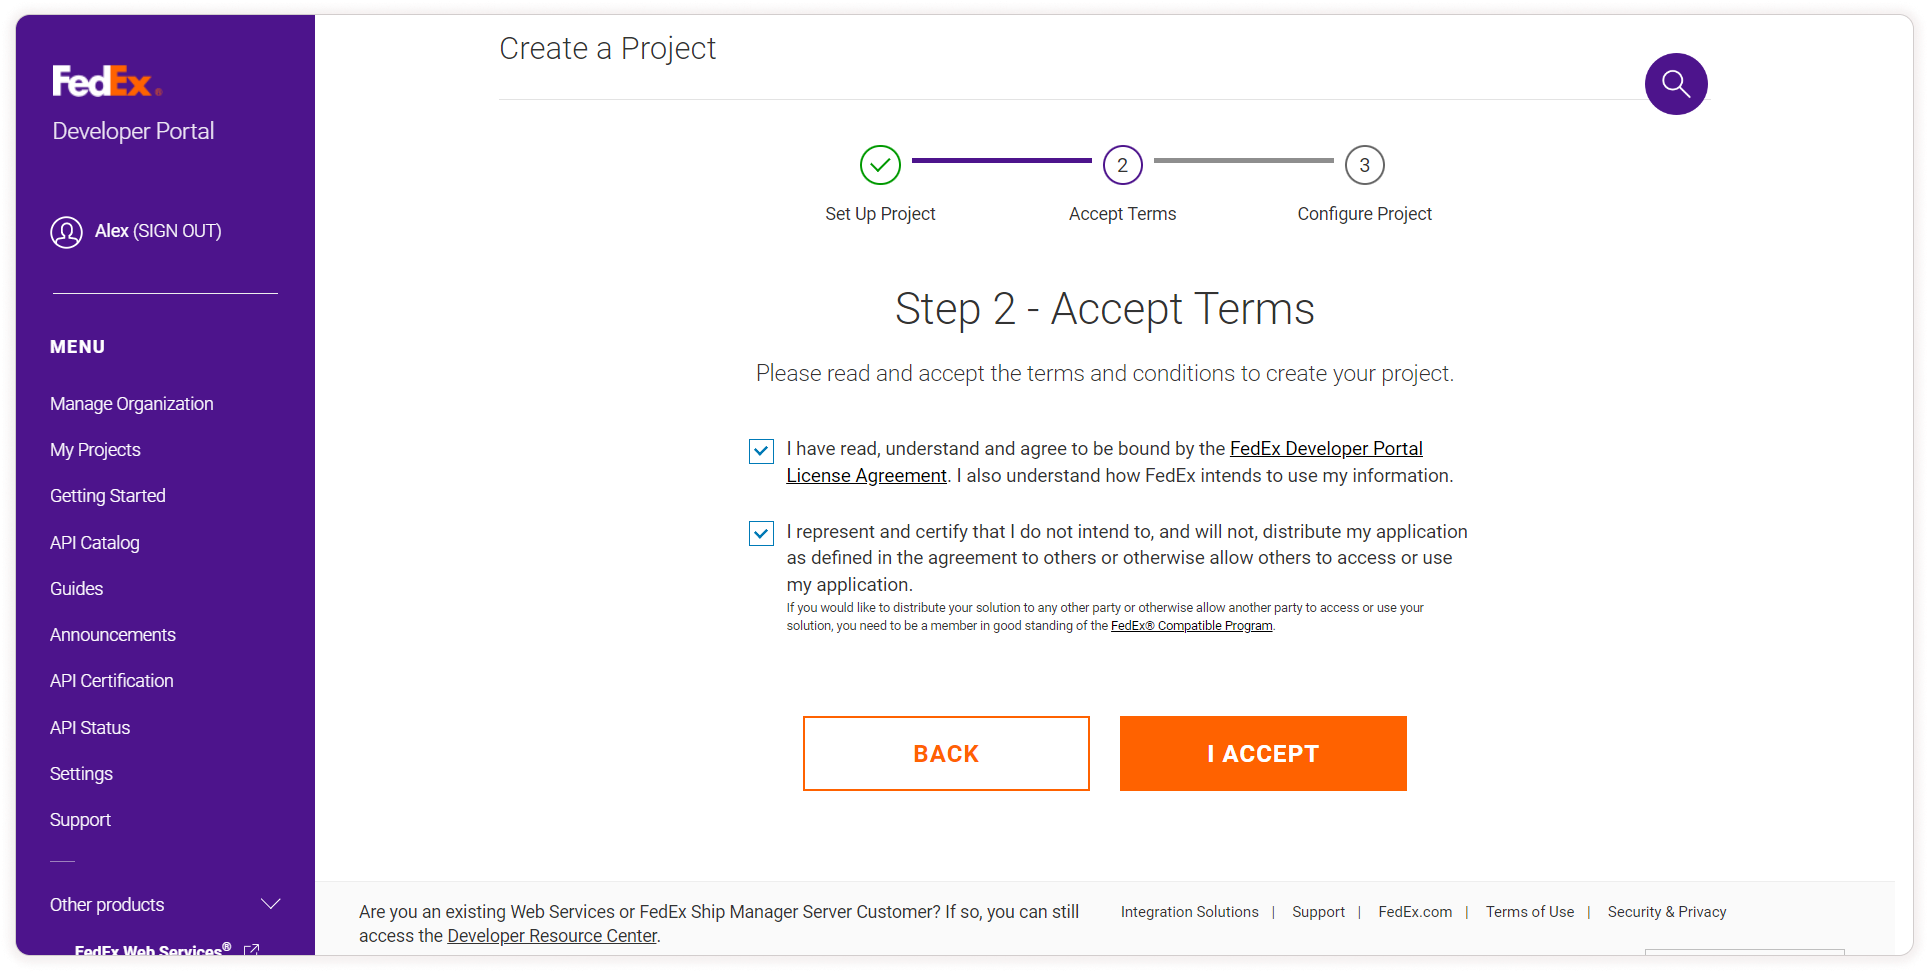
Some FedEx APIs require certain details to access them. Read and accept the terms and conditions.
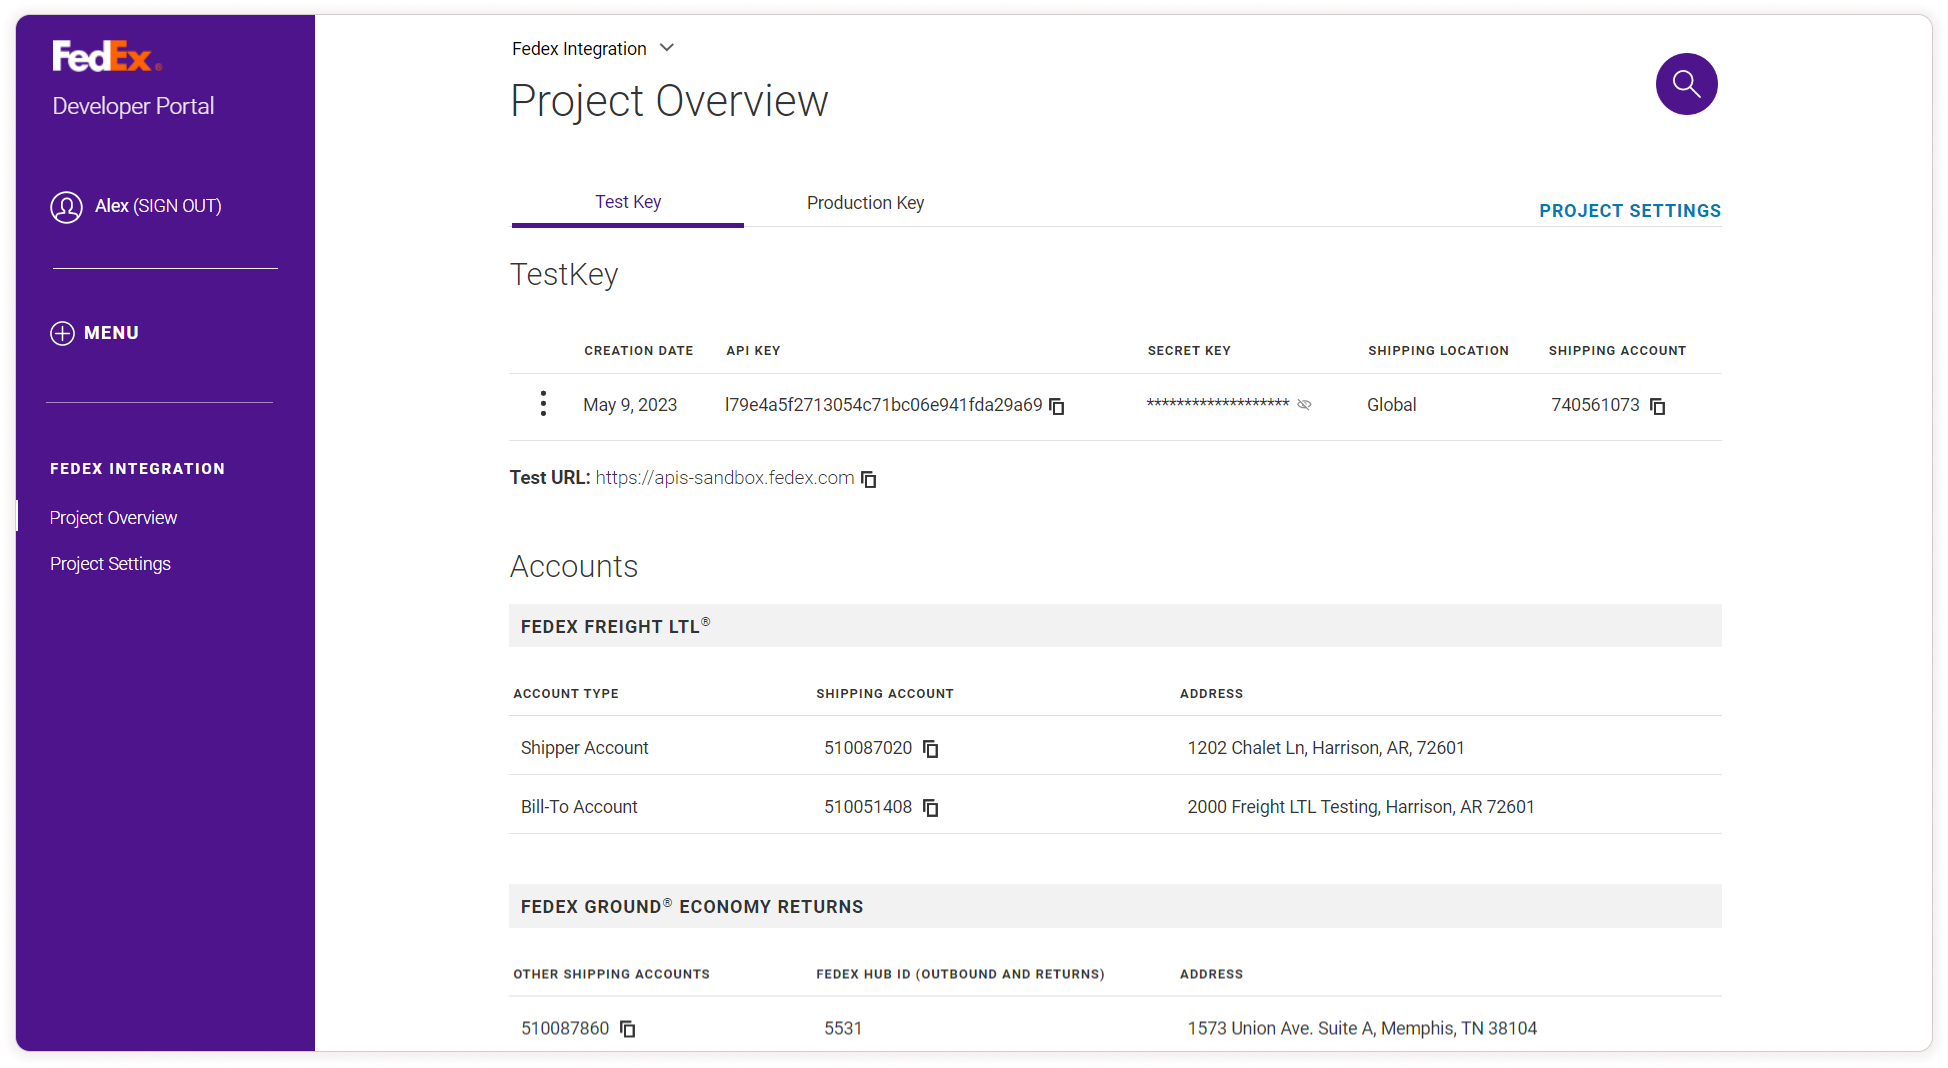
Step 6: Configure Your Project
To configure your project, fill in the required details and click Create.
A default set of test credentials (API key, API secret, and FedEx account number) will be provided when the project is created. If you need live credentials, you will need to create a live FedEx account and add it to the shipping account.

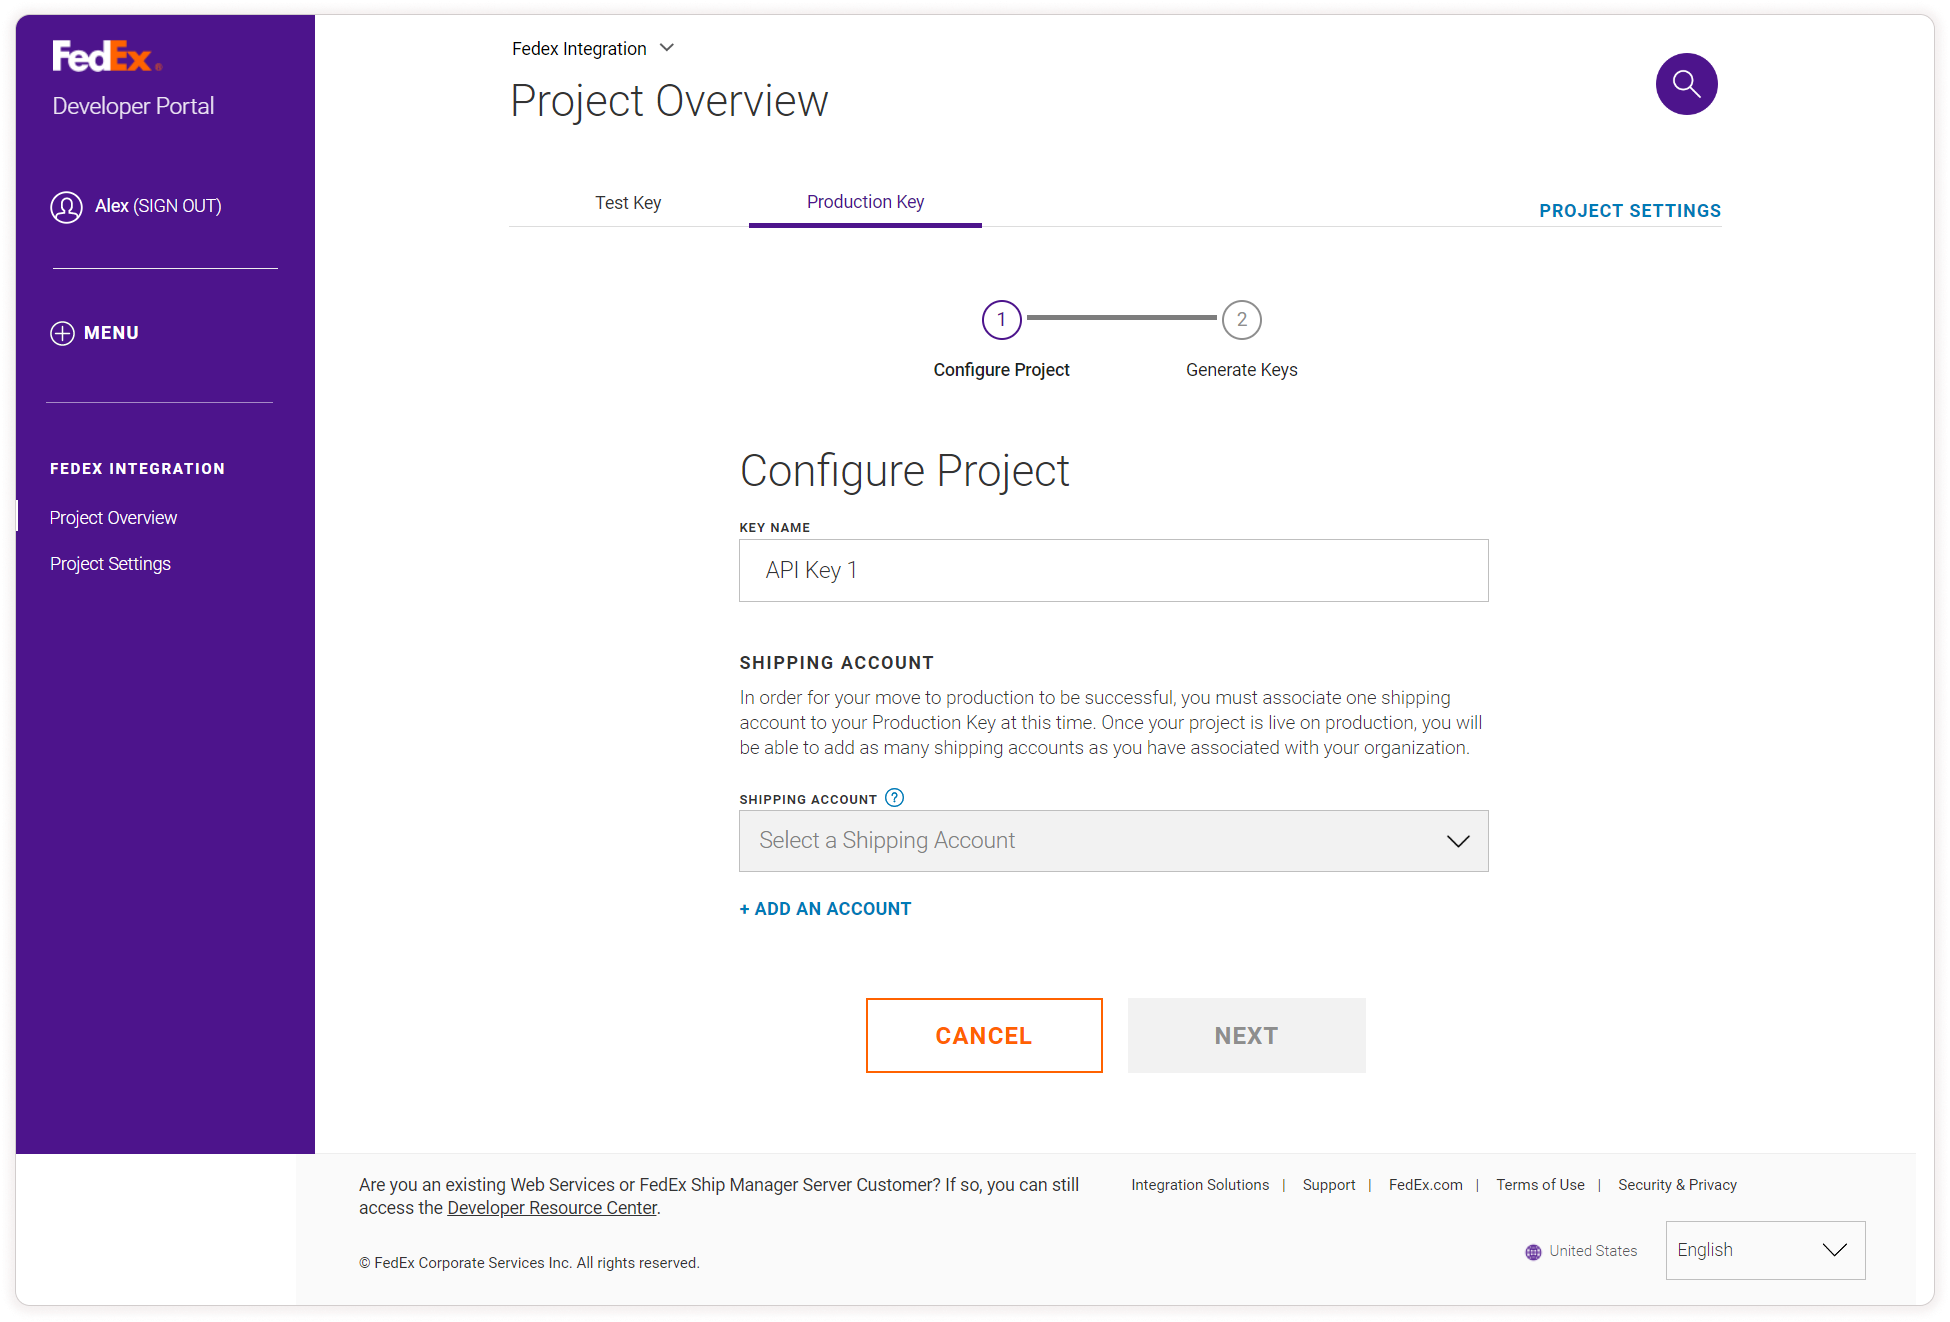
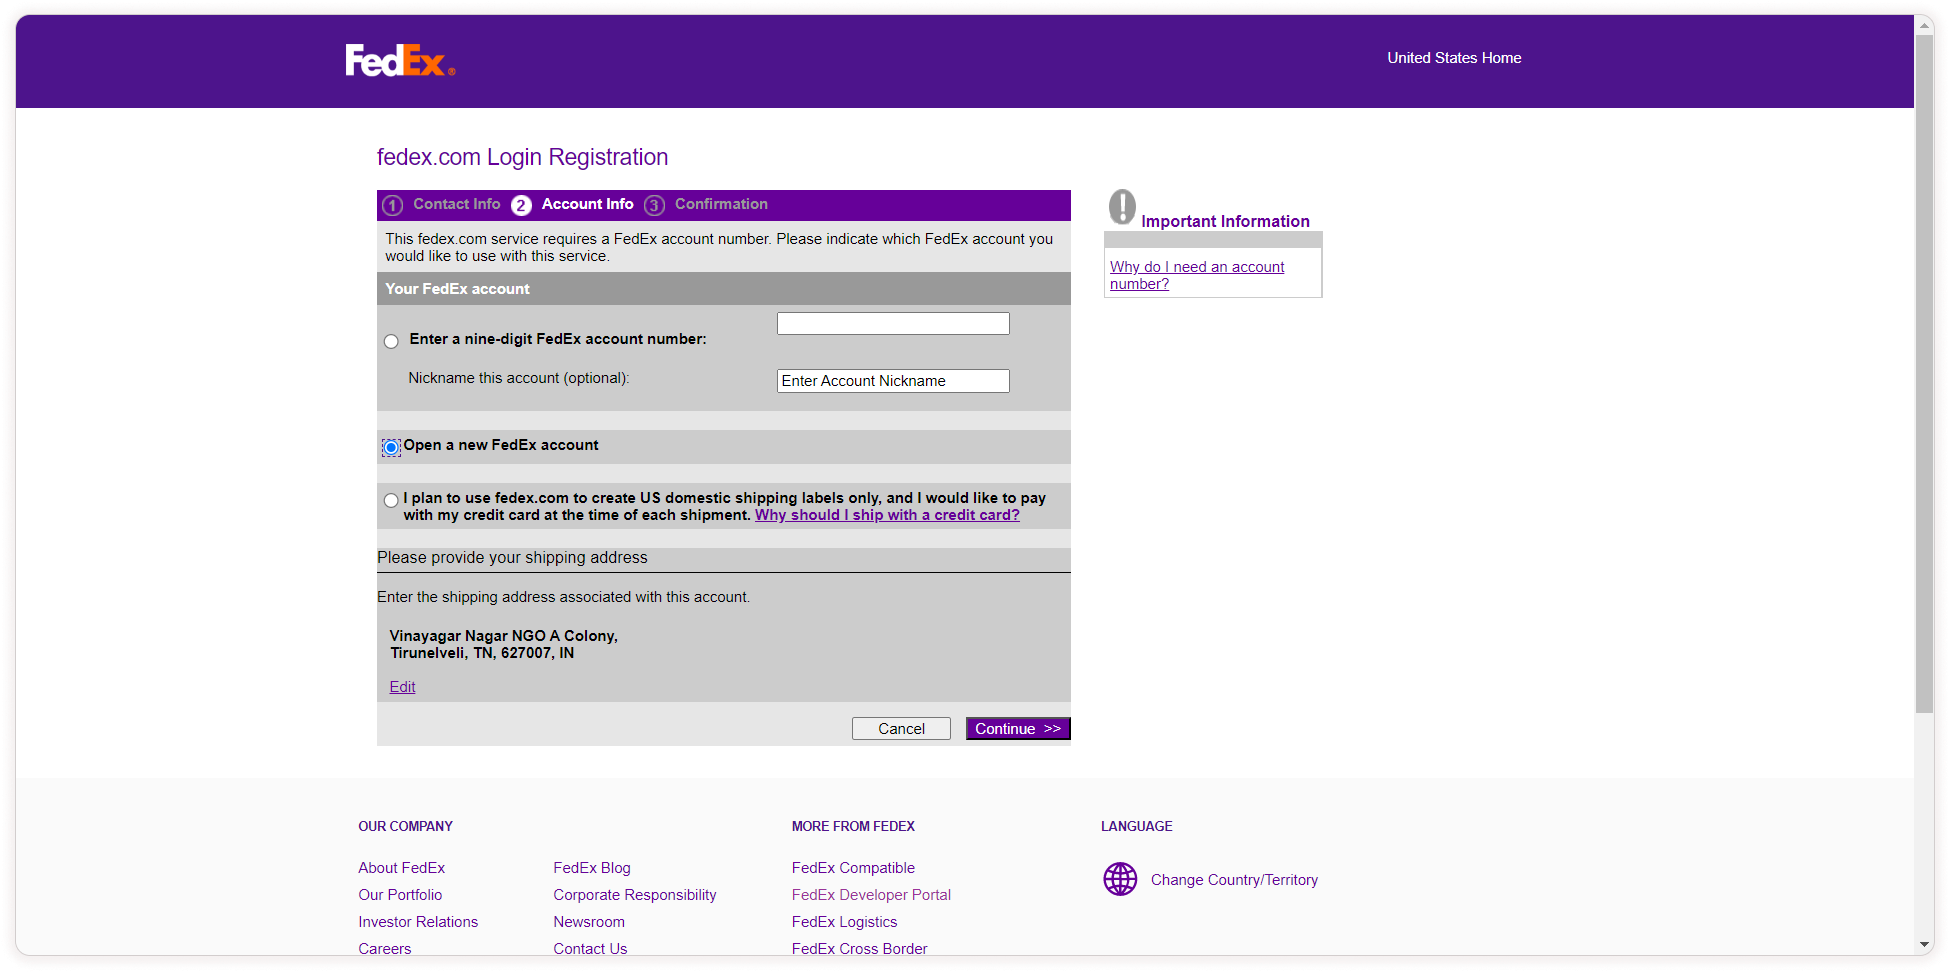
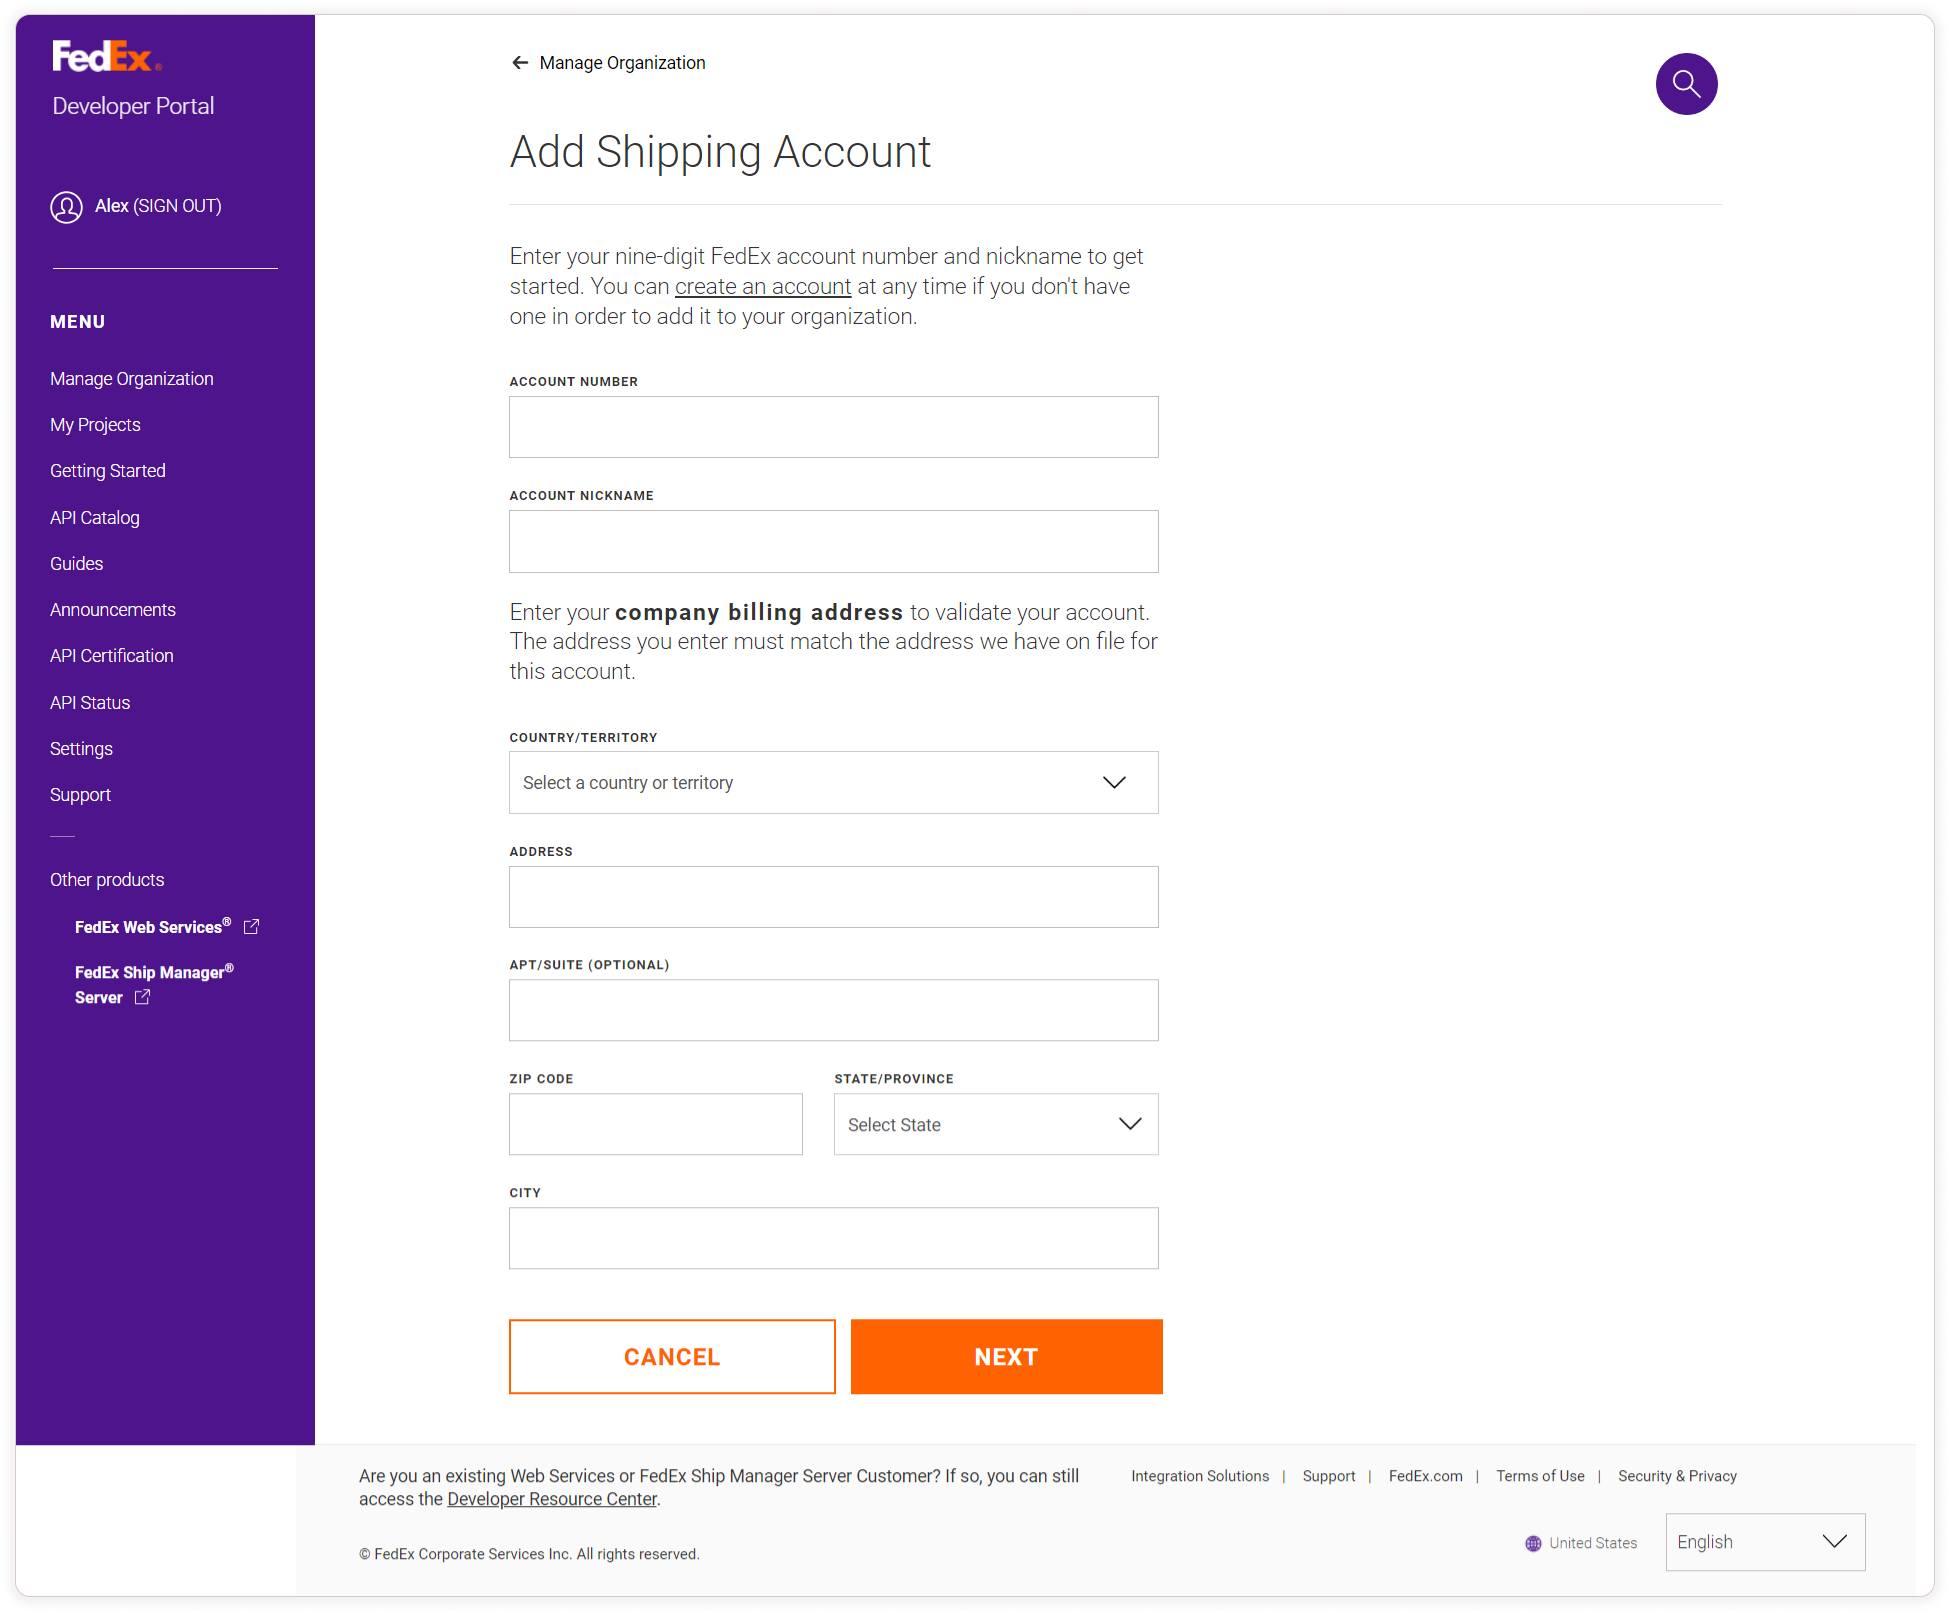
Step 7: Add Shipping Account
After creating a project, navigate to the project menu and then click on the Production tab. Add the shipping account using the test credentials provided. To add a shipping account, you will need to create a live FedEx account to get an account number.
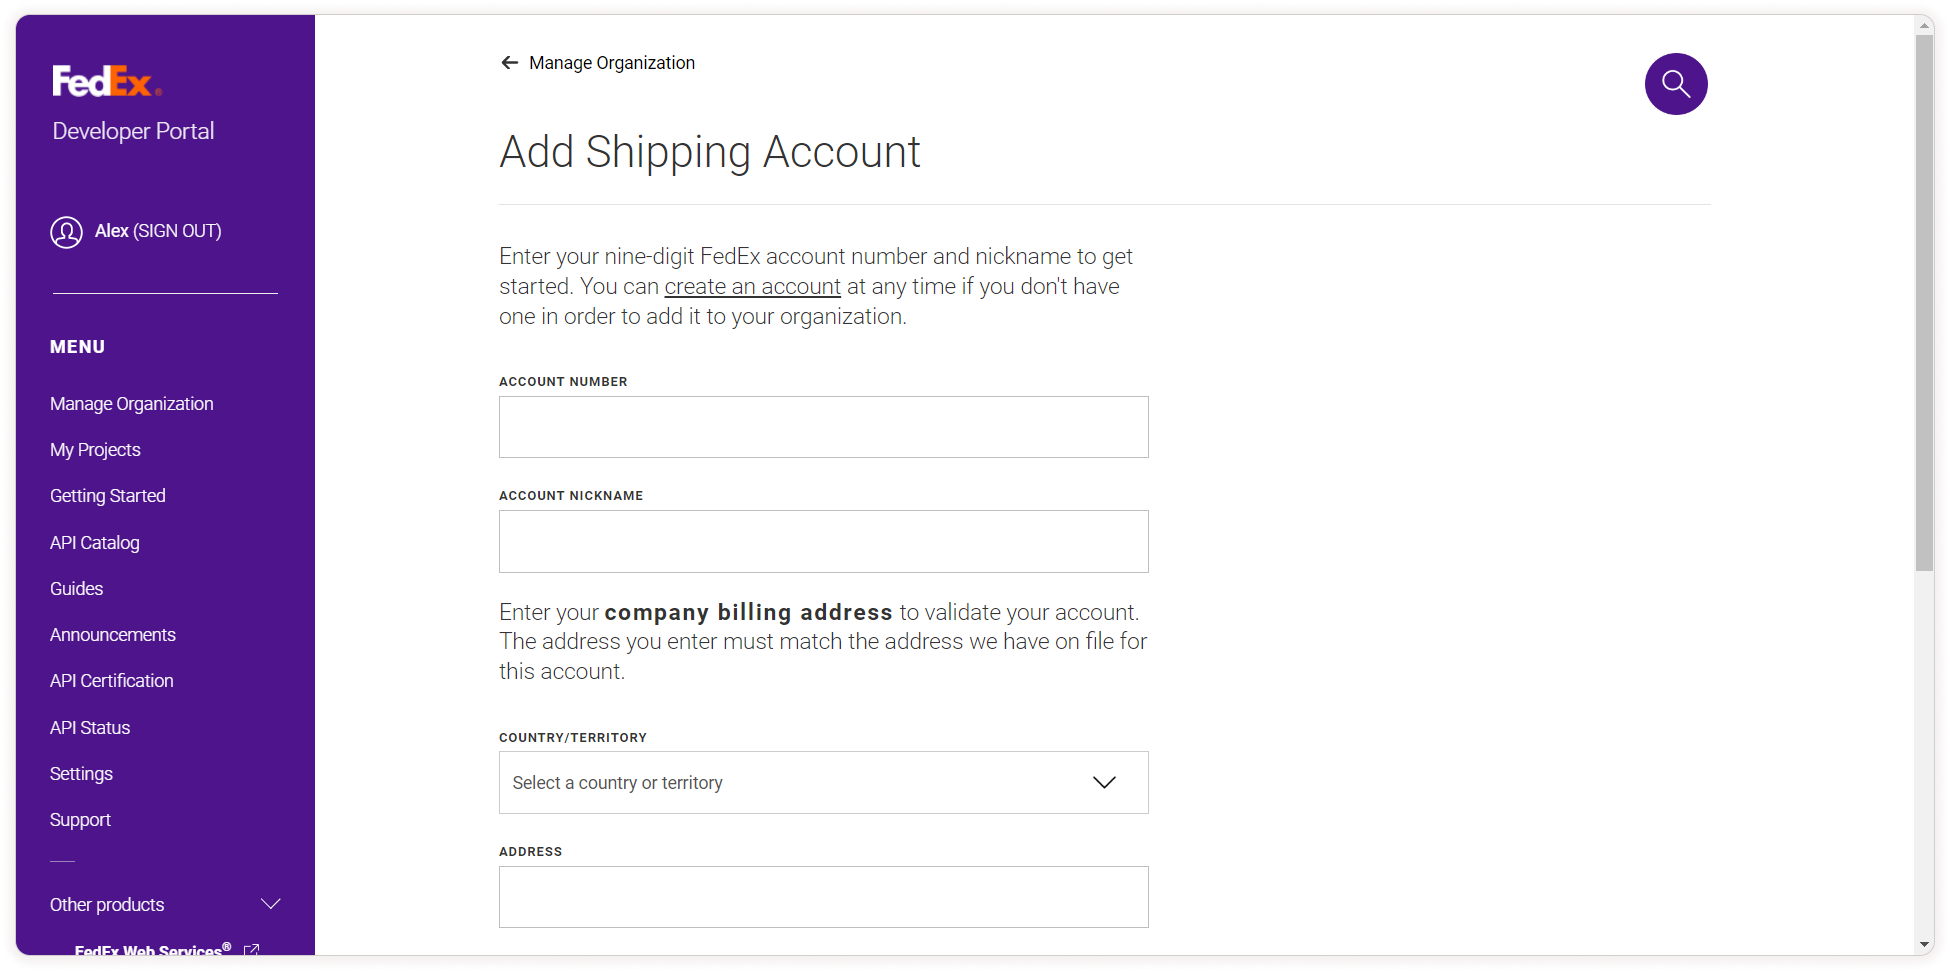
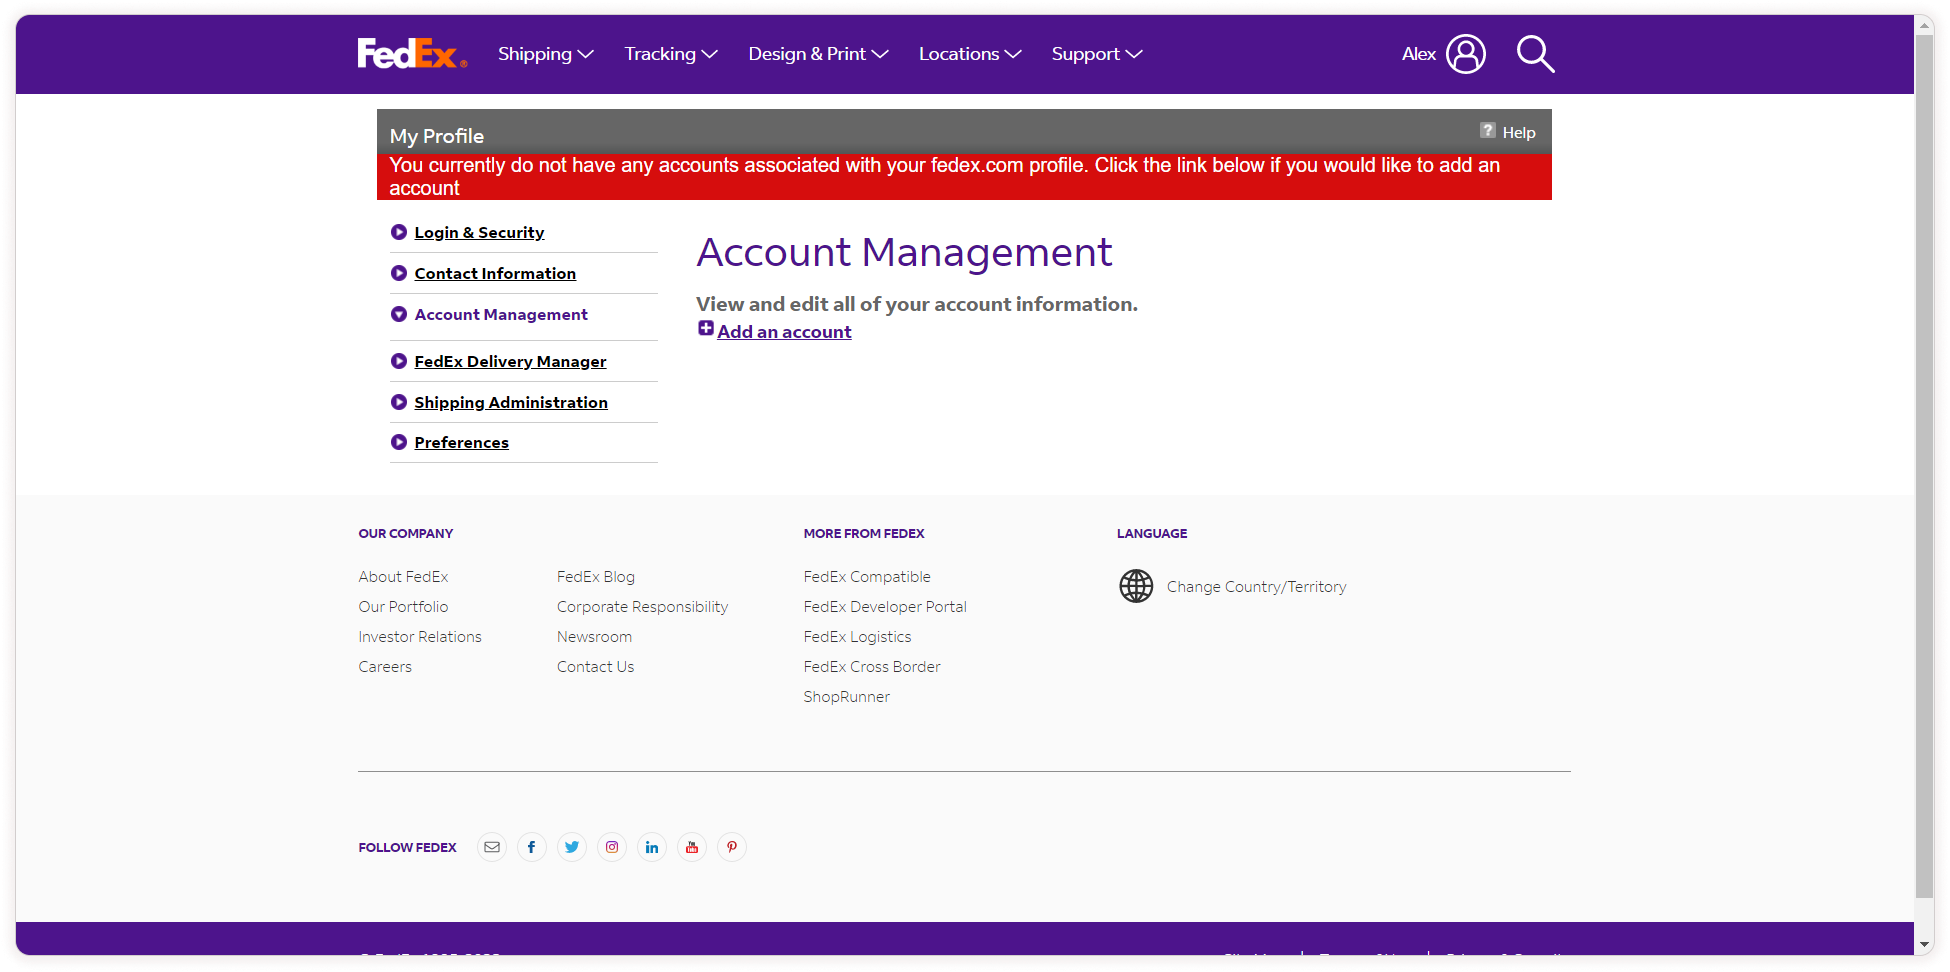
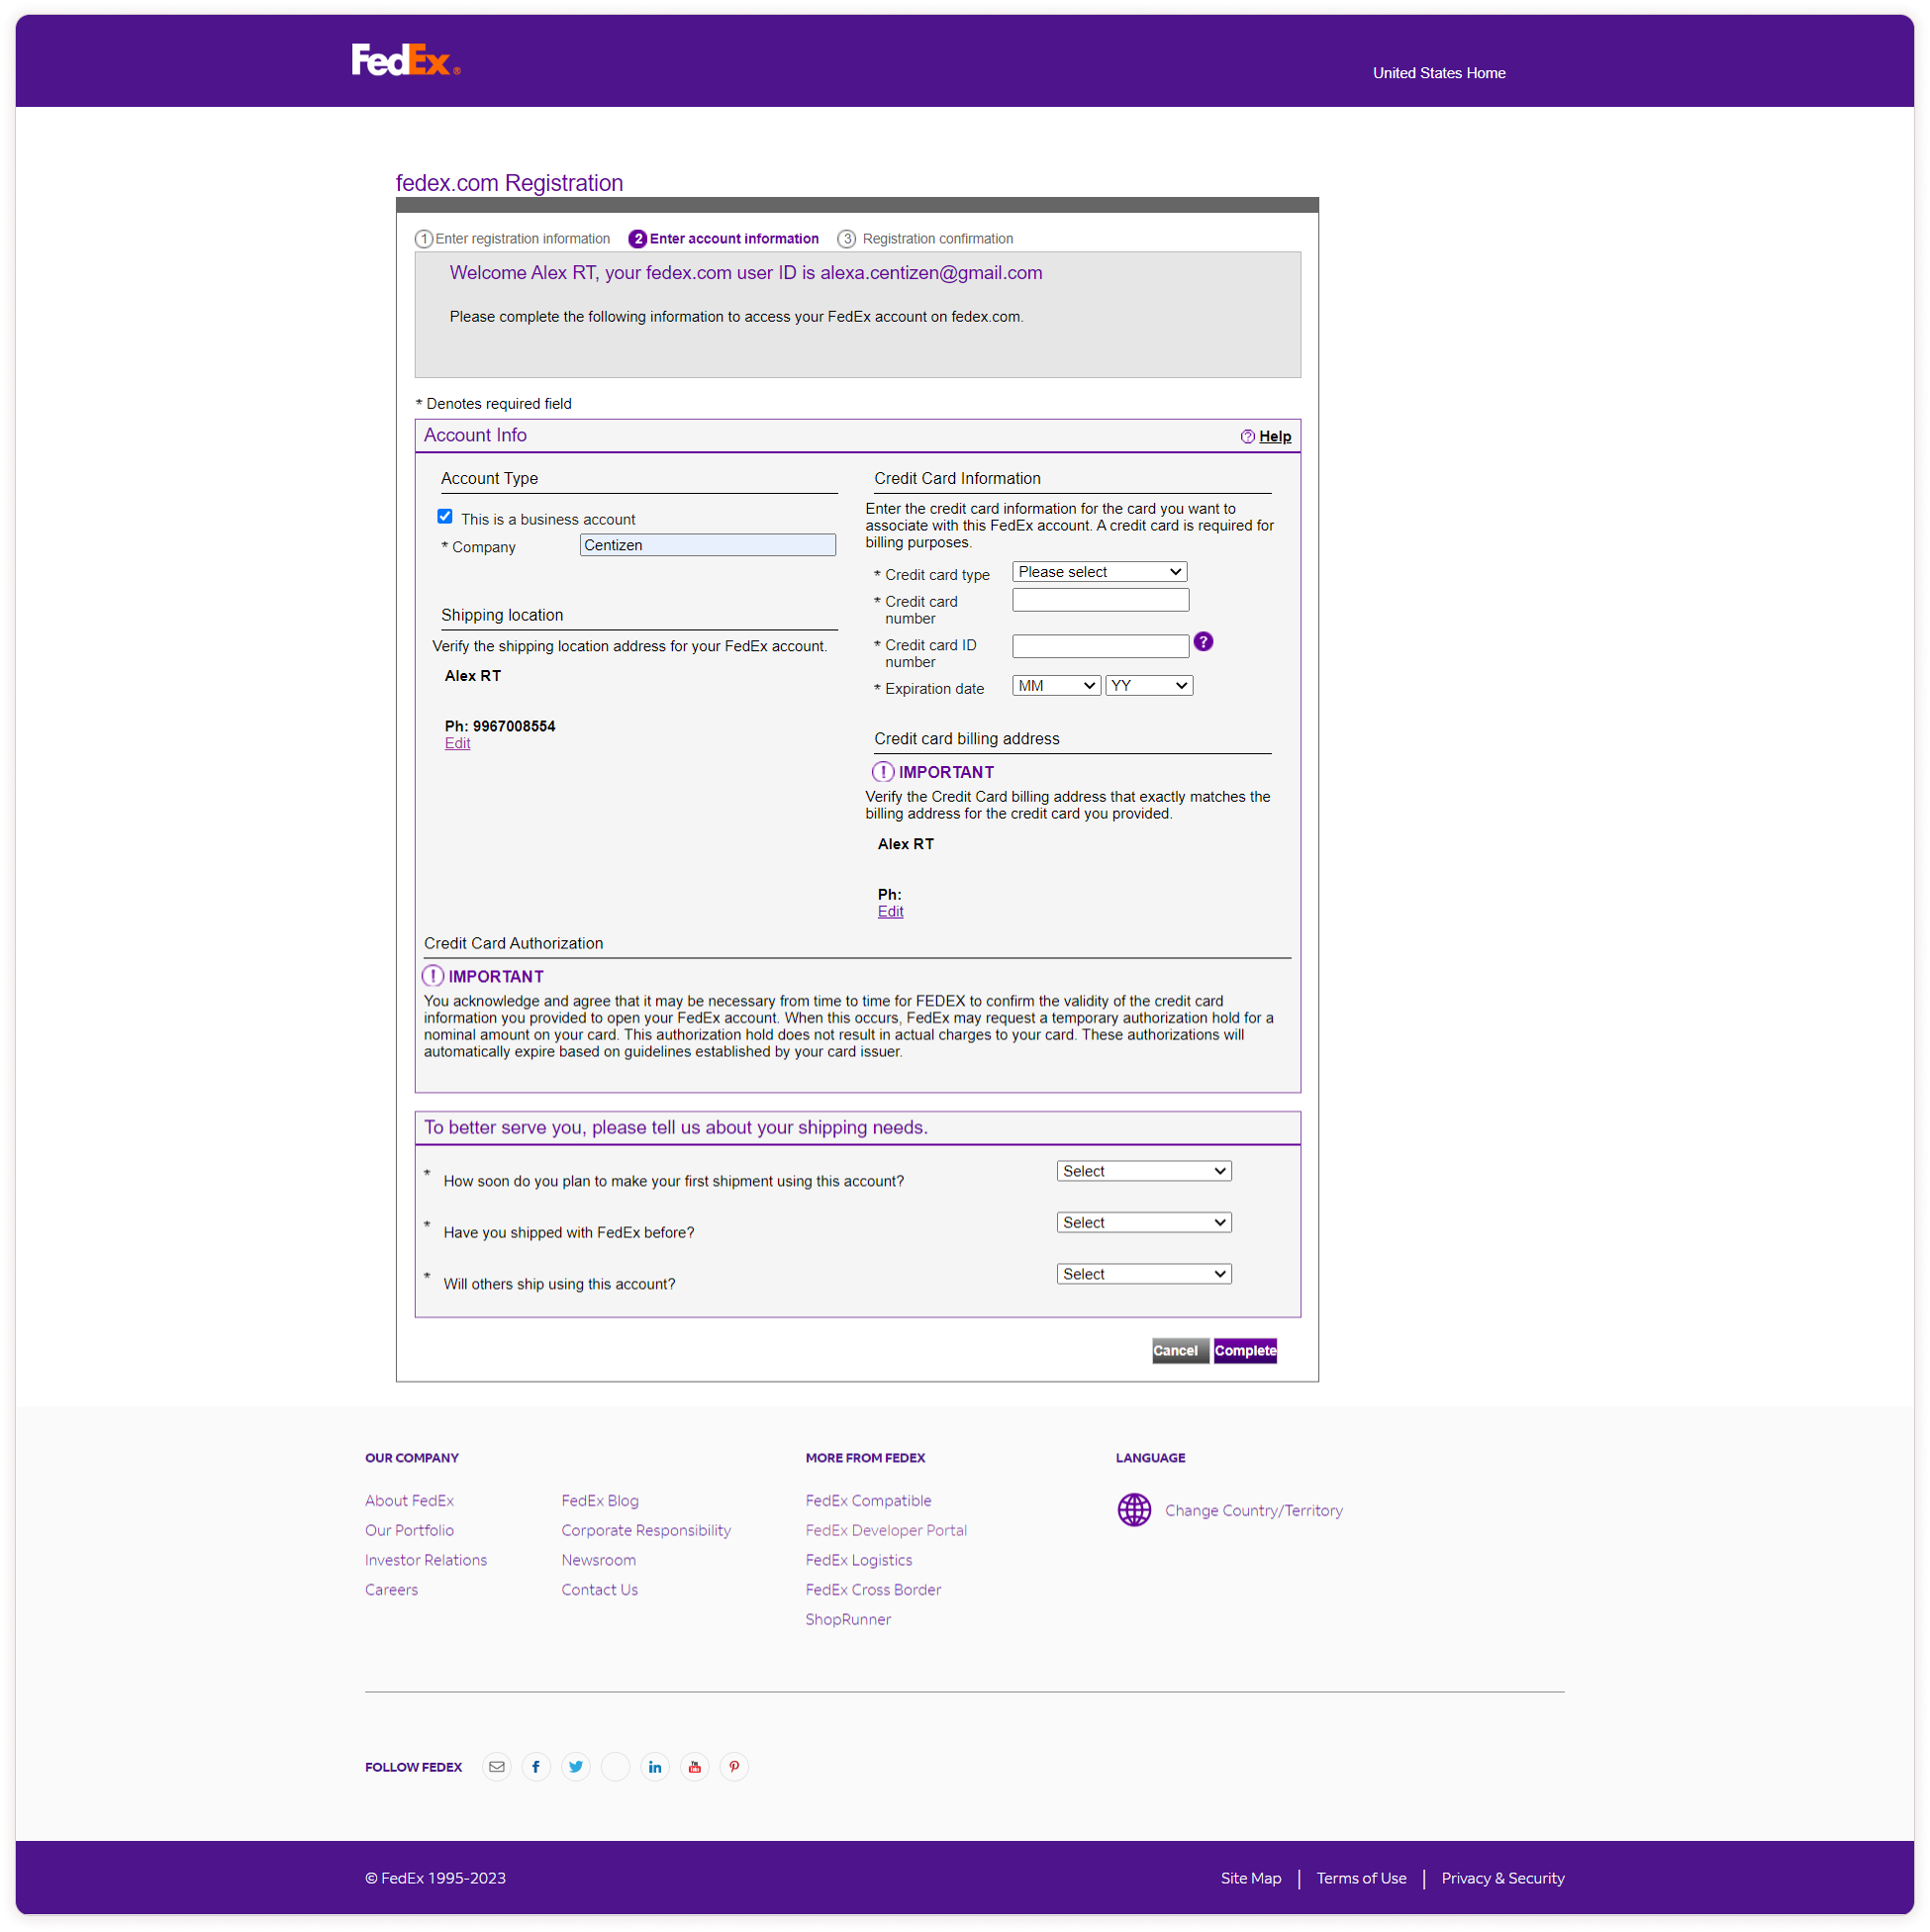
Step 8: Complete the Process
Fill in the required details to complete the process. Your account number and certain credentials will be sent to your email address. With these credentials, you can fill in the details to add the shipping account.
Step 9: Use Live Credentials for FedEx Shipment
Once you have completed the process and received live credentials, you can use them to make FedEx shipments.
How to Enable FedEx Orders Plugin in ZenBasket?
To activate FedEx, from the ZenBasket admin, go to the Plugins menu and Select the Plugin List sub-menu. In the Plugins List, choose Shipping from the list of plugins, and then select FedEx or search for FedEx in the search bar. Click on the Activate button to configure FedEx.

Click on the Settings icon and then mention the FedEx Account No, API Key, and API Secret Key. Click on Save.

How to View FedEx Orders?
-
In the Orders Menu click on the FedEx Orders.
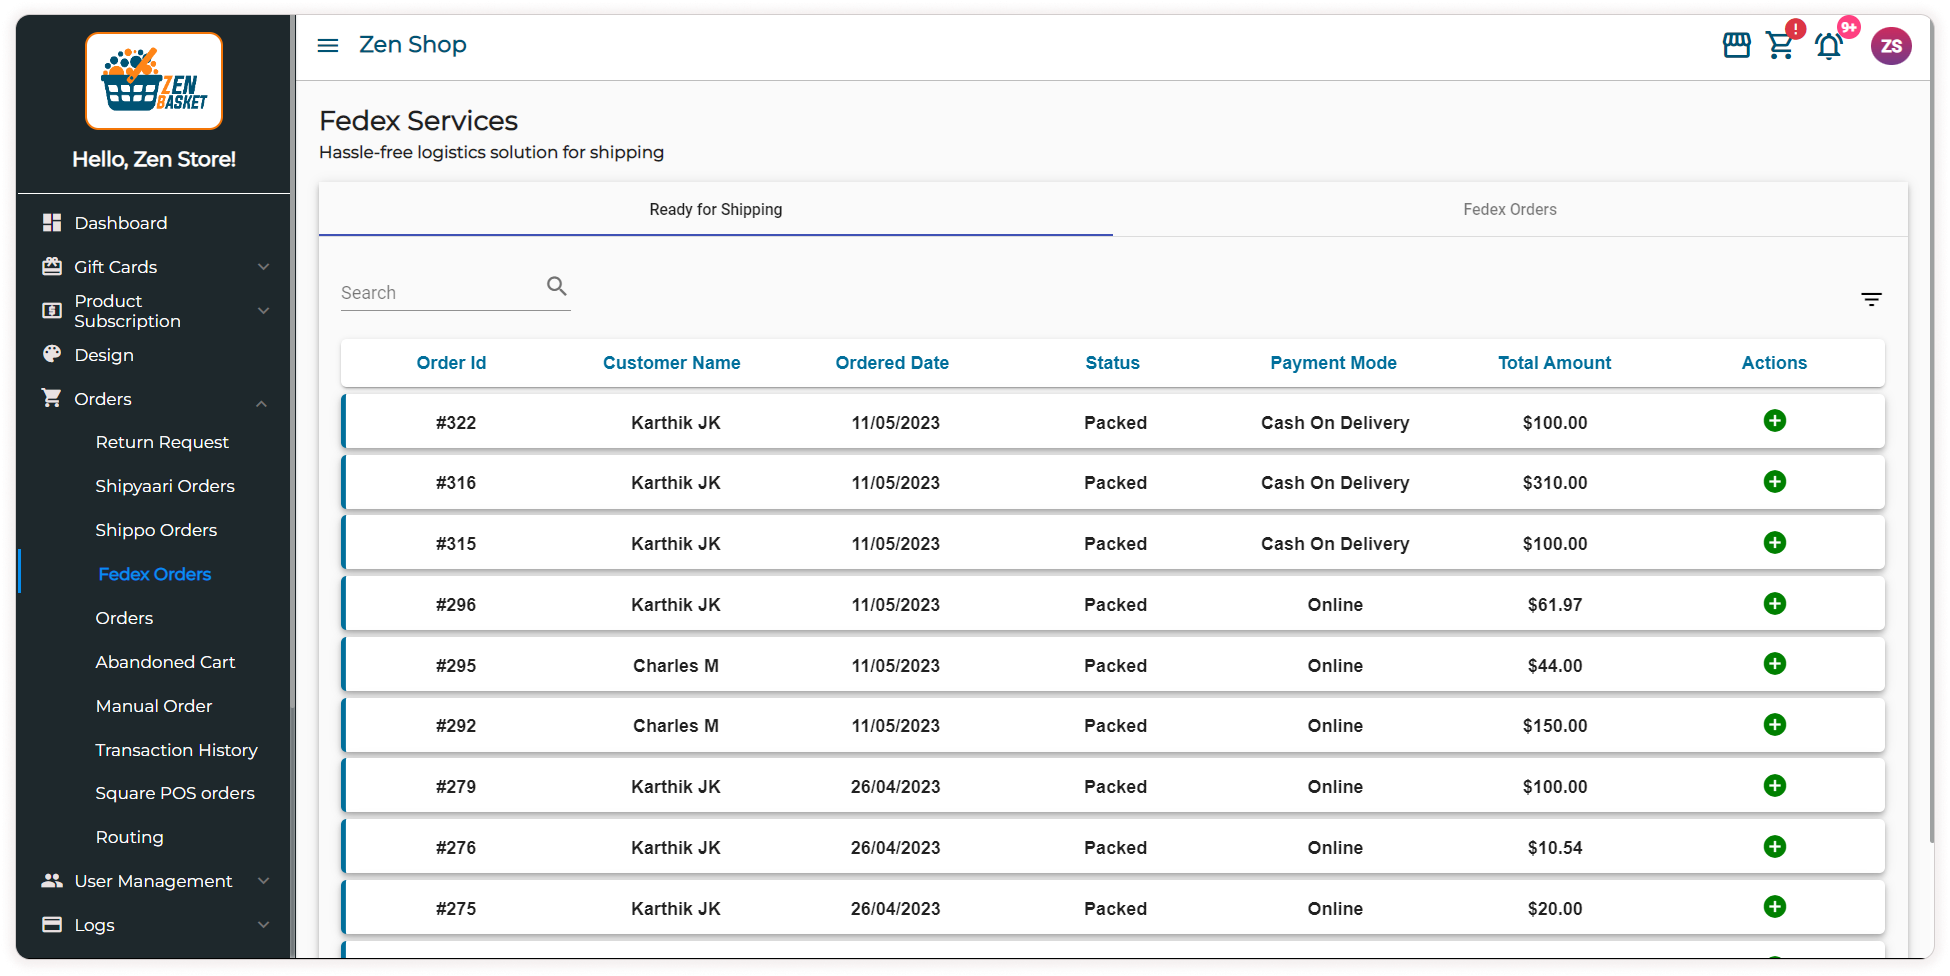
- In the Ready for Shipping tab, a table contains all the packed orders.
- Click on the Add symbol to create the label.
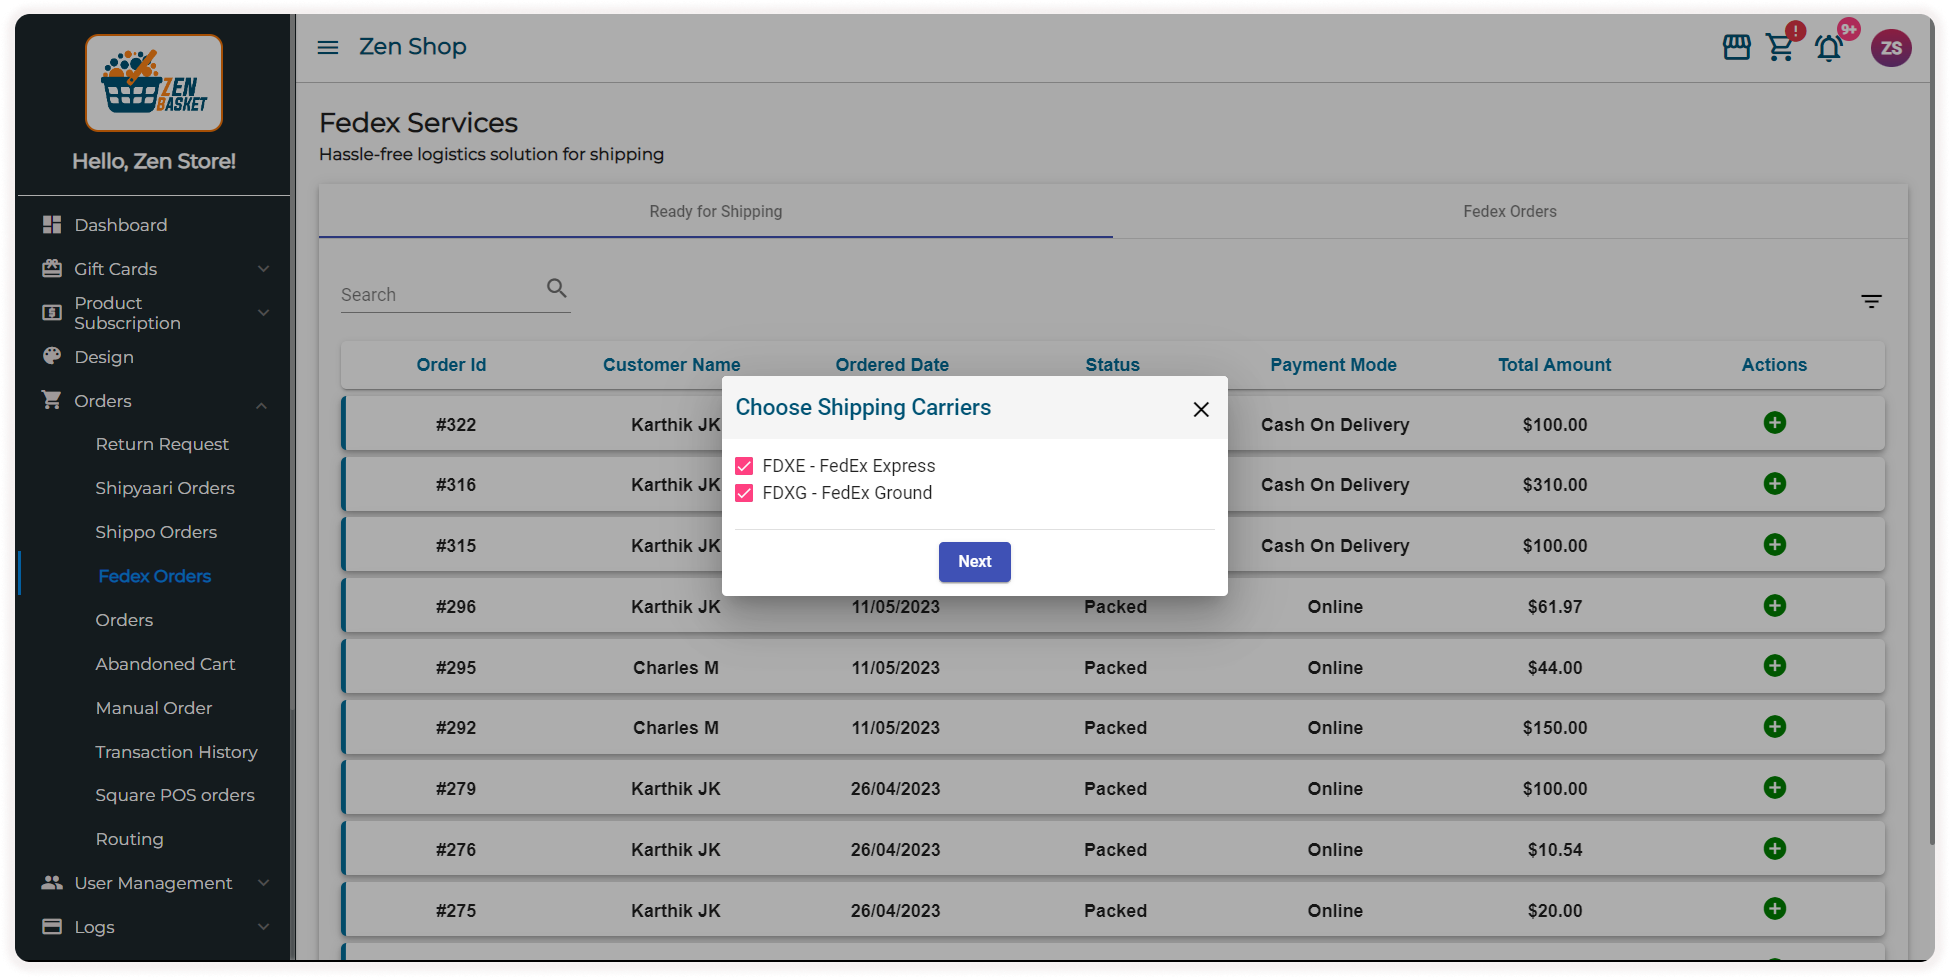
-
Choose the type of Shipping Carrier.
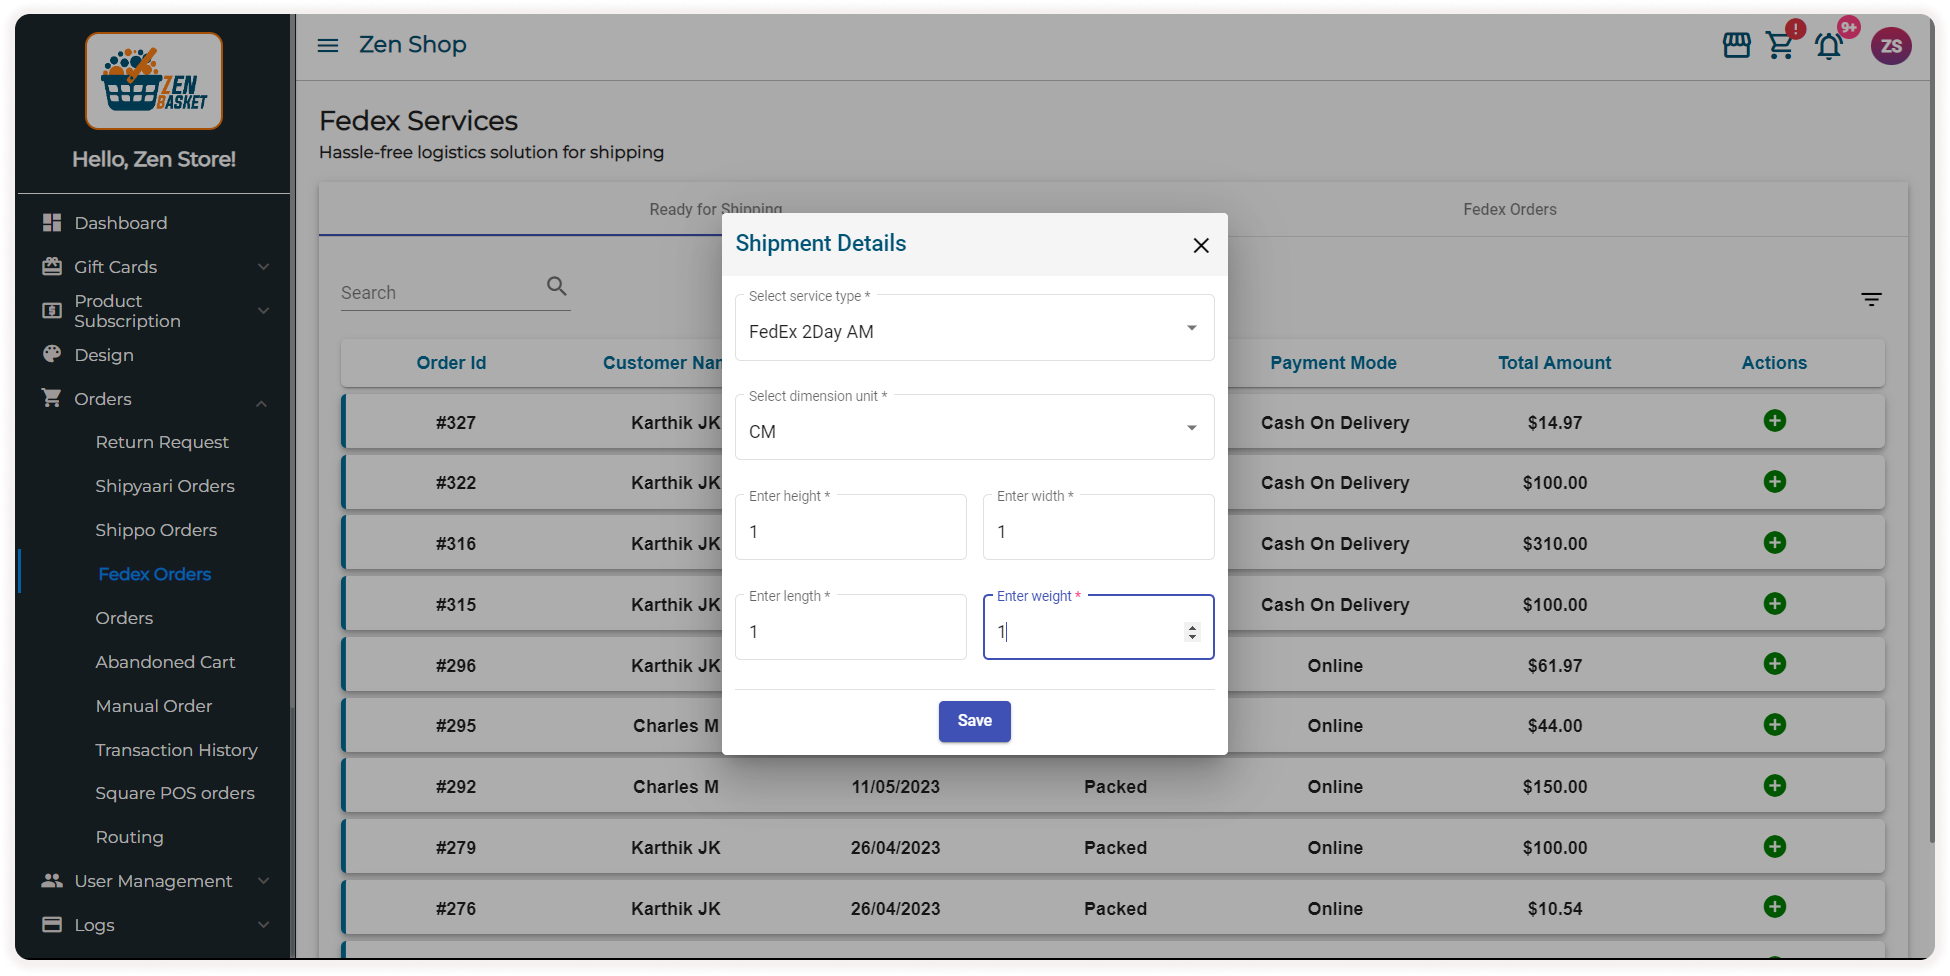
-
Now select the service type and dimension unit. And enter the Height, Width, Length, and Weight.
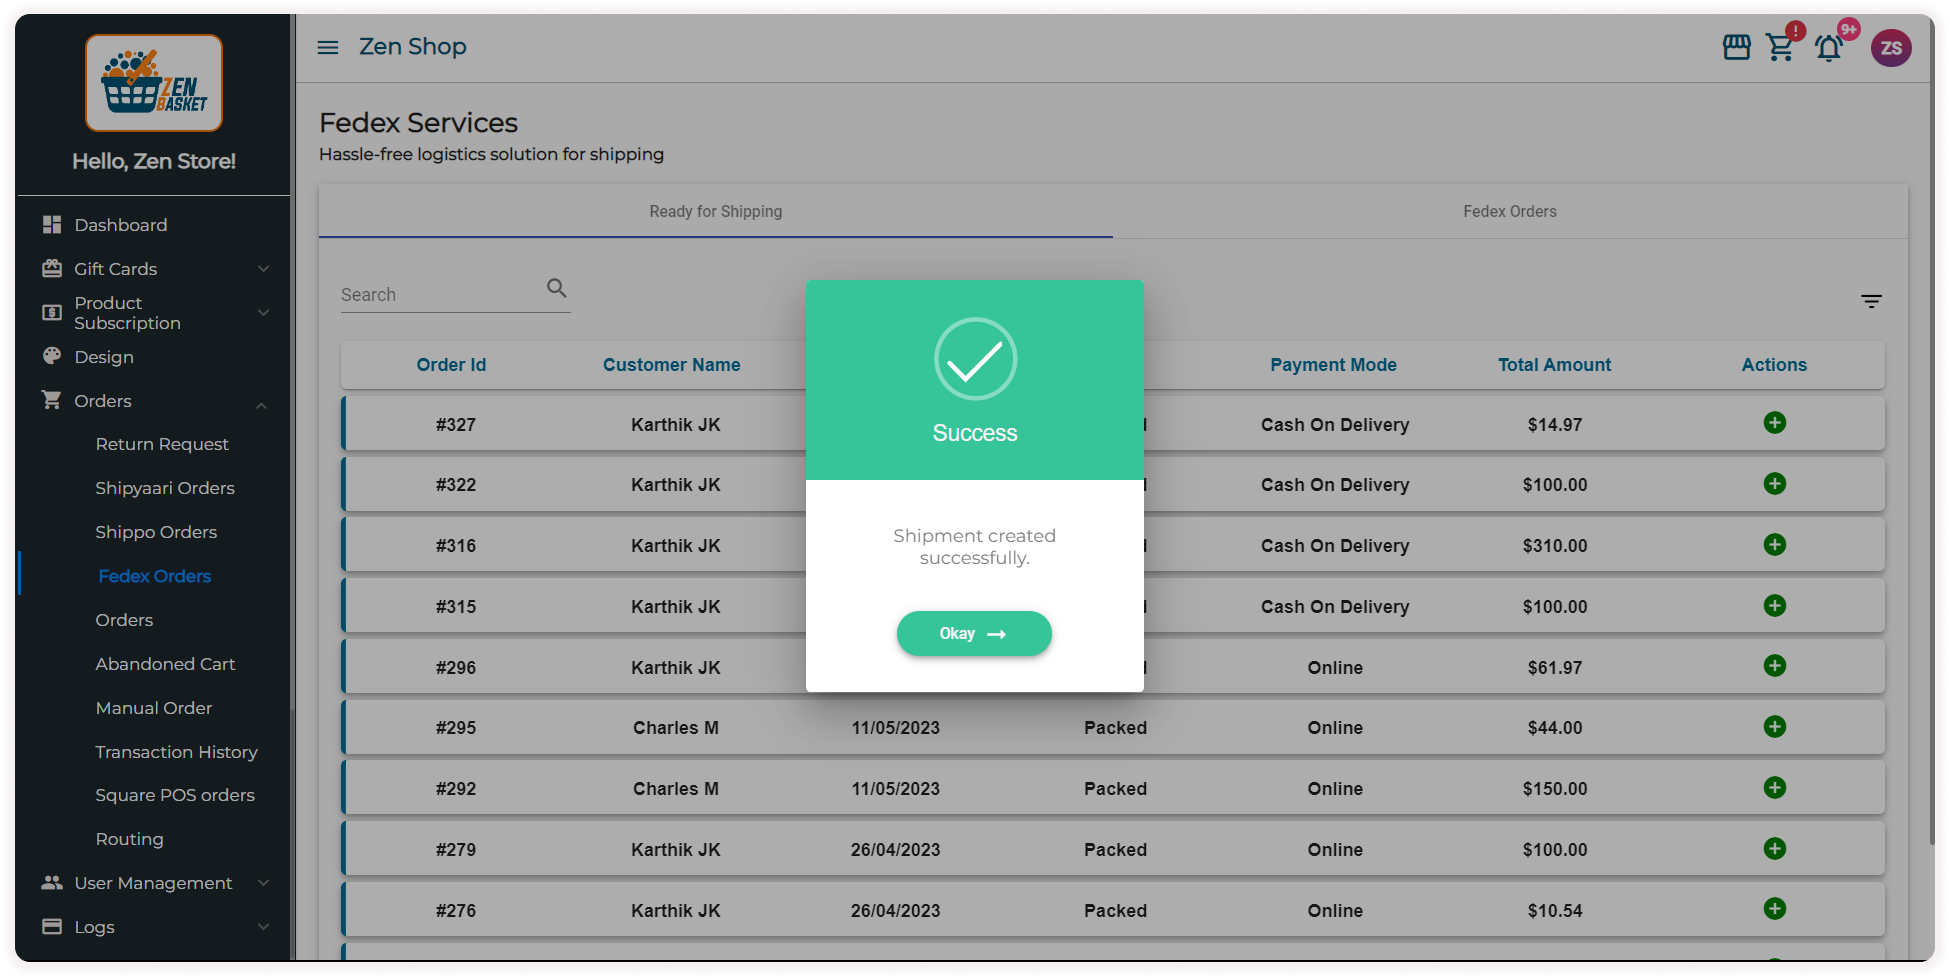
-
The order gets moved to the FedEx Orders Tab.
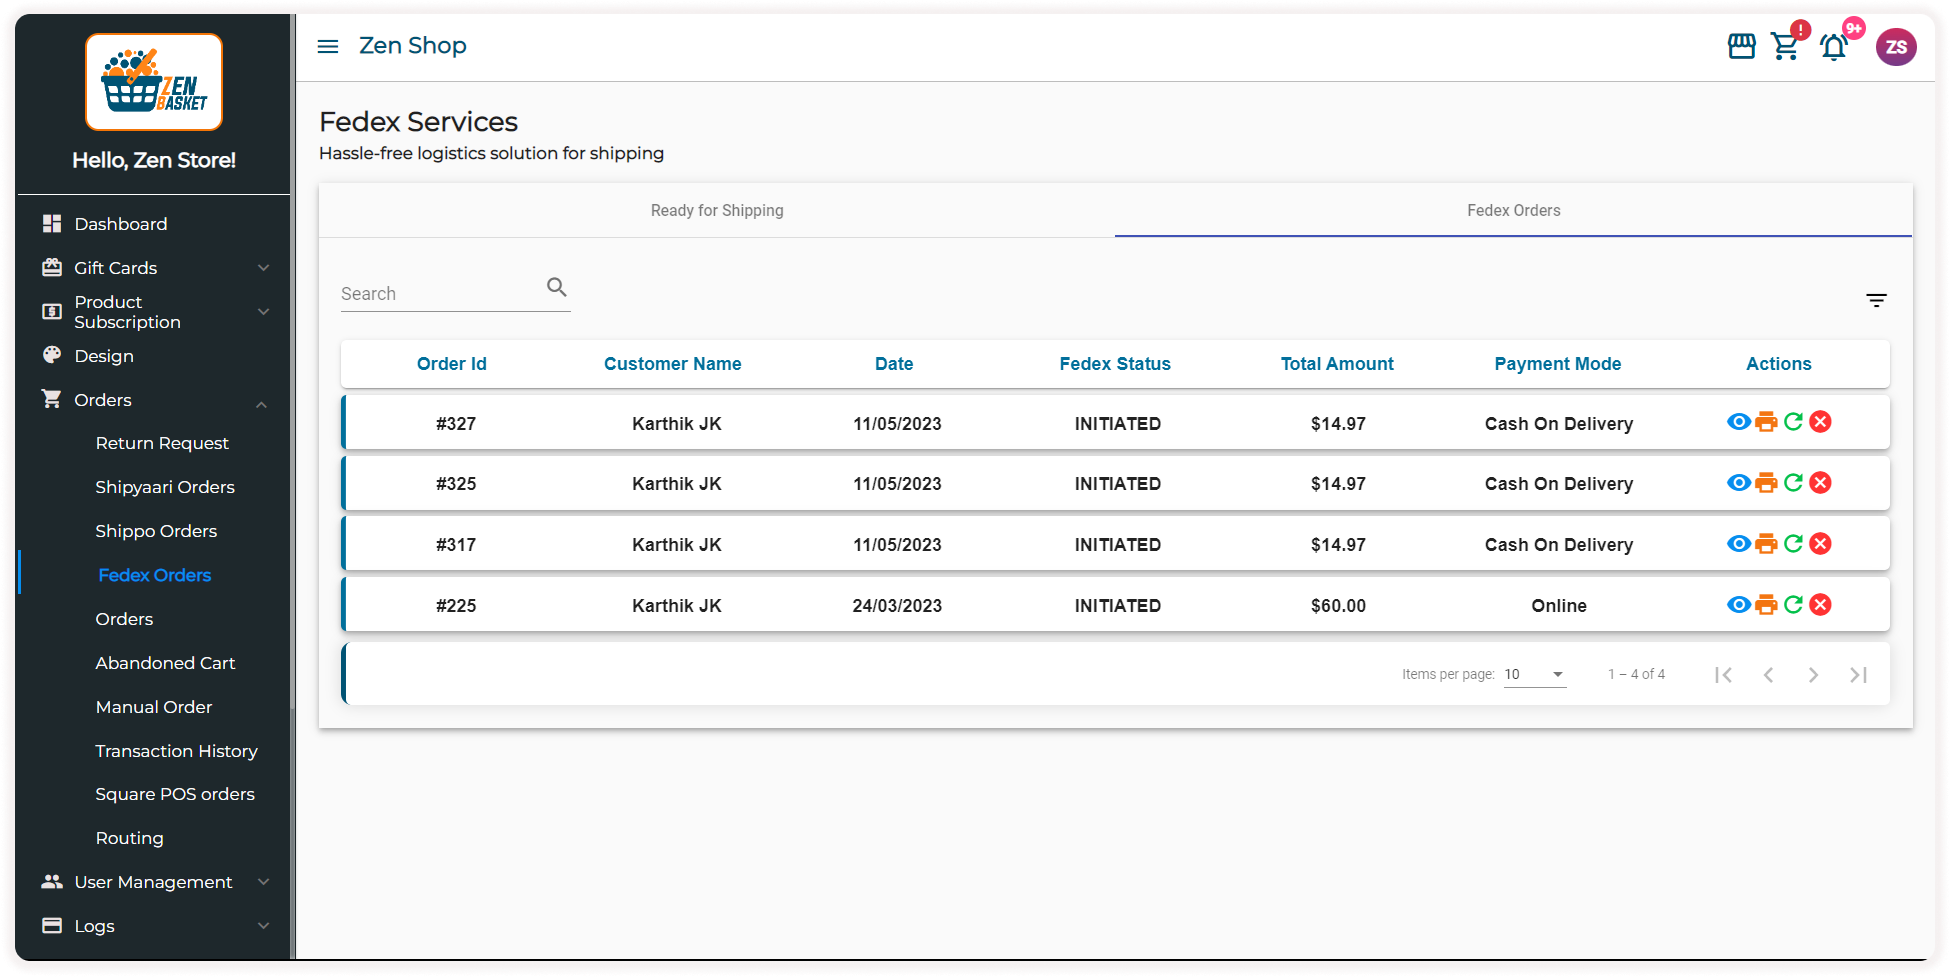
-
In the FedEx Orders tab, click on icons under the action to carry out processes like Shipment Tracking, Shipment Labeling, updating tracking status, or Canceling Shipment.
-
Click on the View icon to view the order status of the order.

-
Click on the Print icon to print an invoice.
-
Click on the Refresh icon to update the order status to the current status.
-
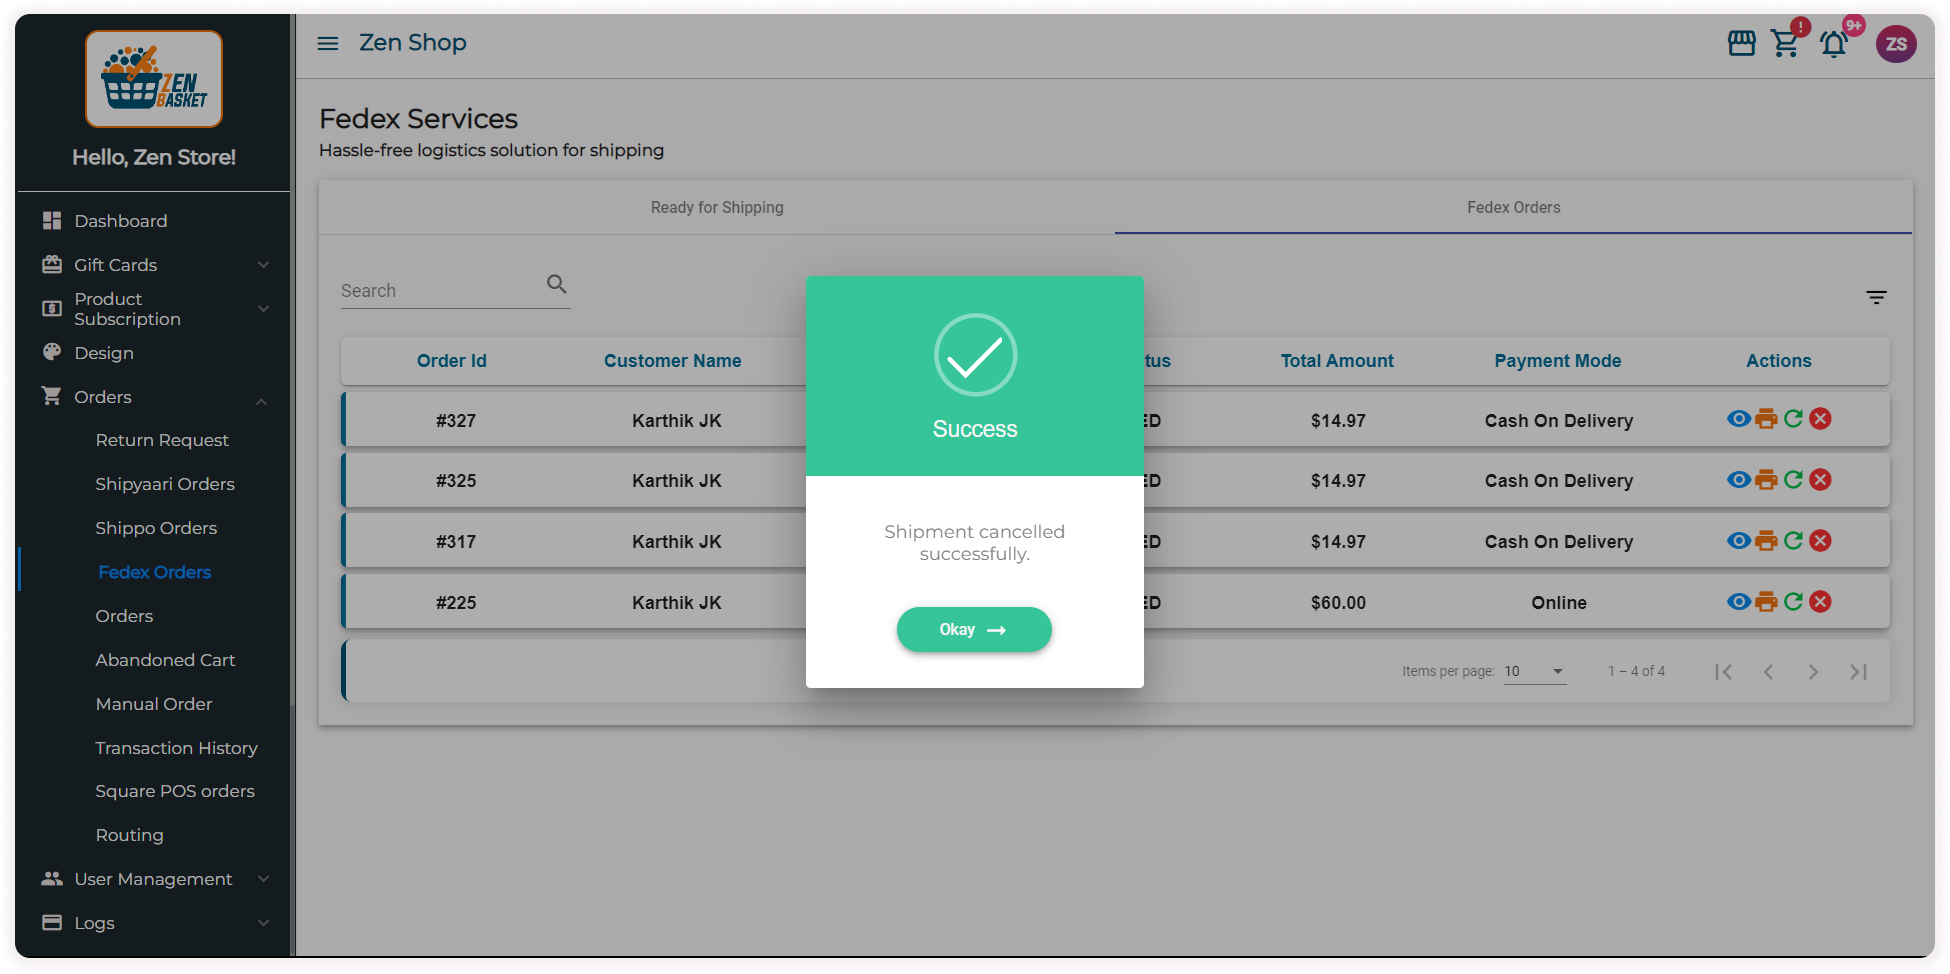
Finally, click on the X symbol if you want to cancel the order. Confirm the same in the dialog box.
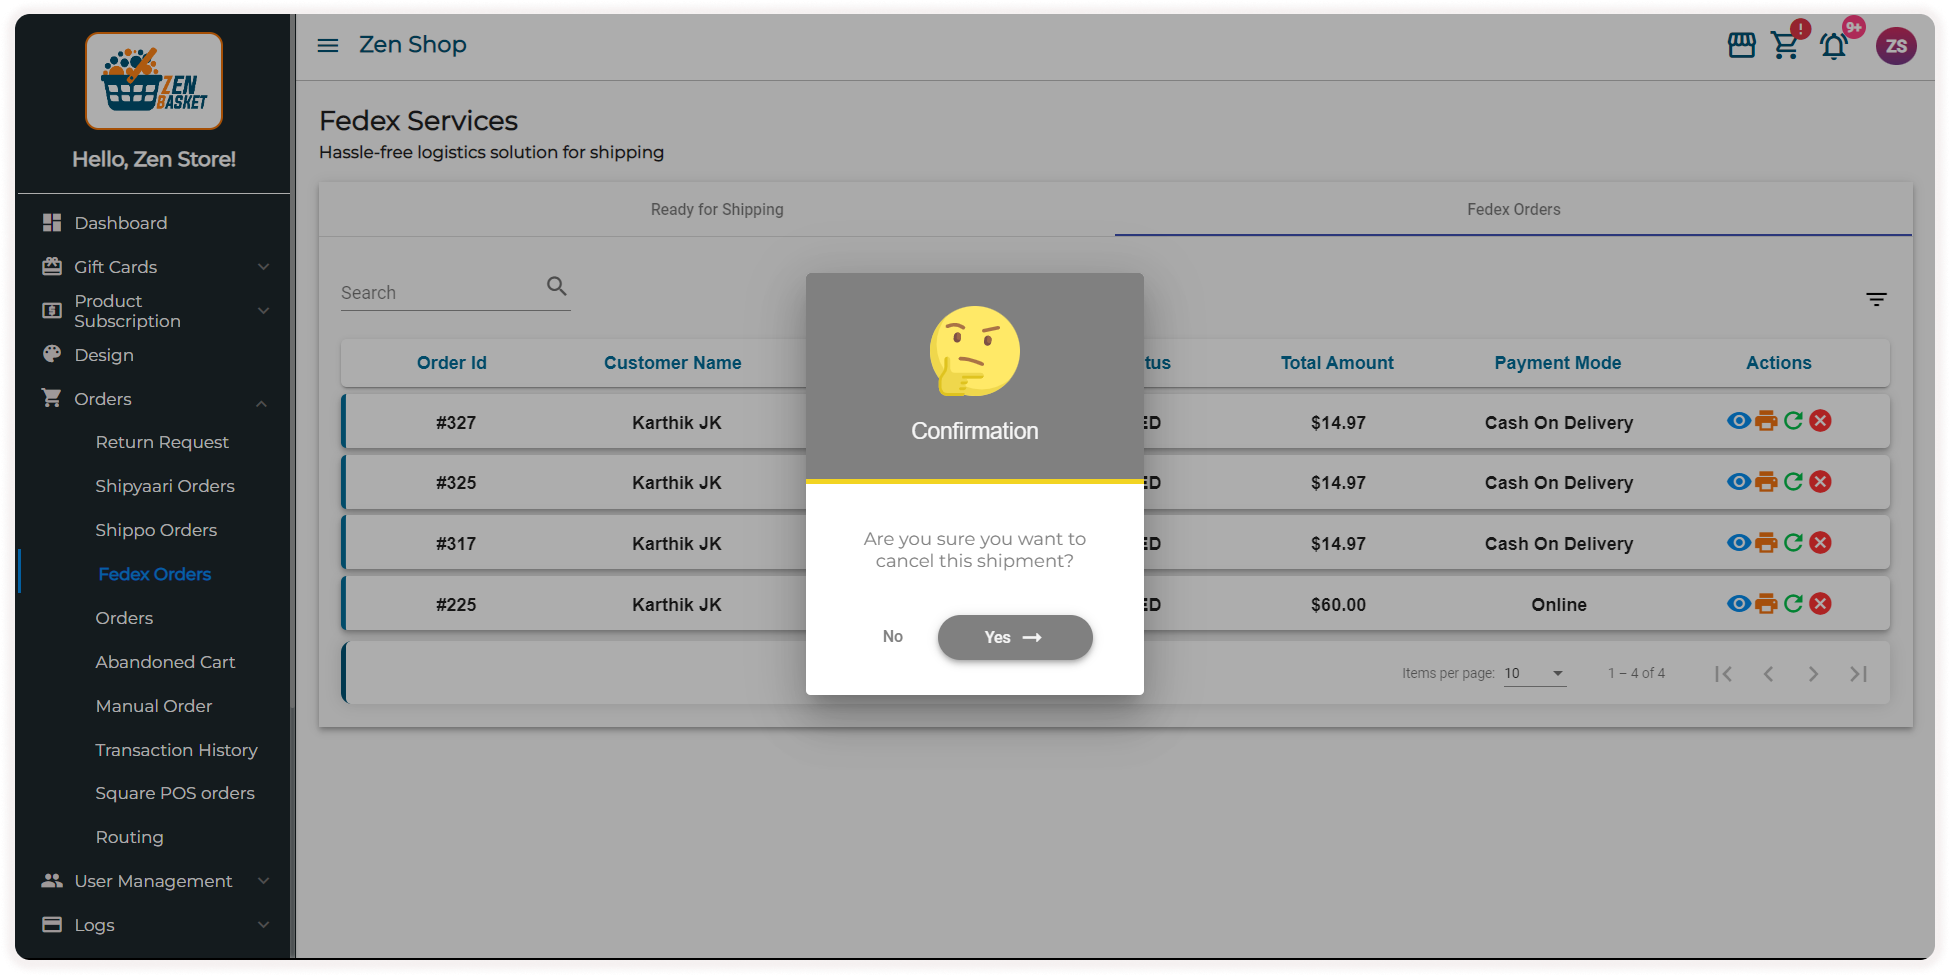
A confirmation message stating successful cancellation will be displayed. The refund will be made within a week.
Video Tutorial