
Account Setup & Configuration
Setup your ZenBasket Account
How to Create an online store account in ZenBasket?
ZenBasket is happy to launch your online store to increase customers and generate revenue. If you want to create a stylish user-interactive site with an online store, you are at the right place. We help you to build your professional site by yourself with zero coding knowledge. Once you signup your store is all yours. You can add products, improve customer behavior, fulfill orders and monitor sales.
Click on this Link to signup. If you’re at the sign-in page, click on the Signup here option.
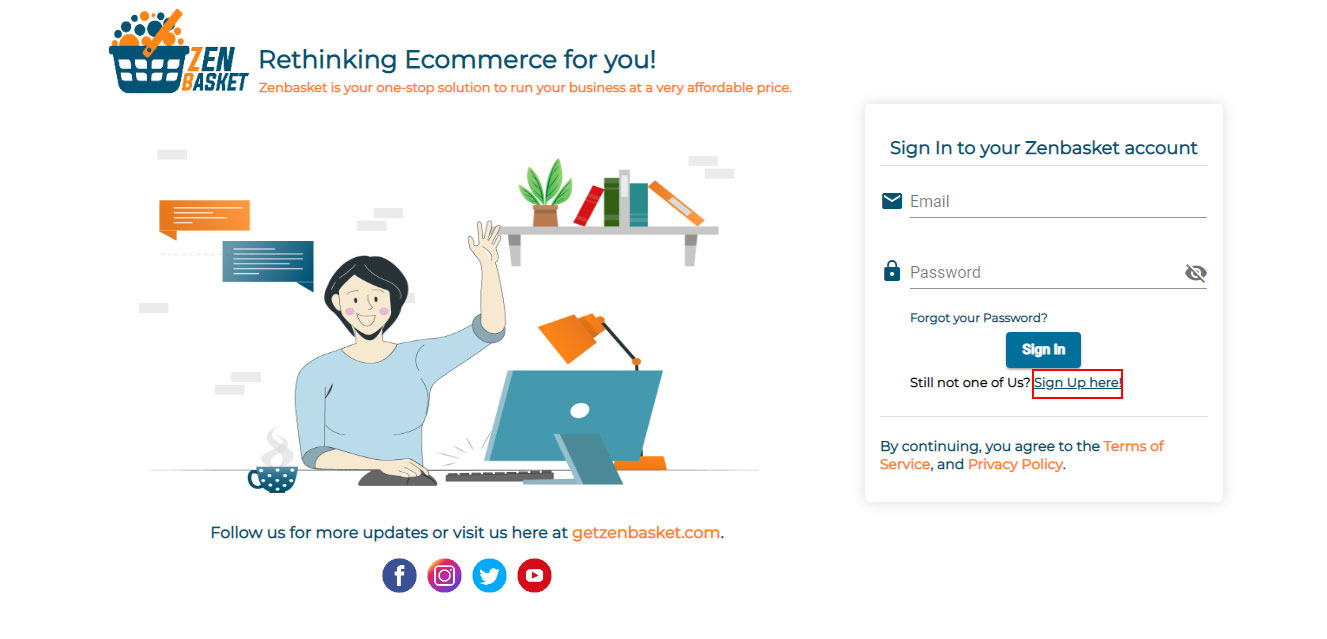
Steps to Signup as a business owner
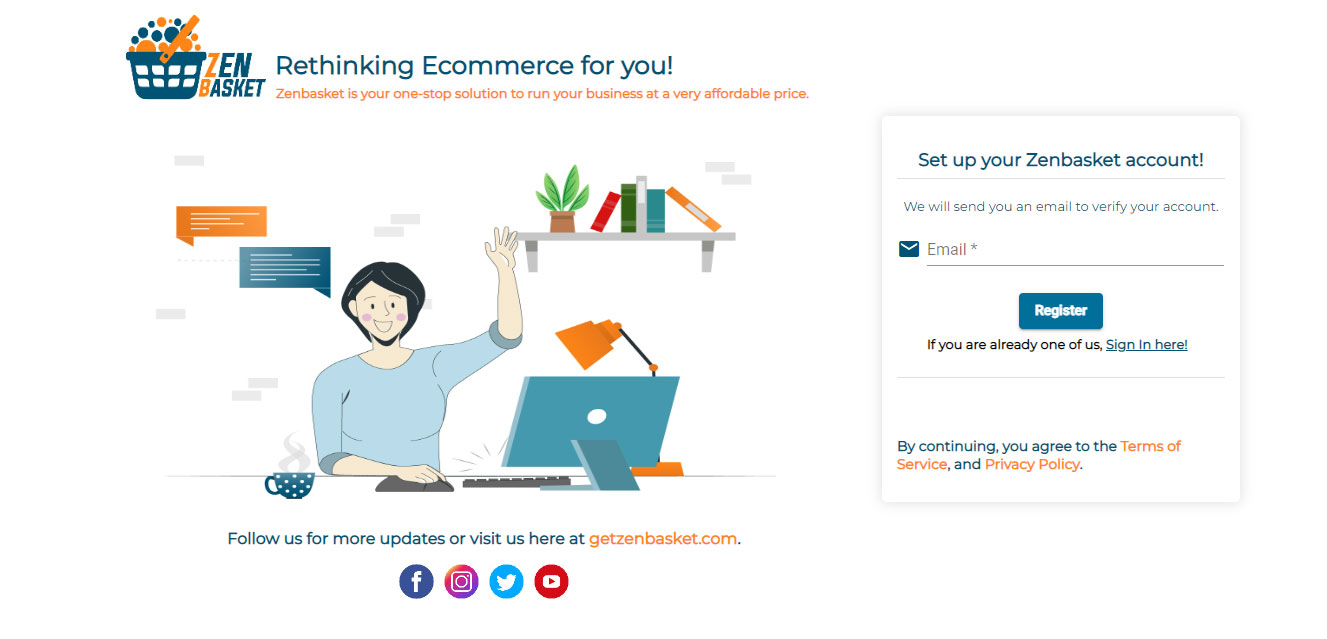
- Enter your store or business email id
-
Click on the Register button.
-
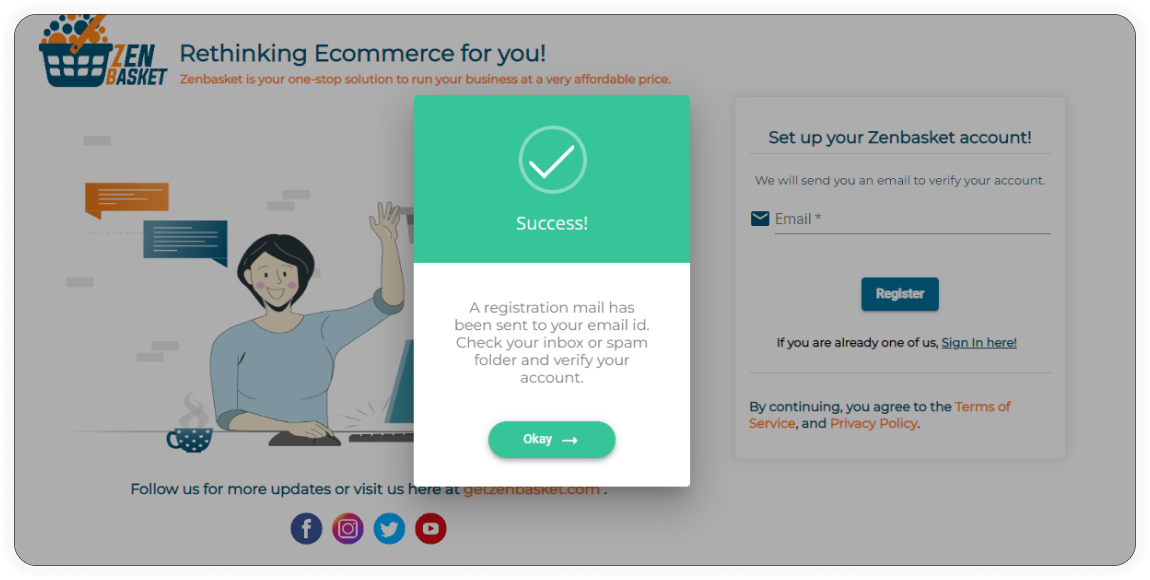
From ZenBasket admin, a mail has been sent to your registered email id to get started.
-
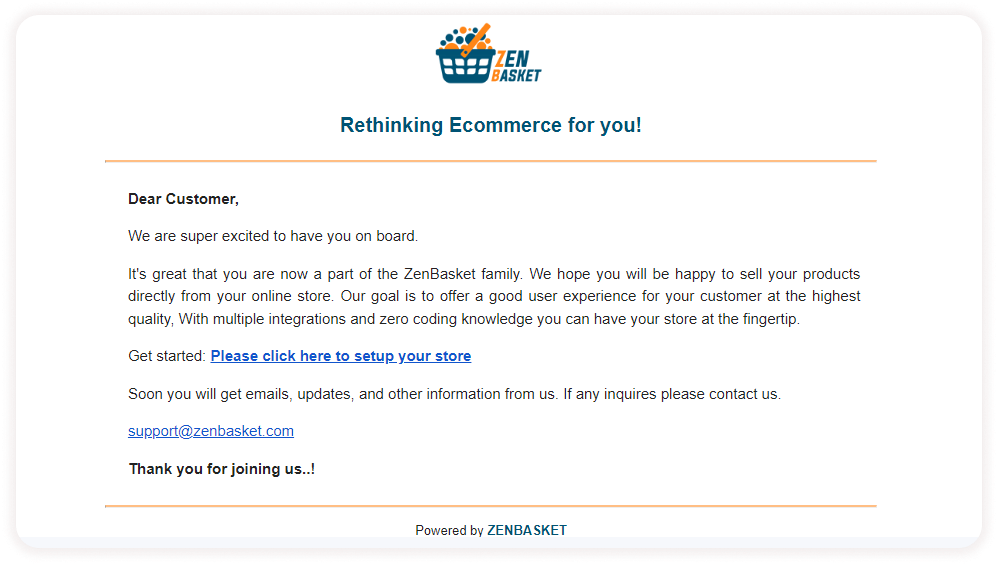
In the email, an URL is embedded to activate the registered email.
-
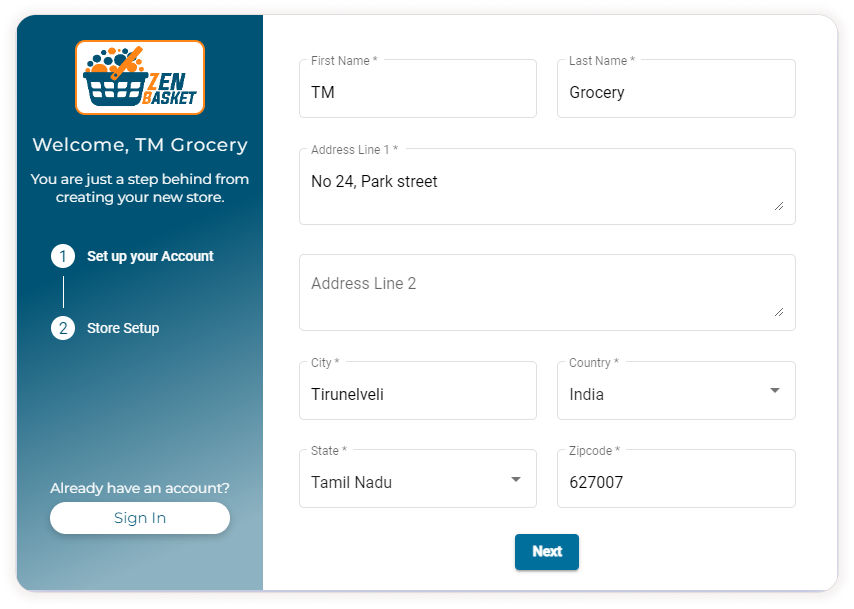
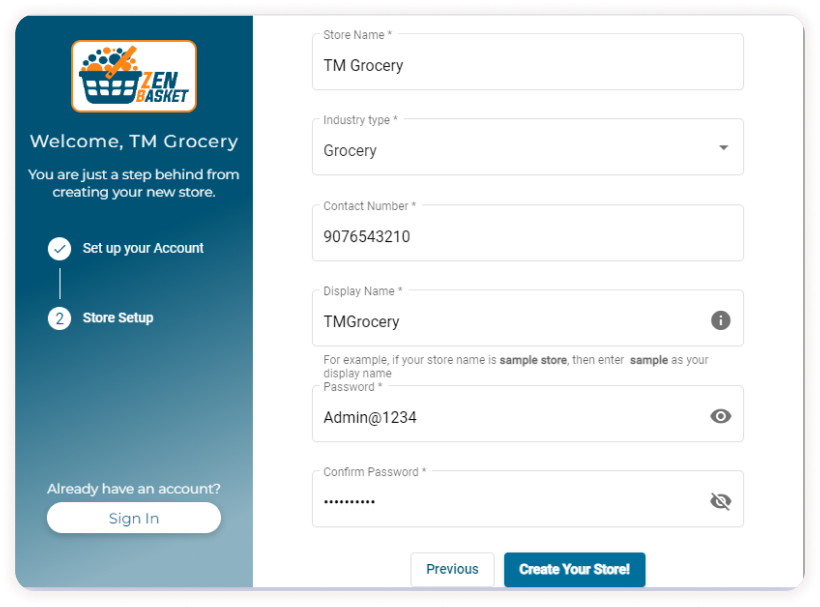
In the setup page, you’ll have two steps; set up your account and store set up. To set up your account, enter the information about your store name and address details. In the store set up, enter the store name, industry type, contact number, Display name and password. Finally, click on Create your store! button.
-
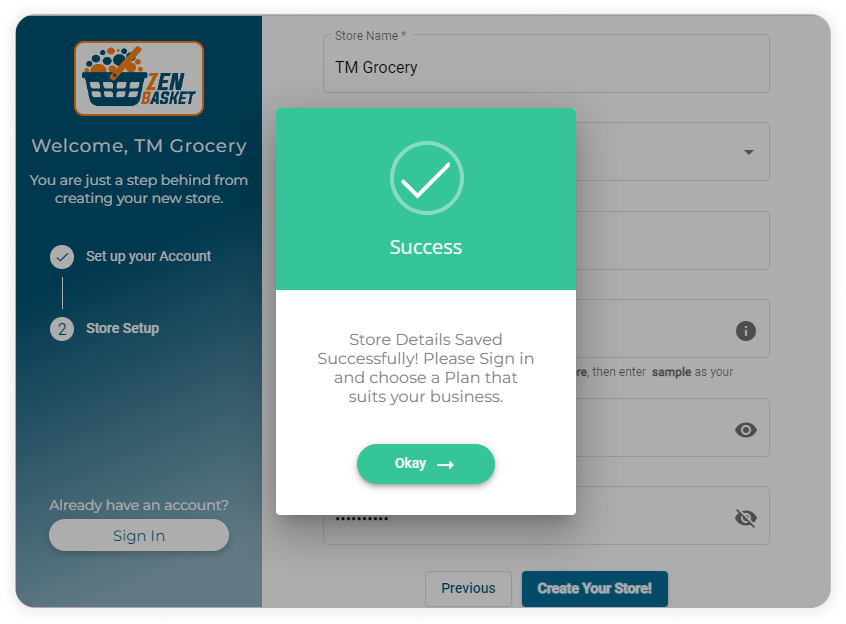
Now you have created your ZenBasket account successfully.
-
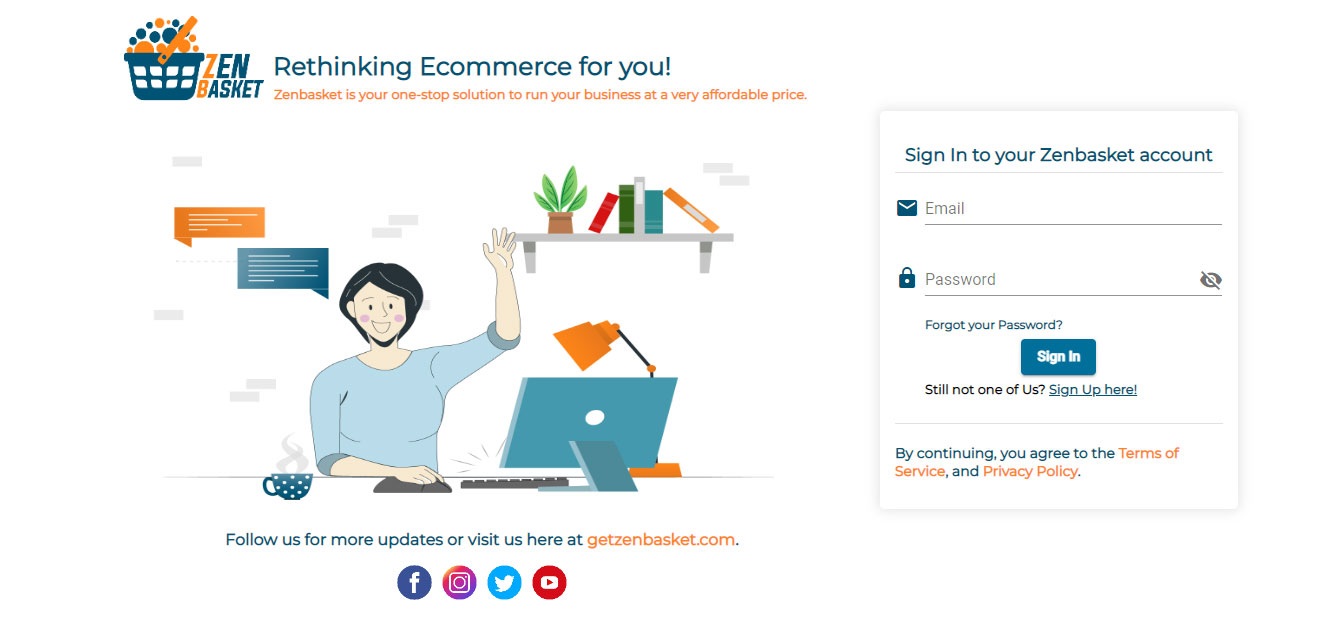
Then click on the sign in button, and enter your email and password to access your account.
How to set up an admin account in ZenBasket?
-
First, you have to select the plan based on your business requirement. ZenBasket includes three different plans: Premium, Standard and Gold plan.
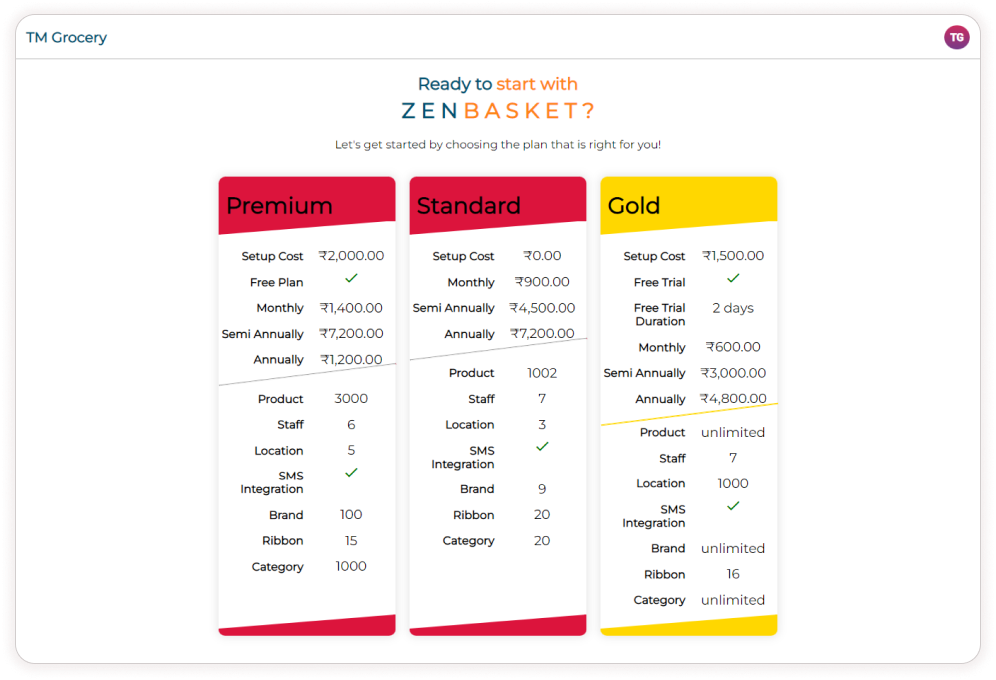
Processing Plan
The Plan contains setup cost, free trial period, payment info, free SMS, product count, staff count and location number.
-
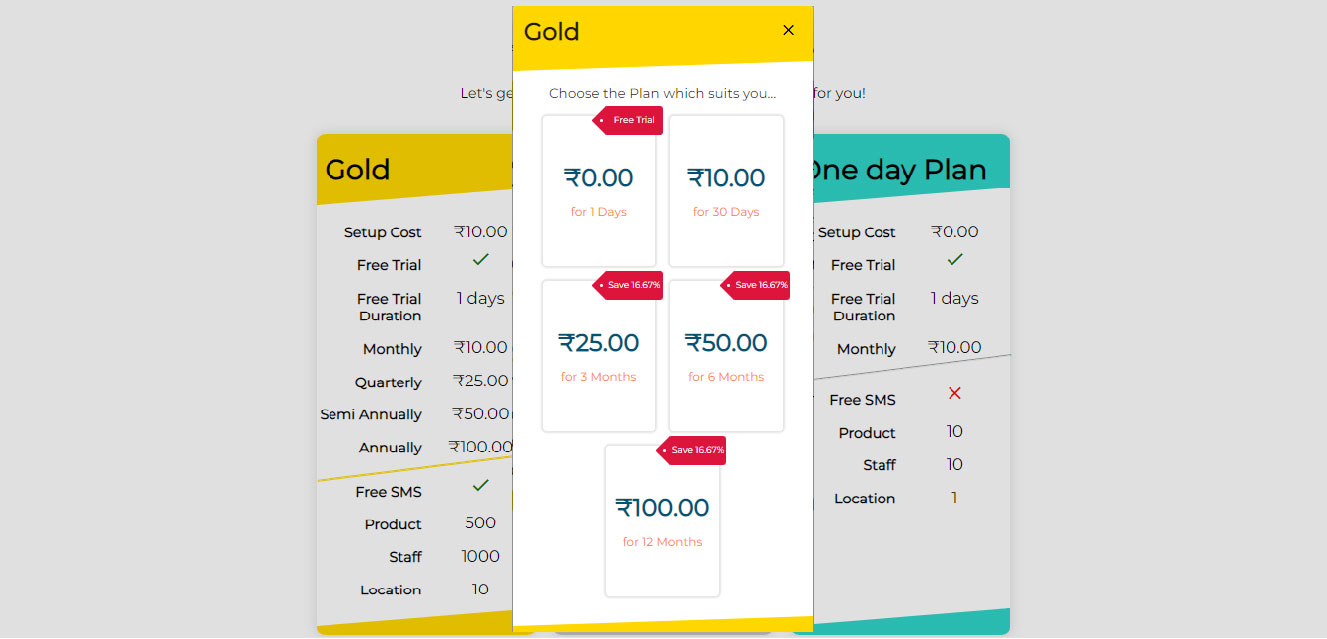
Then you have to choose the pricing for a particular period.
-
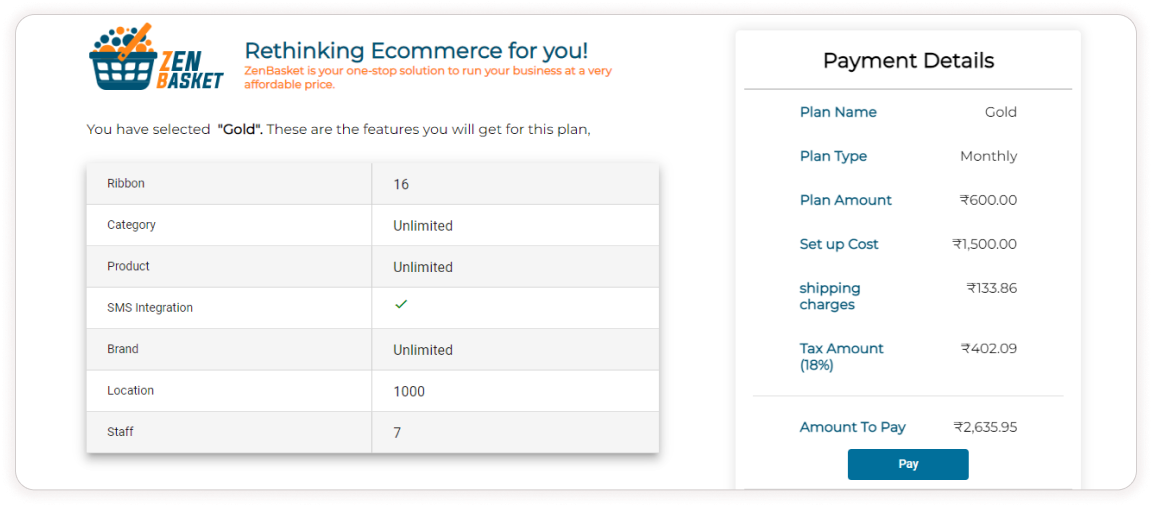
After choosing the plan , complete the payment process.
-
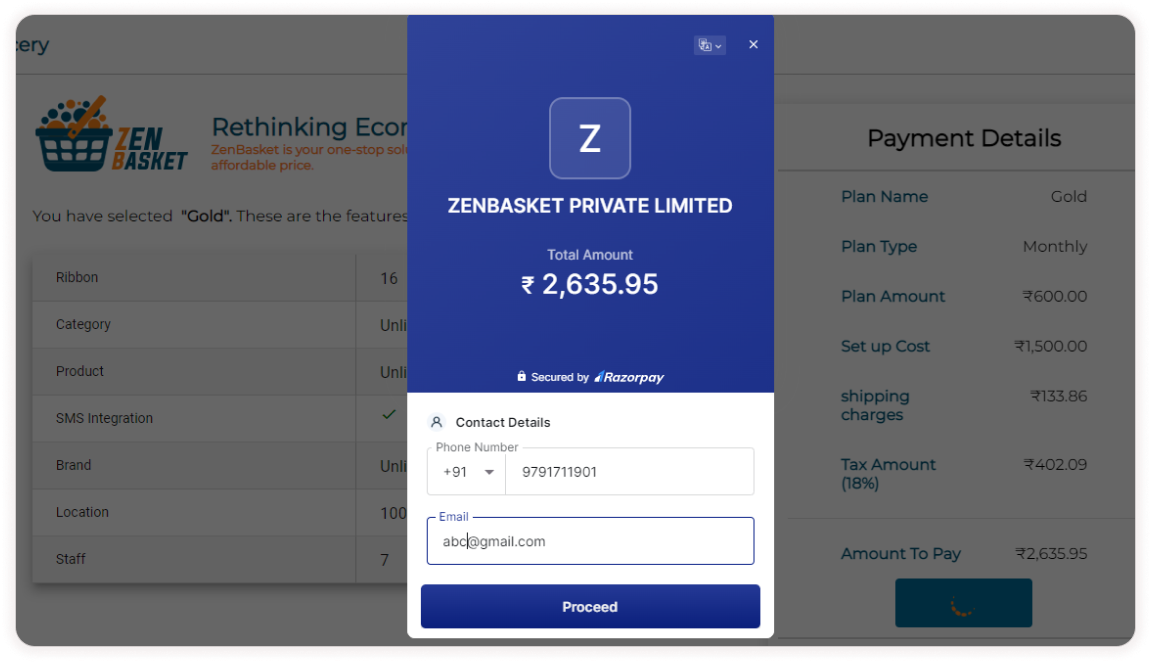
Now enter your email and phone number and click on Proceed.
-
Now choose your payment method among multiple payment gateways such as:
- Card - Visa, Mastercard, RuPay and Maestro
- Pay with QR - Google Pay, Phonepe, Paytm, BHIM UPI
- UPI/QR - Google Pay, Phonepe, Paytm & More
- Netbanking - All Indian Bank
- Wallet - Phonepe & More
- EMI via ZestMoney
- Pay Later - Simpl, LazyPay, ICICI & More
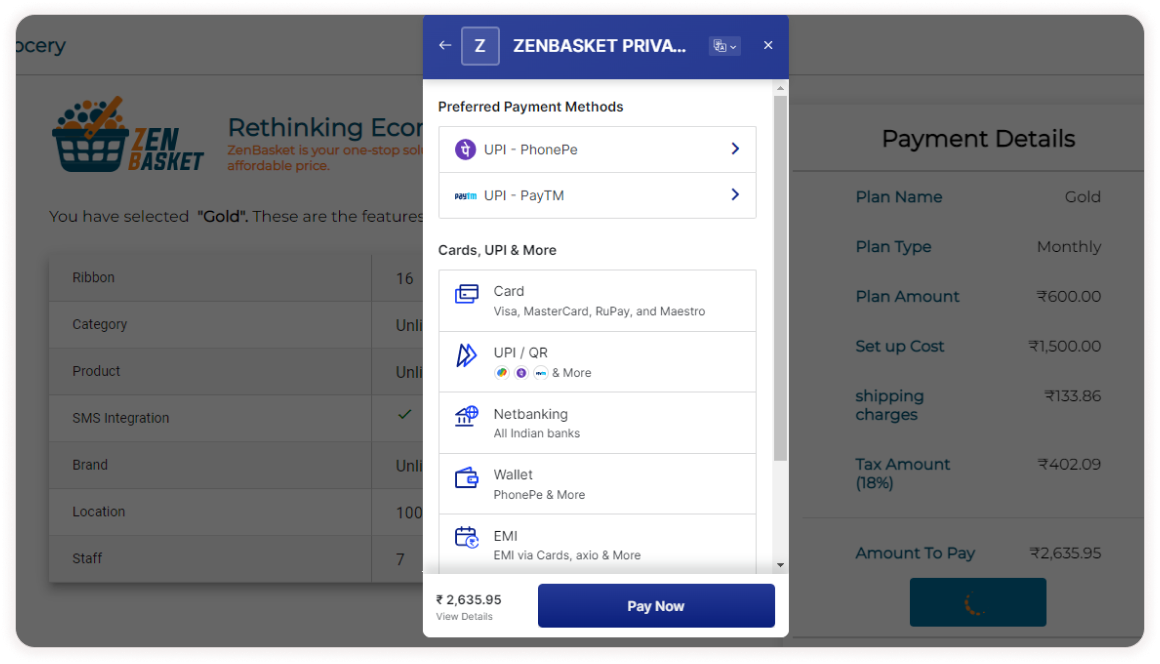
-
Finally click on Pay Now. Now your Store setup is completed successfully and a theme will automatically be set based on the chosen industry type while signing-up.