
About Menu
Menus help visitors navigate your website easily by organizing links to different pages or sections in a clear and structured way.
ZenBasket Builder includes a Menu element that lets you create, customize, and manage your website’s navigation menus with ease.
Each theme includes a built-in site menu. However, if you want to customize or create your own, you can easily add a new menu manually.
Creating a Custom Menu
To create a custom menu on your site
-
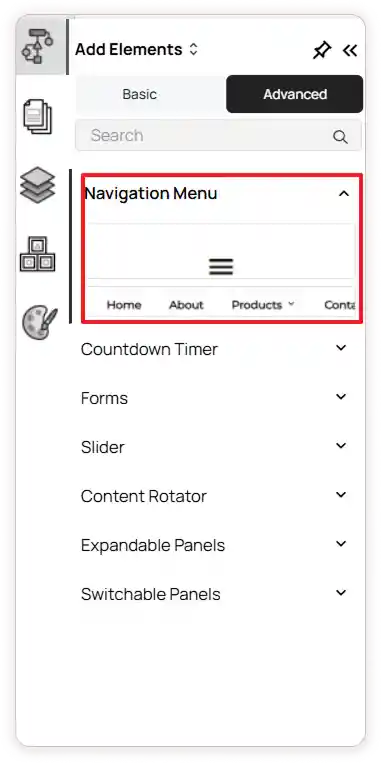
Go to the left tools panel and click Add Element.
-
Under Advanced Elements, select Navigation Menu.
-
From the dropdown, choose the desired menu element.
-
Click and drag the menu element to the desired position on your site.
-
Once added, you can customize the menu to match your design and navigation needs.
To customize the menu
-
Click on the menu element to start customizing it.
-
You can resize or reposition it by dragging the edges or moving it to a new location.
-
Navigate to the right panel settings.
-
Click on the Properties option.
-
Under Effects & Animations, you can apply animation actions and effects to your menu.
-
Under Borders & Shadows, enable Box Shadow if needed, and adjust the border using the margin and padding settings for the menu element.

-
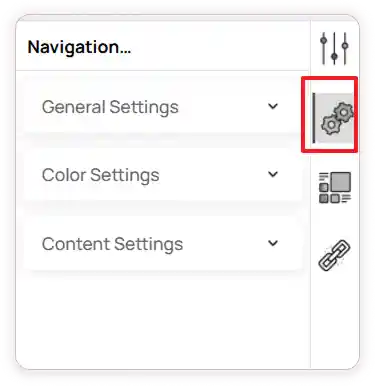
To configure the menu design and content, click on the Configuration option.
-
Under General Settings, choose the Menu Type: Horizontal or Hamburger.
-
Select the Design Type: Underline, Normal, or Background.
-
Select the Menu Position and Menu Mode from the dropdown options.
-
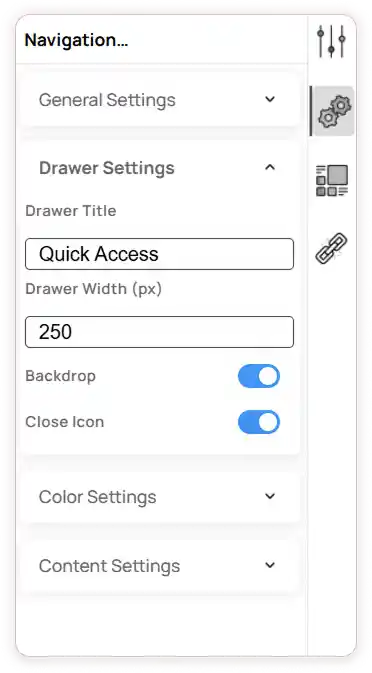
When you choose the Hamburger menu type, Drawer Settings will appear.
-
You can configure:
-
Drawer Title
-
Drawer Width
-
Enable Backdrop: Turns on a semi-transparent background overlay behind the menu drawer.
Enable Close Icon: Shows a close icon inside the menu drawer.
-
-
In Color Settings, you can set colors for: Text (Normal), Hover Text, Active Text, Arrow, and Underline.
-
Under Content Settings, in Menu Items, you can edit or delete the default menu items.
-
Click the Edit icon to rename a menu item or add a link to define where it navigates.
-
Use the Add icon to include a new menu item.
-
Add submenus within your menu item by clicking the Add Submenu button.
-
Click the Delete icon to remove a menu item.
-
Drag and rearrange menu items to set their display order.