
Free Product (Pay X, Get Free) Discount
ZenBasket allows you to offer free products as part of promotional campaigns using the Pay X, Get Free discount feature. This is a great way to increase order value, attract customers, and improve conversion rates by rewarding purchases with free items.
To get started, make sure the Pay X, Get Free Discount plugin is enabled in your store.
How to Create a Free Product
-
Go to the Plugins menu.
-
Purchase and enable the Pay X, Get Free Discount plugin.
-
Once the plugin is enabled, go to the Products module.
-
Select the All Products menu.
-
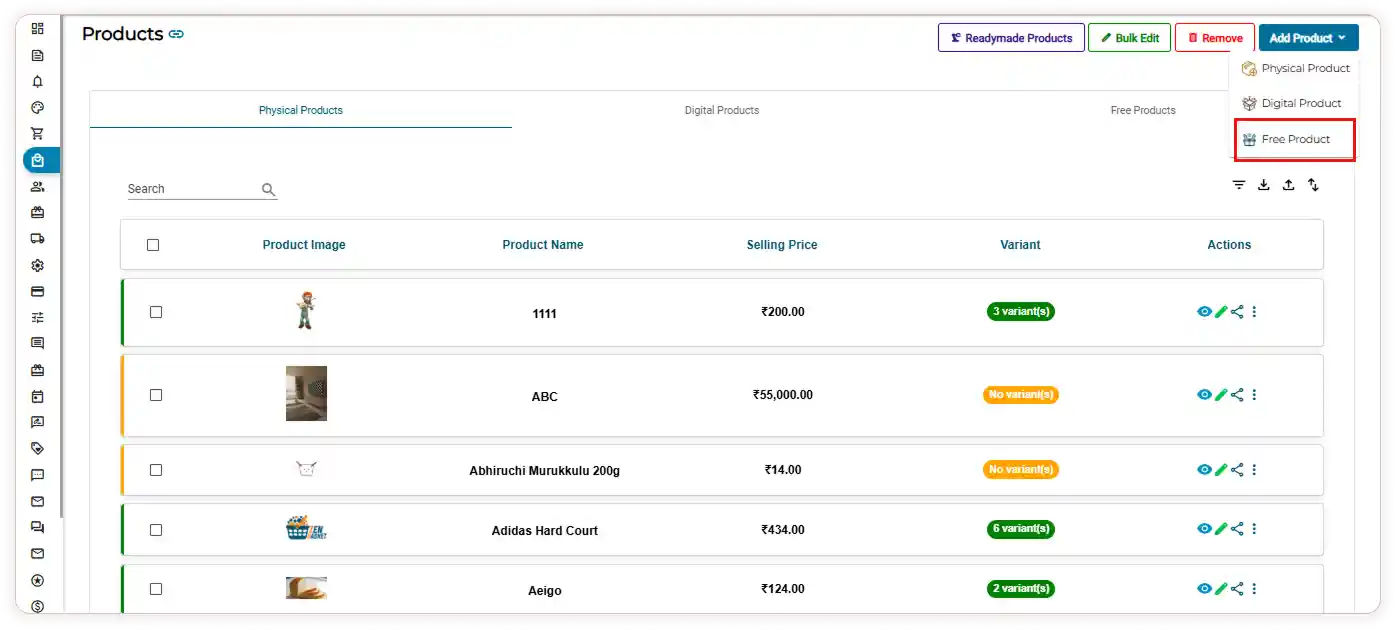
Click the Add Product button.
-
From the dropdown, select Free Product.
-
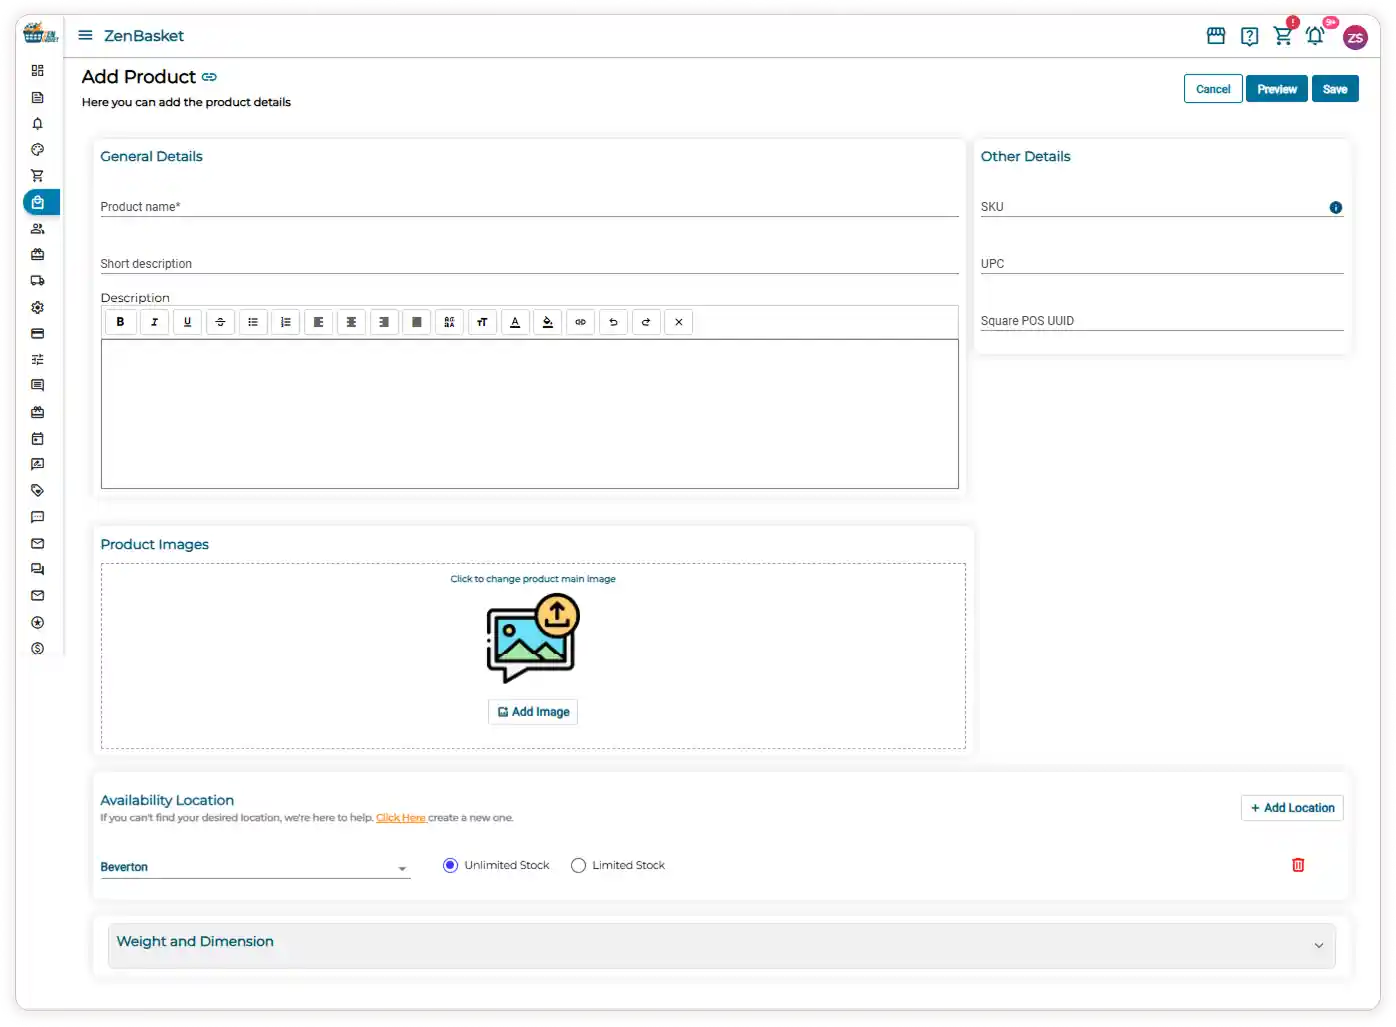
Start by entering the general details such as Product name, Short description, and Product description.
-
Next, enter the other details like SKU, UPC, and Square POS UUID.
-
Add the product image either by dragging and dropping it or by browsing files from your device or the store gallery.
-
Select the Location from the dropdown and choose the Stock availability.
-
If needed, you can add more locations by clicking the Add Location button.
-
Enter the weight and dimension details, including Weight, Height, Length, and Width.
-
Once everything is added, click Save to create the free product.
Available Options
-
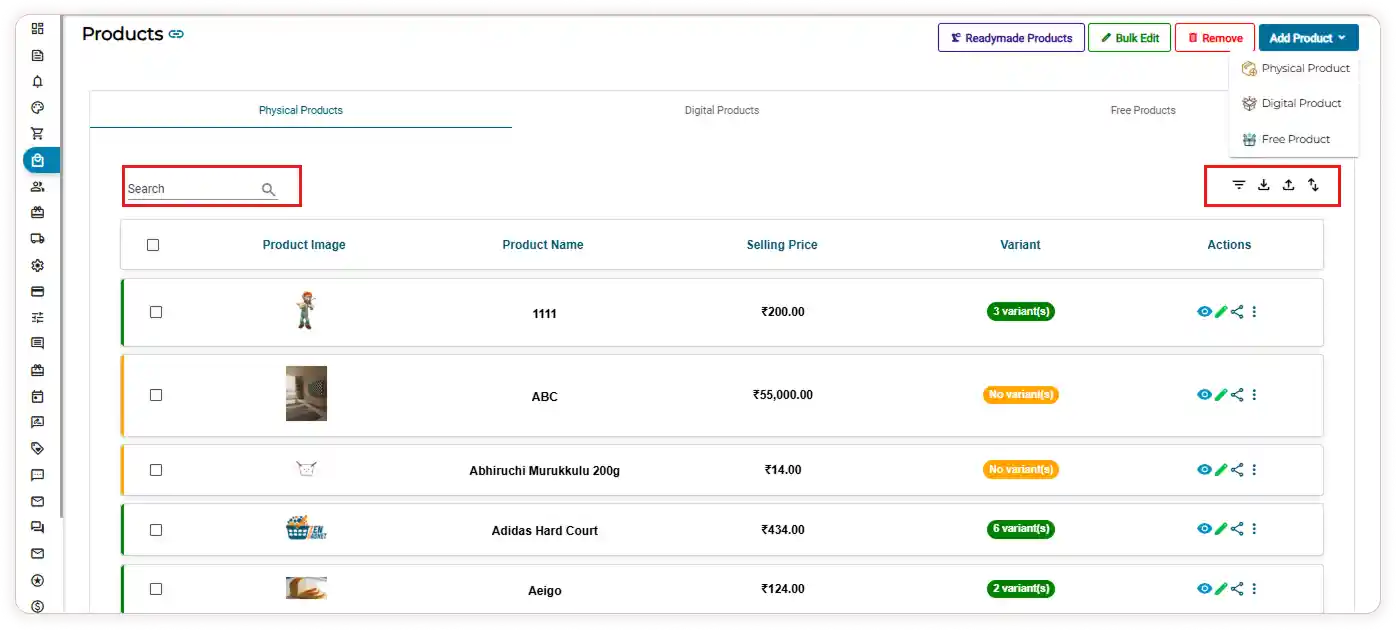
Use the Search bar to quickly find products by product name.
-
Use the Filter option to narrow down products based on stock status.
-
You can also import and export free products whenever needed.
-
Use the Sort icon to arrange products in your preferred order
Managing Free Products
-
In the Free Products tab, you can see the following details:
Product image, Product name, and Actions -
Under Actions, you can easily:
-
Edit the product
-
Duplicate the product
-
Delete the product

How the Free Product Discount Works
-
Go to the Discounts module.
-
Select the Pay X Get Free Discount menu.
-
Click the Add Discount button.
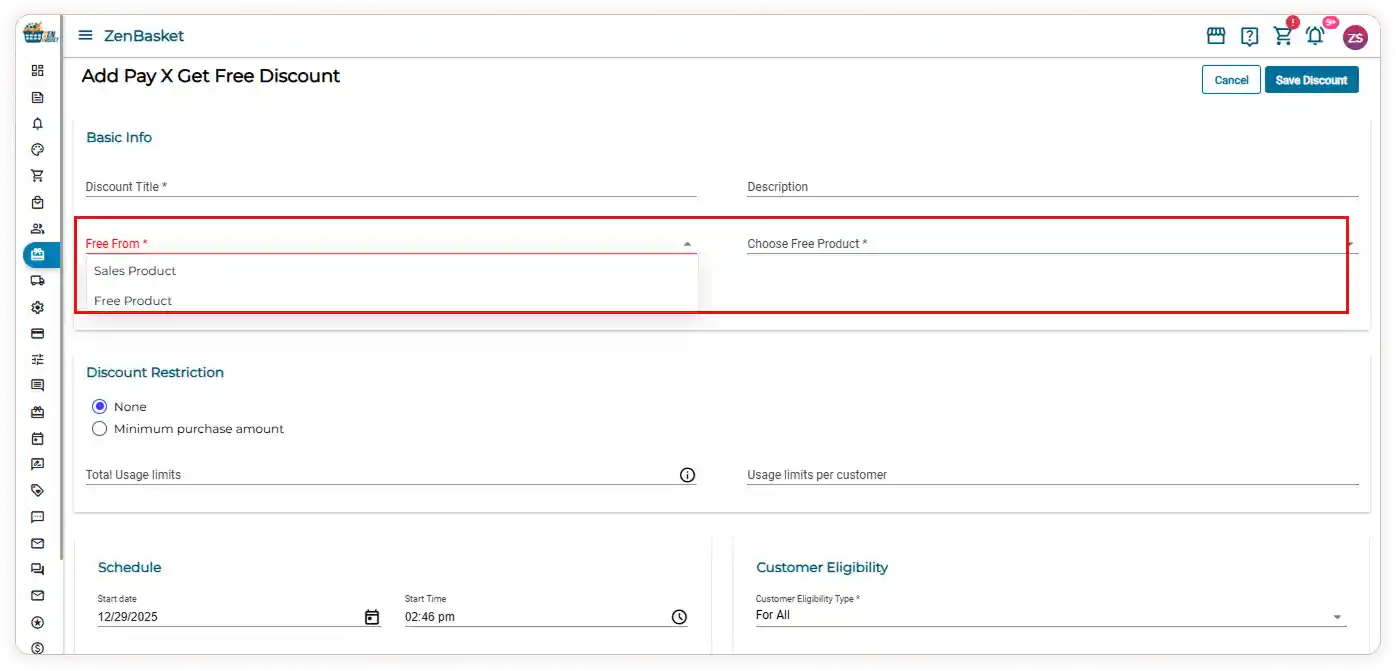
Basic Info Section
-
Enter the Discount Title and Description to describe your offer.
-
From the Free dropdown, choose one of the following options:
a. Sales Product – Choose a product that is already sold in your store and offer it as a free product.
b. Free Product – Choose a product that is created specifically to be given as a free product.
-
Click the Enable option to activate the discount.
Discount Restrictions and Settings
-
Choose the Discount Restriction that fits your promotion: None or Minimum purchase amount
-
If you select the Minimum purchase amount, enter the required purchase value.
-
Set the Total usage limits and Usage limits per customer based on your campaign needs.
-
Schedule the discount by setting the Start Date & Time and End Date & Time.
-
Choose the Customer Eligibility option from the dropdown.
-
Click Save Discount to apply the promotion.
Free Product Display on the Storefront
-
If the discount restriction is set to None, the Pay X, Get Free discount applies the free product automatically.
-
If Minimum Purchase Amount is selected, the Pay X, Get Free discount applies the free product only when the minimum purchase value is met.
-
In both cases, the free product is displayed on the checkout page and in the order details page, so customers can clearly see their free item.