
Product List Page Customization
The Product List Page allows you to customize the entire shopping experience — from layout and design to product cards and quick actions. With these flexible controls, you can ensure your storefront fully reflects your brand identity while making browsing smooth and engaging for customers.
How to Customize the Product List Page
-
Go to the Pages menu in the editor.
-
Select Product List from the list of pages or select it directly from the top bar.
-
Click on any section to view and customize its properties.
-
Use the options on the right panel to adjust settings for the selected element.
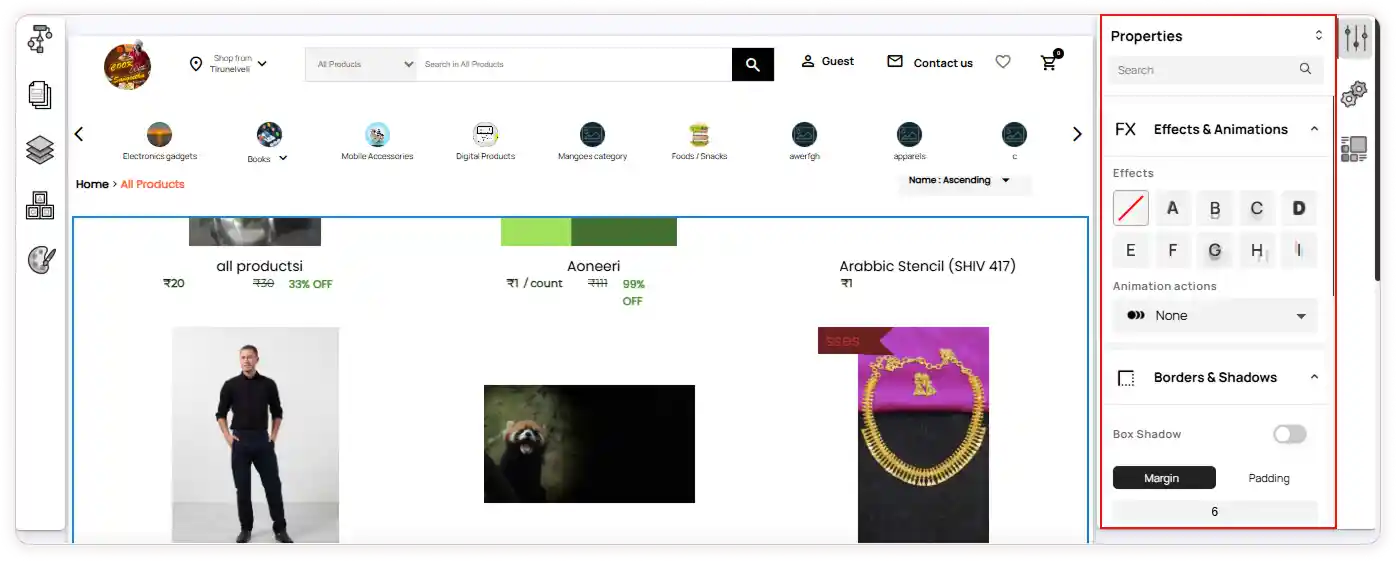
Configuration Icon
- Click the Configuration icon on the right panel to access page-specific customization options:
1.Elements Tab
Control what appears on the product listing card:
-
Enable or disable components (e.g., buttons, labels)
-
Update button types and action labels
-
Customize industry-specific filters like food filters

2.Properties Tab
The Properties tab allows you to customize both image and card properties to ensure your product layout looks clean and consistent.
Image Properties
-
Set background color
-
Choose the object fit for product images
-
Customize spacing using the box model options
Card Properties
-
Adjust the card width and height
-
Set background color to match your theme style
-
Customize spacing using the box model settings
-
Apply box shadow for better visual emphasis

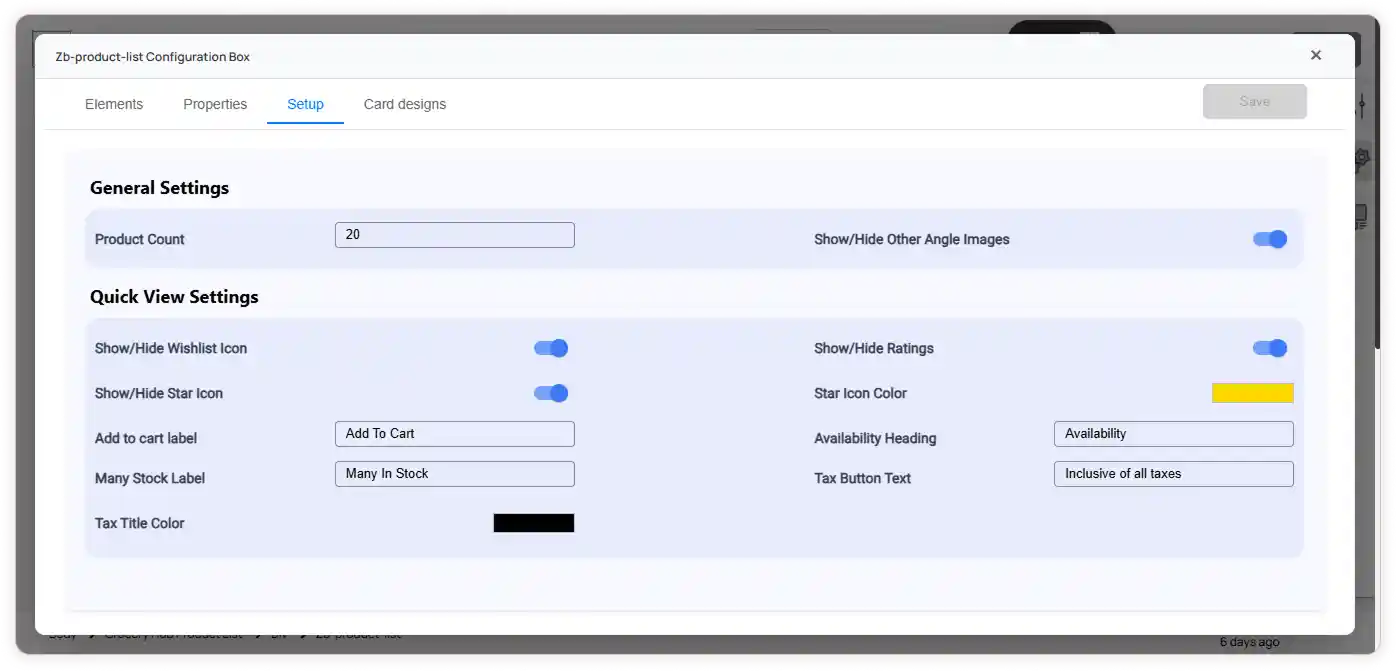
3.Setup Tab
This tab focuses on general display and quick view behavior.
a) General Settings
-
Define the product count on listing pages
-
Enable or disable additional angle images
b) Quick View Settings
-
Show or hide wishlist icon, star icon, and ratings
-
Update labels like Add to Cart, Availability, Low Stock text, and Tax text
-
Customize star icon and tax title colors to suit your theme
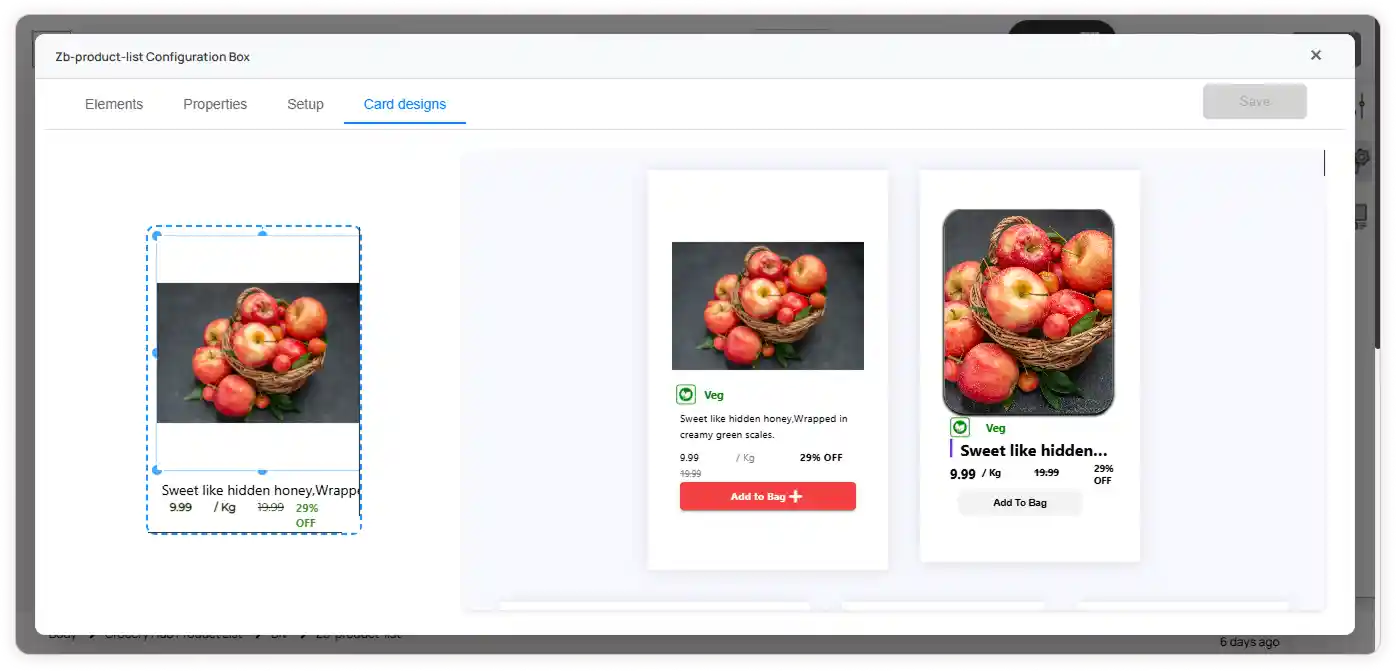
4. Card Designs Tab
- Browse and select a card design template
- Click Save to apply the new card style
Note: The Configuration and Layout Editor menus are available only when an advanced element or layout element is used on the page. The customization options may vary depending on the page type.