ZenBasket Builder Menus Overview
The ZenBasket Builder Editor provides all the tools you need to design, customize, and manage your website efficiently. Within the editor, there are four main menus, each offering options to help you perform different actions—from editing site content to adjusting layouts and managing settings. Understanding these menus will help you make the most of ZenBasket Builder’s features and build a professional, fully functional website with ease.
## 1. The Left Menu
The Left Menu contains the essential tools to help you build and organize your website. It provides panels for adding elements, managing sections, and controlling your site’s structure and design.
Key panels in the Left Menu:
-
Add Elements: Access a wide range of elements such as text, images, buttons, and more to include on your site.
-
Layers: Easily view the structure of your page and locate elements inside other elements with a clean, organized tree view.
-
Add Section: Insert new sections into your pages. Choose from pre-designed layouts or start with a blank section to fully customize your design.
-
Pages: Add, delete, and manage your website’s pages to keep your site organized.
-
Color Palette: Adjust your site’s theme colors and transitions to maintain a consistent and visually appealing design.

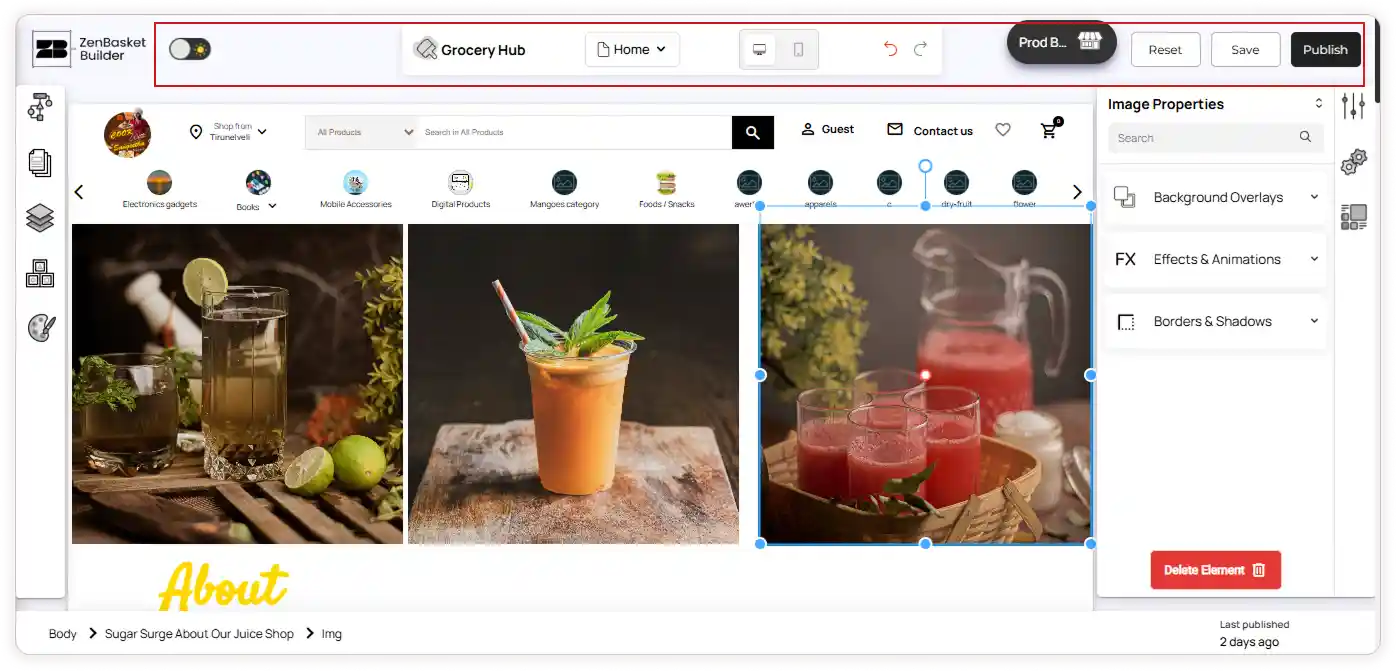
2. The Top Bar Menu
The Top Bar provides quick access to tools and settings for managing your site.
From left to right:
-
Theme Mode Switch: Toggle between dark and light modes for your store theme.
-
Change Theme: Select a different theme or choose Back to Admin to return to the admin page.
-
Page Dropdown: Navigate between your site’s pages for editing.
-
Desktop and Mobile Editors: Switch between desktop and mobile views to design for different devices.
-
Navigation Arrows: Move backward or forward between previously viewed pages in the editor.
-
Store Profile: Access your store link and use Connect Your Domain to link a custom domain.
-
Reset: Restore your theme to its default settings.
-
Save: Save your recent changes.
-
Publish: Make your saved changes live on your site.
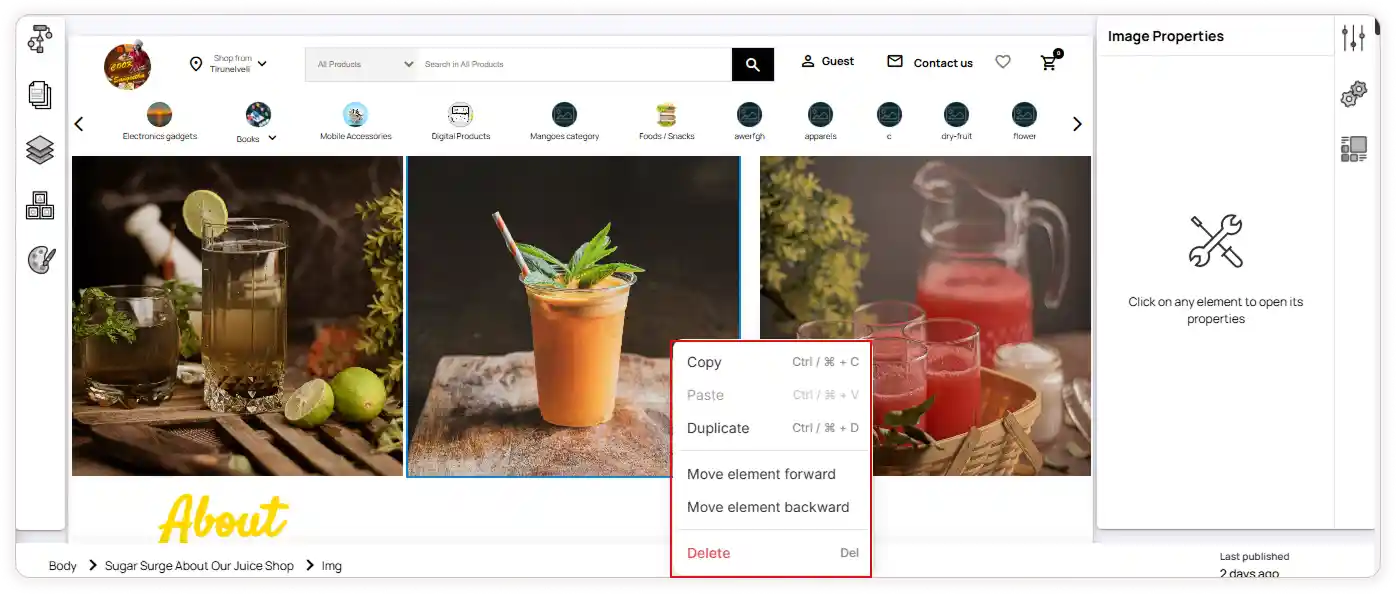
3. The Right-Click Menu
The Right-Click Menu provides quick access to common actions for managing elements within your site. To open the menu, right-click on any section in the editor.
Available options:
-
Copy: Create a copy of the selected element.
-
Paste: Insert a previously copied element into the selected area.
-
Duplicate: Instantly create a duplicate of the selected element in the same location.
-
Move Element Forward: Bring the selected element one layer forward.
-
Move Element Backward: Send the selected element one layer backward.
-
Delete: Remove the selected element from the page.
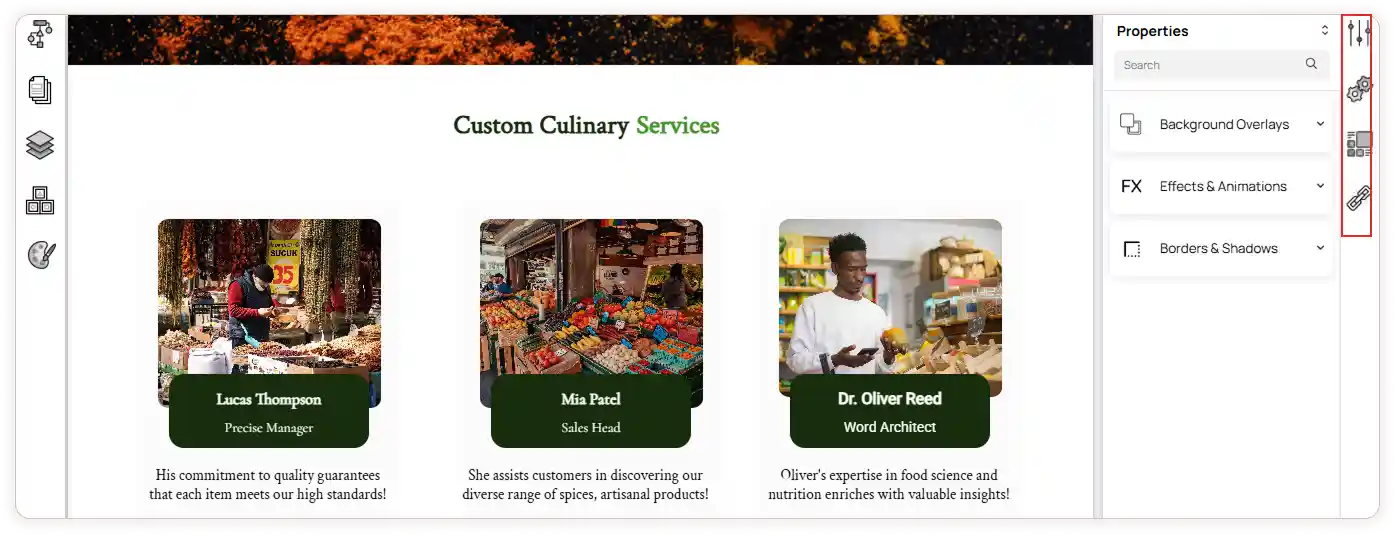
4. The Right Panel Menu
The Right Panel Menu displays the settings and customization options for the selected section or element. It allows you to adjust design, configuration, layout, and data-related properties to fine-tune your site’s appearance and functionality.
Available Menus in the Right Panel:
-
Properties - Displays the common element properties within the selected section. You can adjust Background Overlays, Effects & Animations, and Borders & Shadows to enhance your site’s visual design.
-
Configuration - Appears when an advanced elements are used in the section. This menu provides configuration settings specific to that element, allowing for deeper customization and control.
-
Layouts - Becomes available when a layout element is used. It enables you to edit structure, spacing, and alignment, ensuring that your section is visually balanced and properly organized.
-
Data Mapping - This menu is displayed when the section includes a Slider element. It allows you to configure data mapping options, helping you dynamically link and display content.