Working with Elements
Once you add elements to your page, you can adjust and manage them to create a well-balanced layout. Zen Studio allows you to change an element’s size, position, and alignment to speed up your work.
1. Moving Elements
You can move elements anywhere within a section to align them with your design. Use drag and drop to reposition a single element or use a Box element to move multiple elements together.
To move a single element:
-
Select the element in the editor.
-
Click and drag it to a new position.
-
Drop it where you want it placed.
To move multiple elements:
-
Add a Box element to your section.
-
Place multiple elements (like text, image, or button) inside the box.
-
Drag the Box element handle to move all elements together.
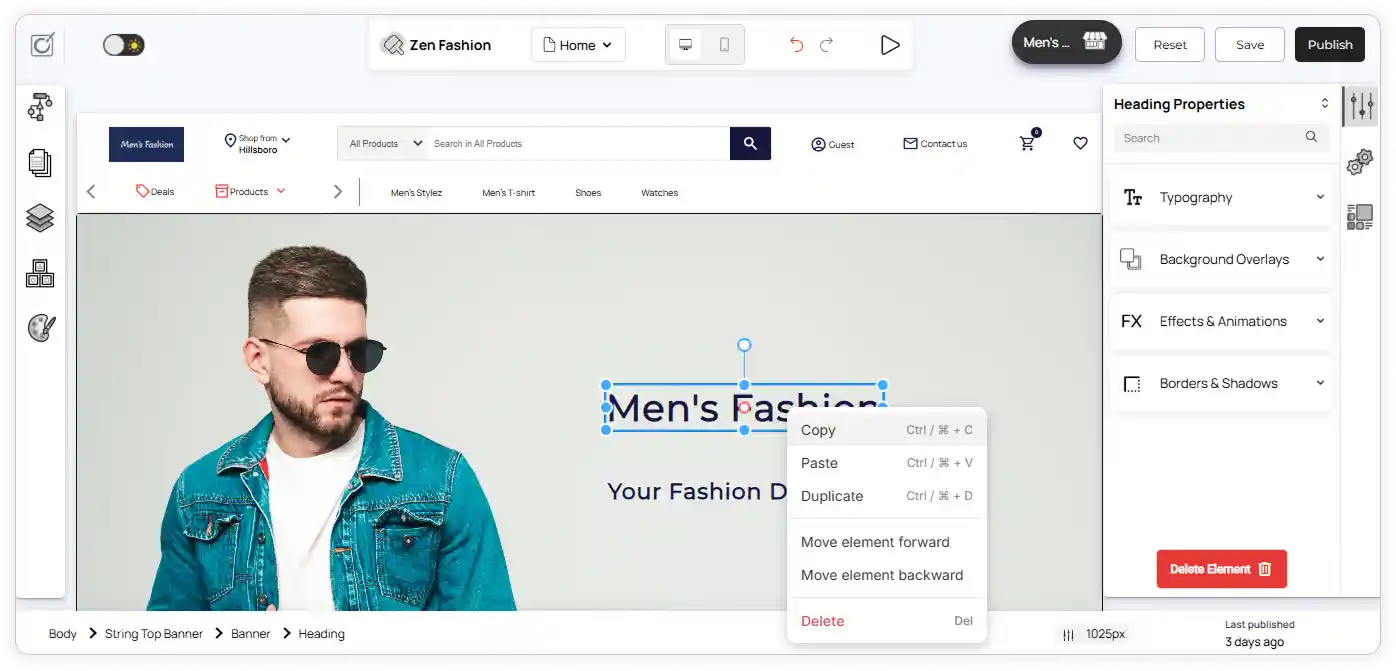
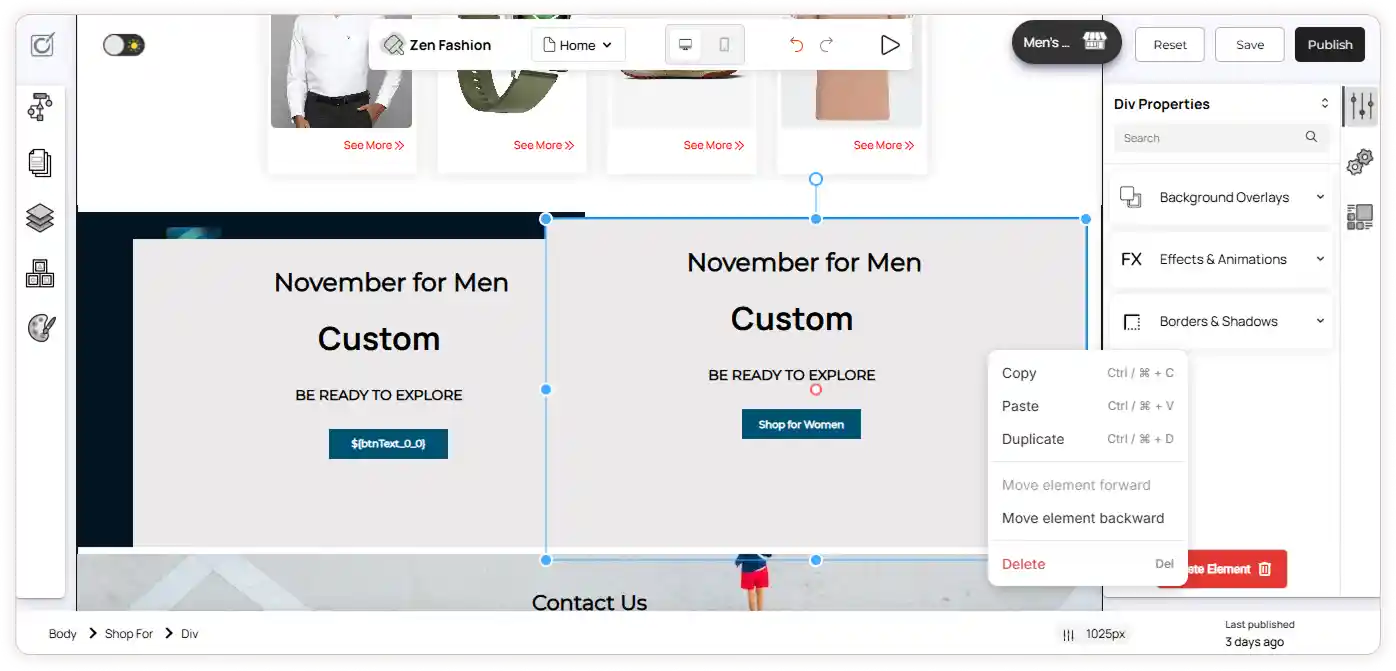
2. Copying and Pasting Elements
You can copy and paste elements to reuse them across pages or sections. This helps maintain a consistent design and saves time.
To copy and paste a single element:
-
Right-click the element in the editor and select Copy.
-
Go to the page or section where you want to add it.
-
Right-click and select Paste.
To copy and paste multiple elements:
-
Select the Box element which has multiple elements
-
Right-click the box element and select Copy.
-
Go to the target page or section.
-
Right-click and select Paste.
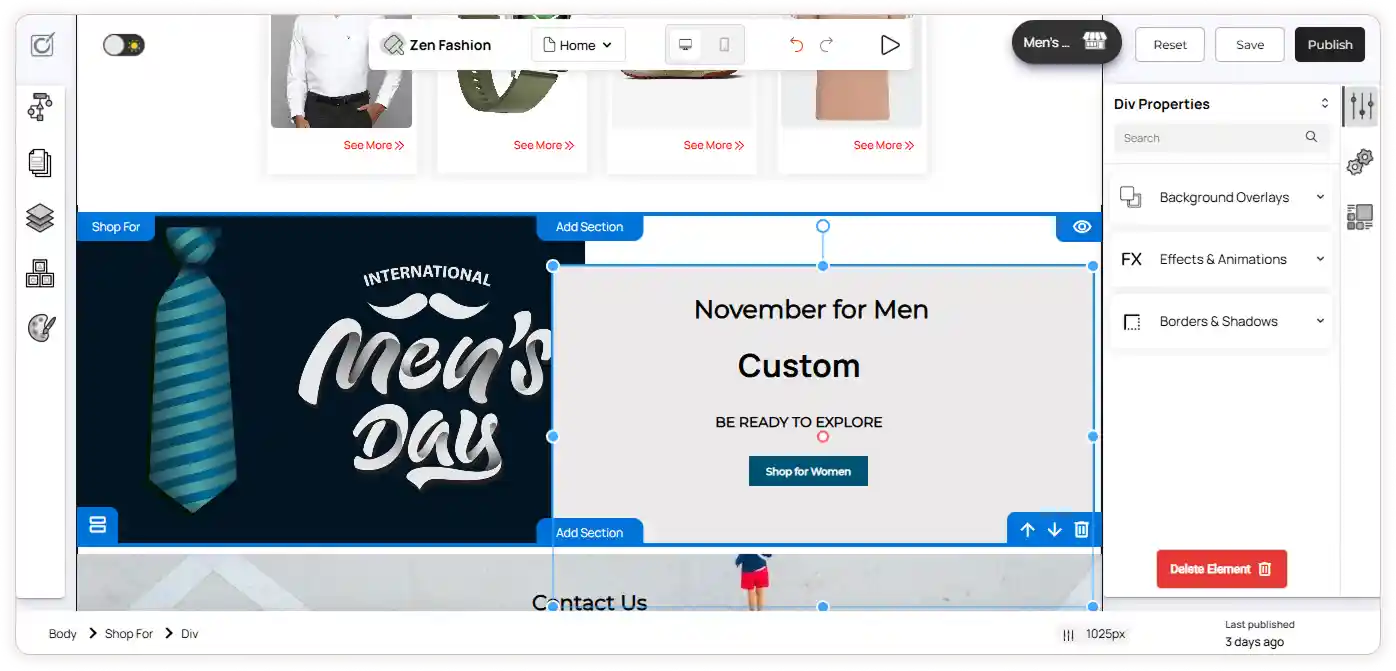
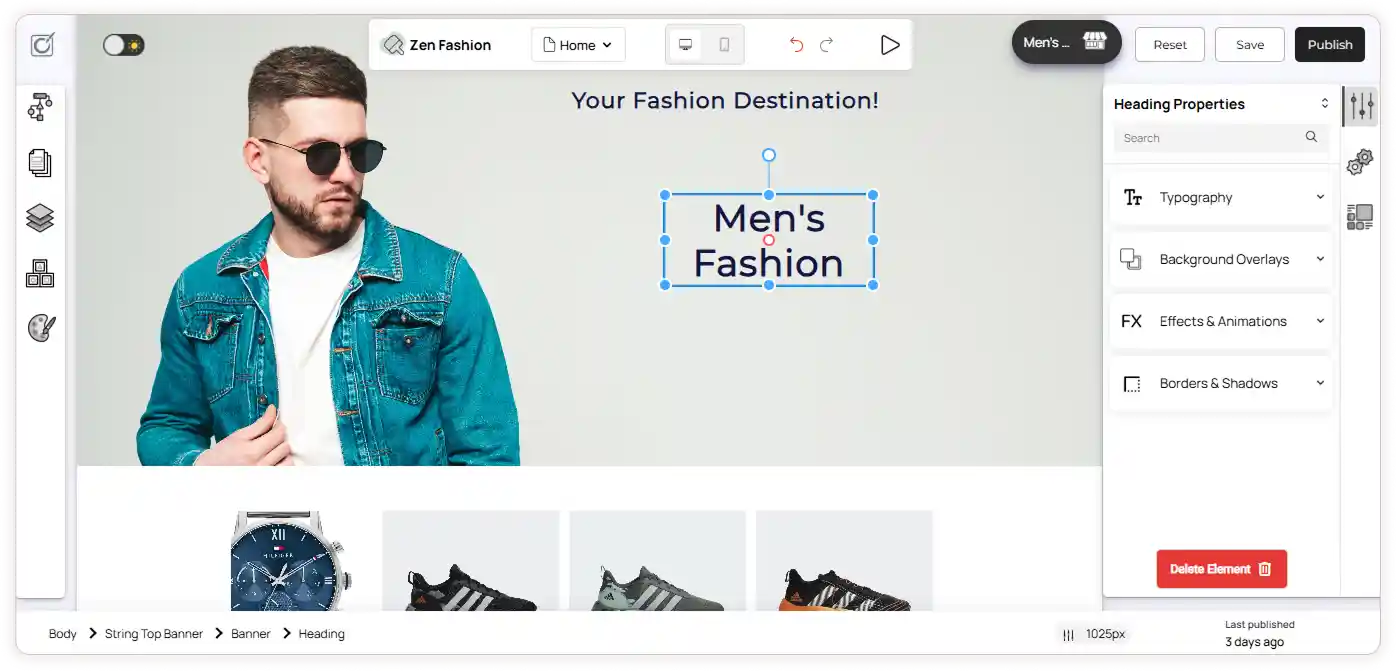
3. Resizing Elements
You can adjust the size of any element using the stretch handles.
To resize an element:
-
Select the element in your editor.
-
Drag the stretch handles on its edges.
-
Release when the element reaches your desired size.
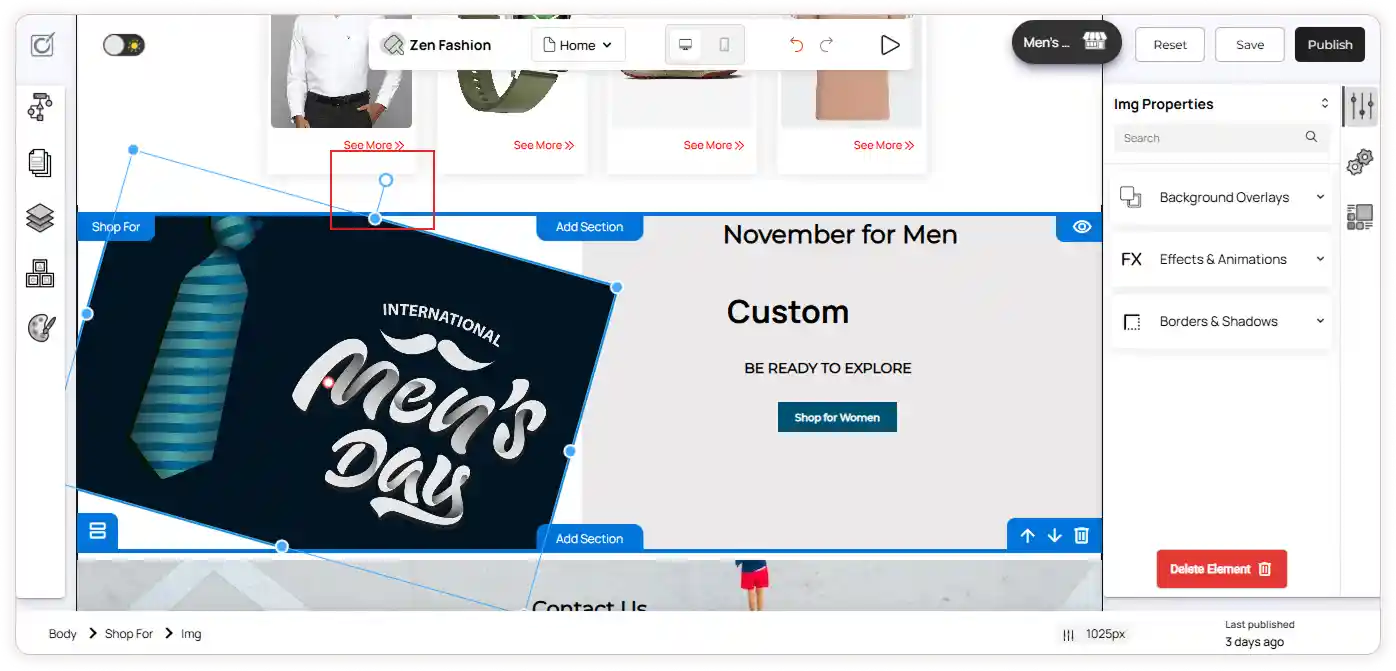
4. Rotating Elements
You can rotate elements to add a creative and dynamic look to your design. Zen Studio allows you to freely adjust the angle of any element to match your layout style.
To rotate an element:
-
Select the element in your editor.
-
Click and drag the Rotate icon located at the top of the element to adjust its angle.