Adding an Image as Background
Adding a background image can make your website visually appealing and help highlight important sections. In ZenBasket Builder, you can set a background image for an entire section or for individual sections within a main section.
Uploading an Image as Background for the Main Section
-
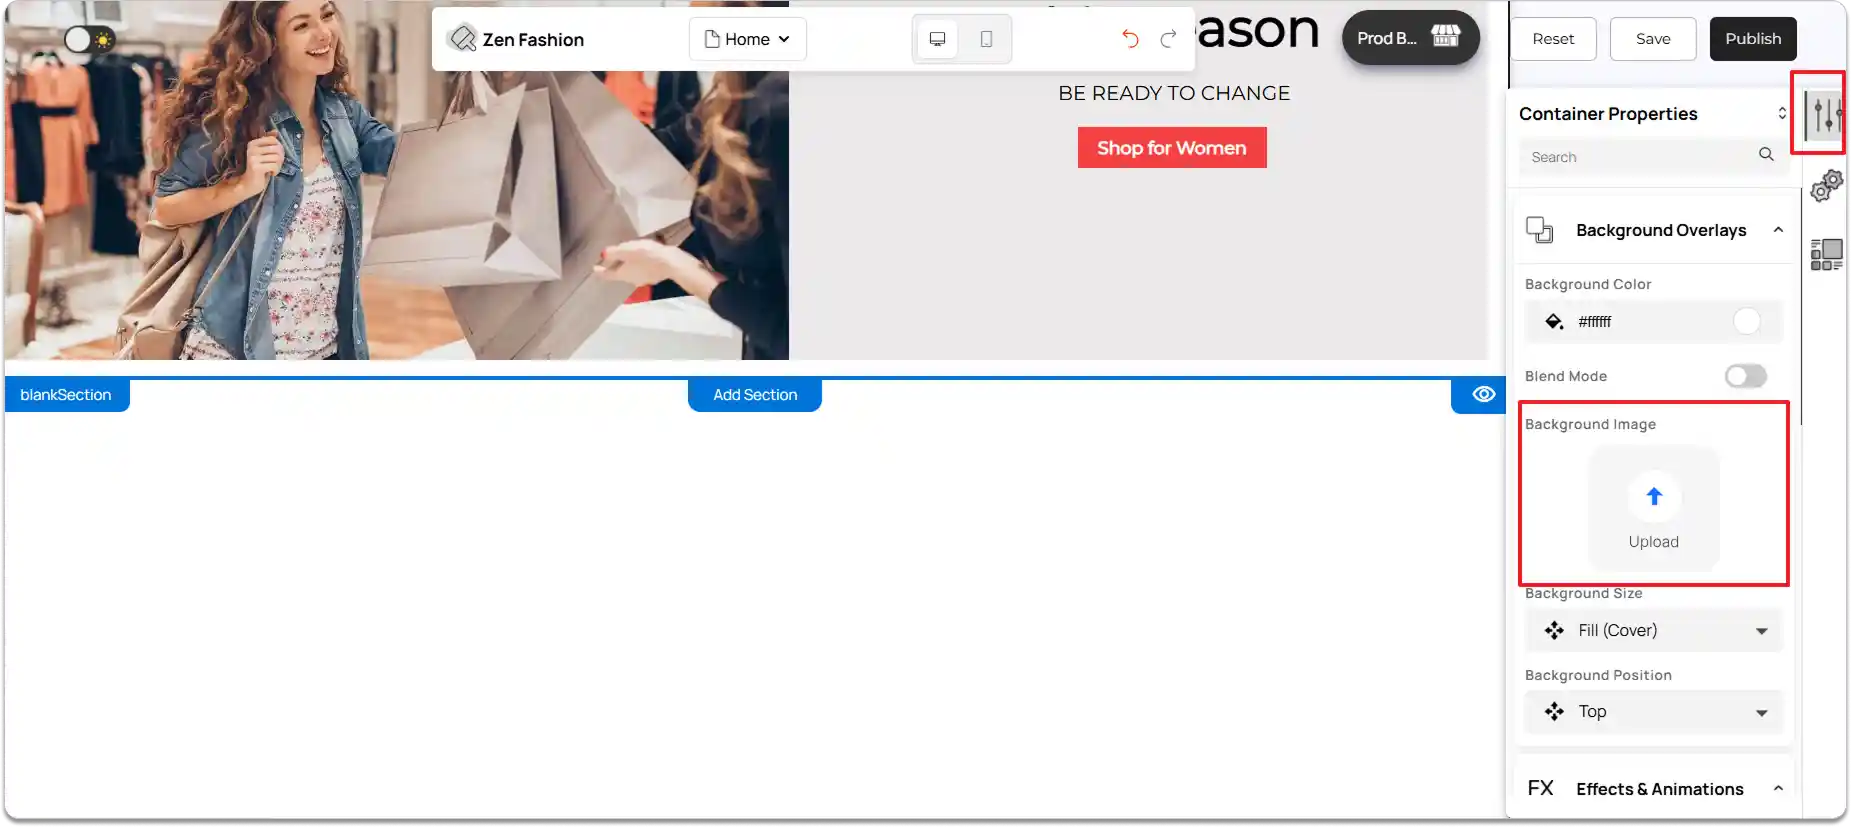
Click on the main section where you want to set the background image.
-
Navigate to the right tools panel.
-
In Properties, locate the Background Overlays section.
-
Under Background Image, click Upload.
-
Select the desired image from your device.
-
Apply it to set the image as the section background.
-
Choose a Background Size and Background Position.
Modifying a Background Image
-
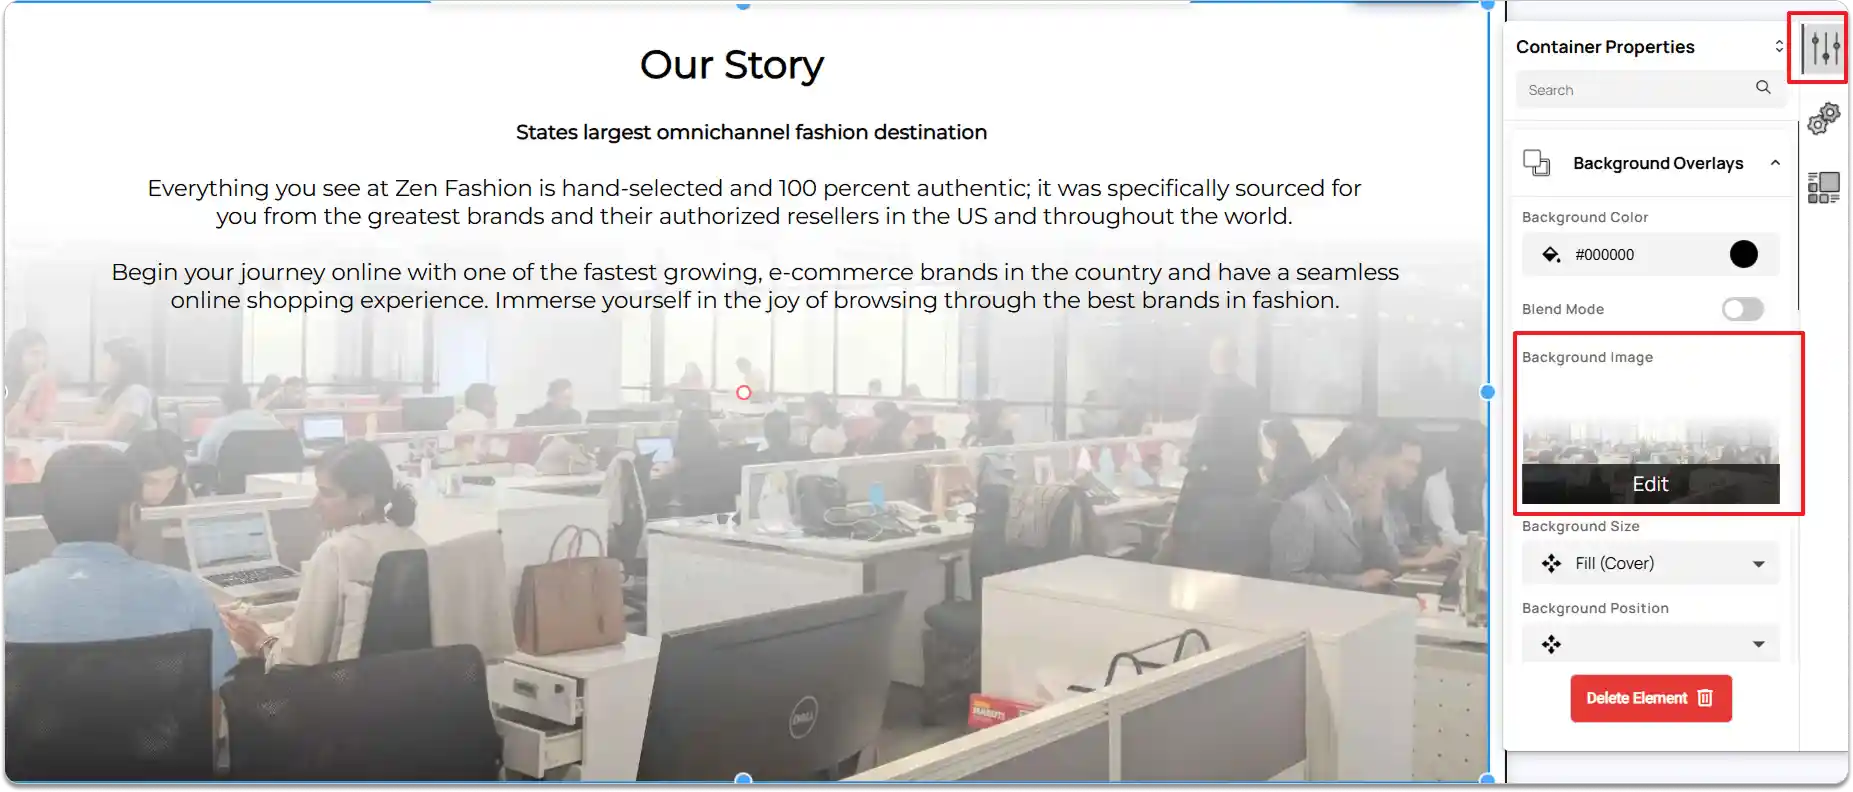
Click the background image you want to edit.
-
In the** Image Properties** panel, go to** Background Overlay**.
-
Under Modify Image, click Edit.
-
Apply filters and make the necessary adjustments.
-
You can crop the image and zoom in or out to view changes.
-
Click Save to apply the updates.
Set a Background Image for a Subsection
-
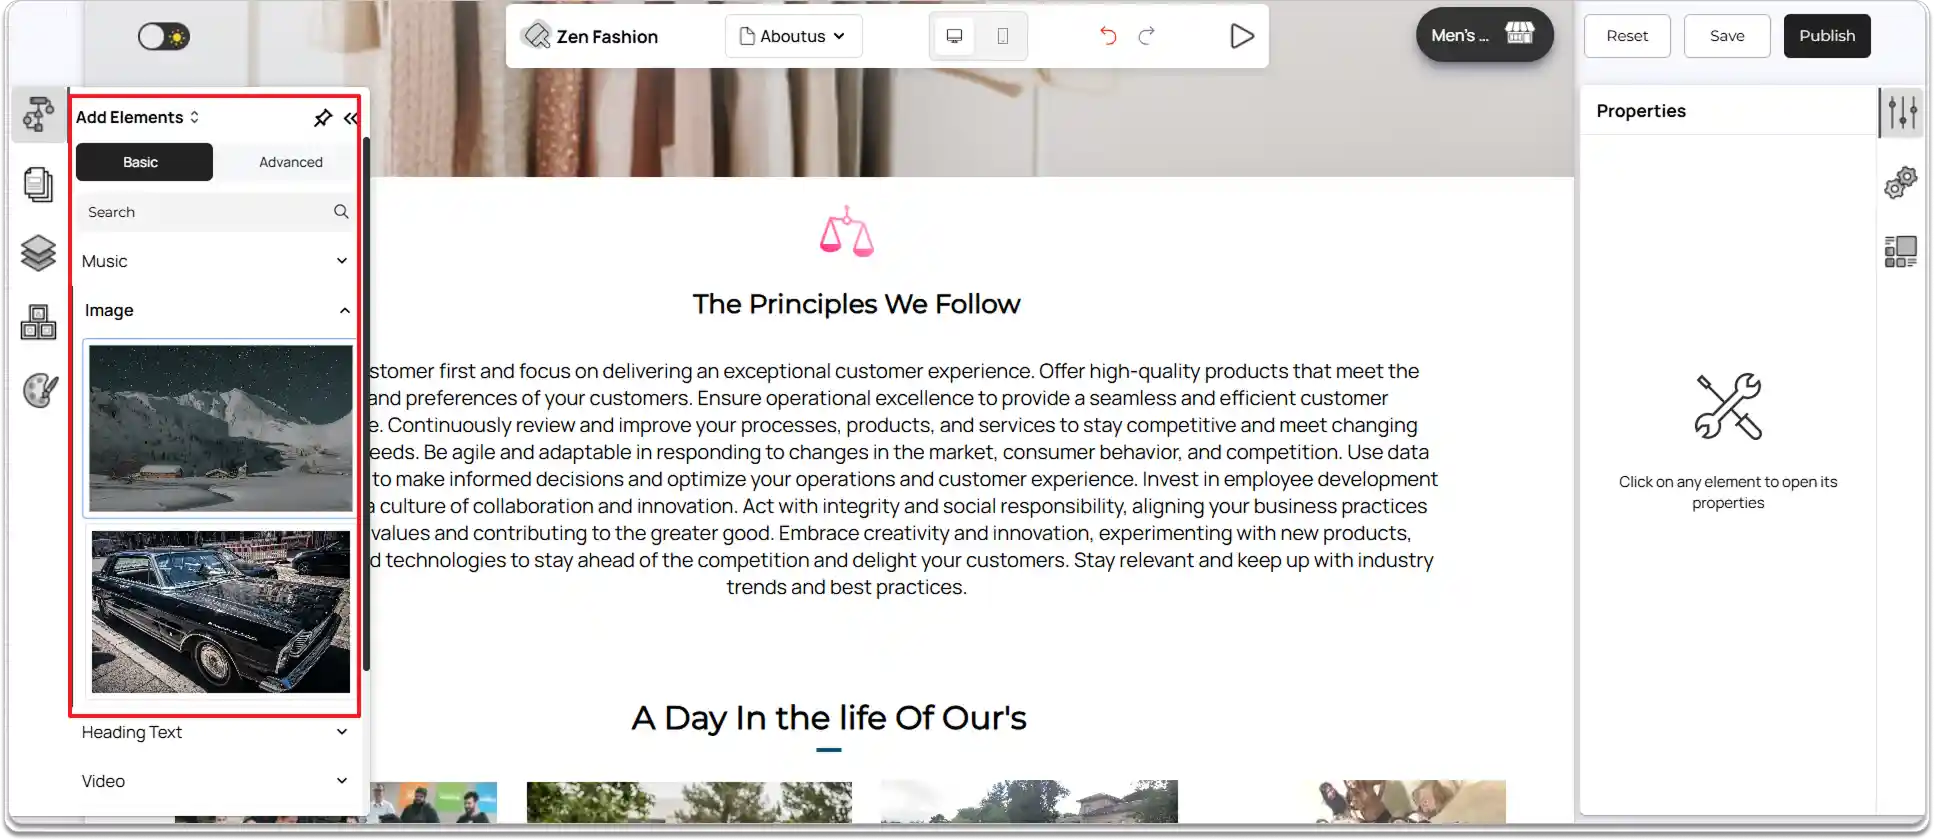
To add a background image for a section within the main section, first insert a Box element.
-
Click Add Element from the left tools panel.
-
Under Basic Elements, select Box.
-
Click and drag the Box element into the desired section.
-
Once the Box is added, you can set a background image in either of the following ways:
Option 1:
-
Click the Box to select it.
-
Navigate to** Img Properties** → Background Overlays → Background Image on the right tools panel.
-
Click Upload, select your image from your device, and apply.
Option 2:
-
Click Add Element from the left tools panel.
-
Under Basic Elements, select Image.
-
Click and drag the Image element into the desired Box section.
-
Resize the image to stretch it to the full width of the Box section so that it appears as the background of the subsection.
-
You can also add other elements over this image element within the same subsection.
-
Resize and reposition the Box element as needed to achieve the desired layout within the main section.