
Go Live
You have built your store, configured shipping, and connected payments. This final step walks you through a pre-launch review and explains how orders work once real customers start shopping. After completing this step, your ZenBasket store is fully operational.
Pre-Launch Review
Before sharing your store URL with customers, take a few minutes to check the items below. A quick review now prevents common issues from reaching your first shoppers.
| Check | What to Verify |
|---|---|
| Domain | Your custom domain is connected and resolves correctly. Test it in an incognito browser window. |
| Storefront | Browse your store as a customer. Check that product images load, prices are correct, and navigation works on mobile. |
| Products | All products have accurate descriptions, prices, images, and stock levels. Remove or hide any test products. |
| Shipping | Add an item to your cart and proceed to checkout. Confirm the correct shipping methods appear for your address. |
| Payments | Complete a test transaction using a Stripe test card. Then confirm ‘Is production’ is enabled for live payments. |
| Notifications | Place a test order and confirm that both you and the customer receive the correct confirmation emails. |
| Policies | Ensure your Refund Policy, Privacy Policy, and Terms of Service pages are published and linked in your storefront footer. |
Step 1: Set Up Notifications
Notifications keep both you and your customers informed at every stage of the order process. ZenBasket supports three types of notifications: Email, SMS, and Push, so no order update goes unnoticed.
To configure notifications:
-
Go to Settings in your ZenBasket admin.
-
Navigate to Notification Settings.
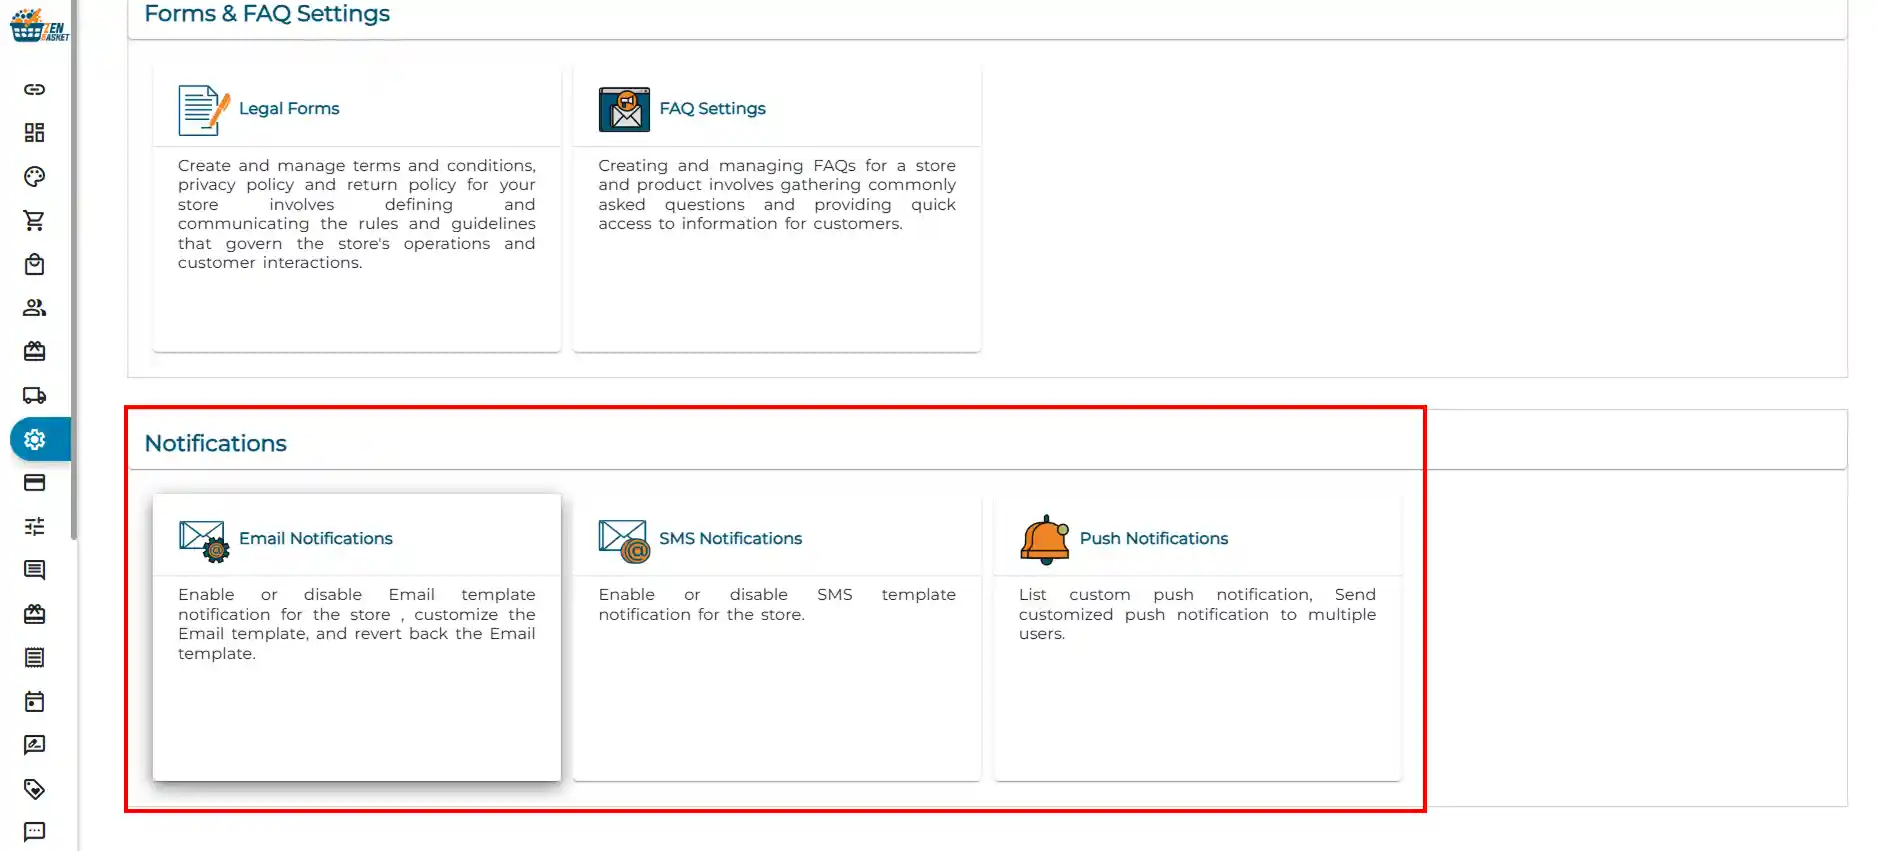
From here you can manage:
-
Order confirmation emails: Sent to the customer as soon as they place an order.
-
Order status update emails: Notify customers when their order moves to Processing, Packed, Shipped, or Delivered.
-
Admin order alerts: Push notifications or emails sent to you when a new order is received.
-
Abandoned cart emails: Automated reminder emails sent to customers who added items to their cart but did not complete checkout.
-
Return request notifications: Alerts sent when a customer submits a return request.
For the full setup guide covering Email, SMS, and Push notifications, read the individual articles below:
Tip: Always place a test order before going live to verify that order confirmation emails are being received correctly by both the customer and your admin account. Check your spam folder if emails do not arrive.
Note: Abandoned cart email reminders are one of the most effective built-in tools to recover lost sales. Enable this before you go live so you start capturing recovery opportunities from day one.
Step 2: Set Up Store Policies
Store policies build trust with your customers by clearly communicating how you handle refunds, privacy, and terms of use. ZenBasket allows you to add and publish your policy pages directly from your admin.
To set up your policies:
-
Go to Settings in your ZenBasket admin.
-
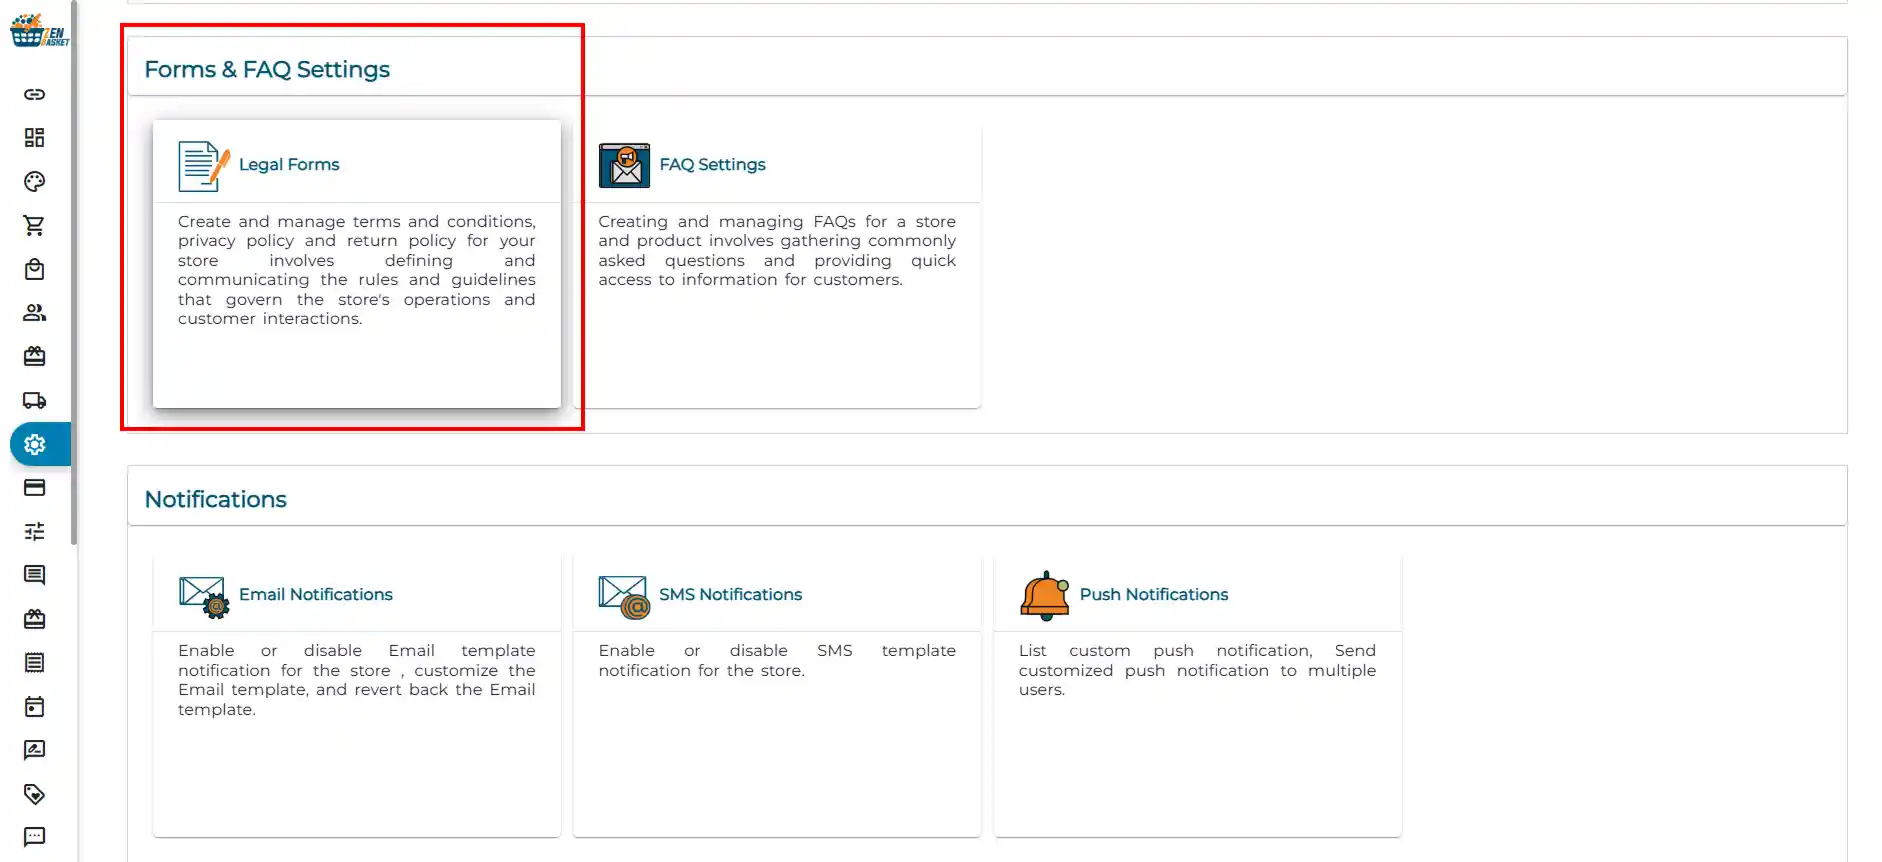
Navigate to Forms and FAQ settings and click ‘Legal Forms’
-
Add or edit each of the following policy pages.
Refund Policy
Clearly state your return and refund rules, how many days a customer has to return a product, what condition items must be in, and how refunds are processed. A transparent refund policy reduces disputes and builds customer confidence.
Privacy Policy
Explain what customer data you collect, how it is stored, and how it is used. This is legally required in most regions and is essential for building trust with new shoppers.
Terms of Service
Outline the rules and conditions customers agree to when using your store, including order acceptance, payment terms, delivery expectations, and any limitations of liability.
Once your policies are written:
-
Enable the Publish toggle on each policy page.
-
Verify that the policy links appear in your storefront footer.
-
Test each link to confirm the pages load correctly.
For the full policies setup guide, refer to: Store Policies Setup Guide
Note: Published policies are automatically linked in your storefront footer so customers can access them at any time. Unpublished policies are saved in your admin but are not visible to customers.
Tip: If you are unsure what to include in your policies, start with simple, clear language that directly answers the questions your customers are most likely to ask “Can I return this?”, “What do you do with my data?”, “What are the rules for buying from this store?”
Step 3: Understanding Orders
When a customer places an order from your online store, it appears immediately in your ZenBasket admin and you receive a push notification. An order confirmation email is also sent to the customer automatically.
The Orders module gives you full visibility and control over every order, from the moment it is placed to the moment it is delivered. You can view order details, manage fulfilment status, handle returns, track abandoned carts, and manage shipments with connected carriers.
For a complete walkthrough of the Orders module including all sub-menus, order statuses, and how to manage fulfilment, refer to: Orders Overview
Frequently Asked Questions
1. What happens when a customer places an order? The order appears in your ZenBasket admin, you receive a push notification, and the customer receives an order confirmation email automatically, no extra action required on your part.
2. What are unfulfilled orders? Unfulfilled orders are those where payment was debited but the order was not completed due to a payment gateway issue or an admin error. Check the Unfulfilled Orders tab regularly and contact ZenBasket support if you need help resolving them.
3. How does the Abandoned Cart feature work? The Abandoned Cart page lists customers who added items to their cart but did not reach checkout. You can view their cart details and send targeted reminder emails to encourage them to complete their purchase.
4. What types of notifications does ZenBasket support? ZenBasket supports Email, SMS, and Push notifications. You can configure all three from Settings → Notification Settings. Each type has a dedicated setup guide in the ZenBasket Help Center.
5. Do I need to publish my policies before going live? Yes. Unpublished policies are not visible to customers. Make sure the Publish toggle is enabled on each policy page and verify the links appear correctly in your storefront footer before launching.
6. Can I edit my notification settings after going live? Yes. You can update your Notification Settings at any time from the Settings menu. Changes take effect immediately for all future orders.
Your store is ready. You have completed all 8 steps of the ZenBasket Store Setup Journey. Visit the ZenBasket Help Center anytime for guides on marketing, discounts, loyalty programs, and more.